Hi friends!
It's Ashley with a nighttime Christmas scene
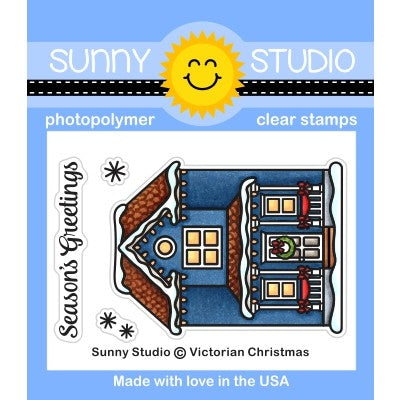
featuring the Victorian Christmas mini
set. This card has a special surprise too - press the snowflake, and the moon
lights up to illuminate Santa and his reindeer!
I started by blending a night sky background with Distress Oxides in Wilted Violet, Blueprint Sketch, Chipped Sapphire, and Black Soot. I splattered the piece with white acrylic paint for stars and zapped it with a heat gun to set. I used the small circle tag die in Sliding Window dies to cut out the moon, then backed it with vellum. I stamped the Santa and reindeer from Here Comes Santa across the sky and moon with Versafine Onyx Black ink and embossed with clear embossing powder to prevent smearing on the vellum.
I stamped the house from Victorian Christmas and one of the background scenes from Winter Scenes on white cardstock in Lawn Fawn Jet Black ink and colored with Copics. I also blended a bit of Pinkfresh Studio Ocean Breeze ink to the snow on the bottom of the scene to save some time. I cut them out with the matching dies and adhered them to the card. I stamped a sentiment from Inside Greetings Holiday in Versafine Onyx Black and embossed with clear. I also stamped a snowflake from Winter Scenes in VersaMark and embossed with white to mark where to press for the lights.
On a white card base, I created my light up mechanism using Chibitronics lights and a Pear Blossom Press Power Pack. I placed the lights just outside the edge of the moon to soften the effect a bit. Once I had my circuit set up correctly and the lights were working, I added a border of thick foam tape around the card base. All that was left was to add my card front on top! Before sending this card, I will put a note inside to tell the recipient to press the snowflake for a surprise!
Thank you so much for stopping by! Have a wonderful day!
---------------------------------------------------
Happy Monday
everyone, Mayra here with you today. I have a CAS Christmas card that I am
sharing with you. I used the lovely Victorian Christmas stamp set.
I began by coloring my images using Copic markers. For the dark gray areas, I used W3, W5, and W7. For the red areas, I used R05, R17, and R46. And for the greens, I used YG17. I added a bit of E40, E41, C1, and W3 to the areas that are off white.
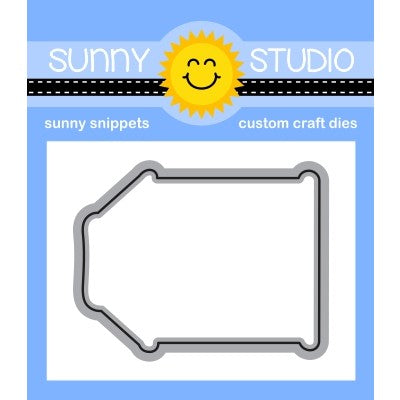
I then die cut the panels for my card base. The scalloped rectangle is from the Frilly Frames Eyelet die set. This was such a fun and quick card to put together. I hope you enjoy this inspiration.
Thank you very much for taking the time to stop by. I pray you each have a wonderful and blessed day.
Sunny Studio Supplies Used:
 Sliding Window Dies Shop at: Sunny Studio |
 Here Comes Santa Stamps Shop at: Sunny Studio |
 Frilly Frames-Eyelet Lace Shop at: Sunny Studio |
 Inside Greetings-Holidays Shop at: Sunny Studio |
 Victorian Christmas Stamps Shop at: Sunny Studio |
 Victorian Christmas Dies Shop at: Sunny Studio |
 Winter Scenes Stamps Shop at: Sunny Studio |
 Winter Scenes Dies Shop at: Sunny Studio |


No comments:
Post a Comment