Showing posts with label Eyelet Lace Borders. Show all posts

Friday, January 19, 2024

Gift Card Envelope Die Focused Card with Nicky

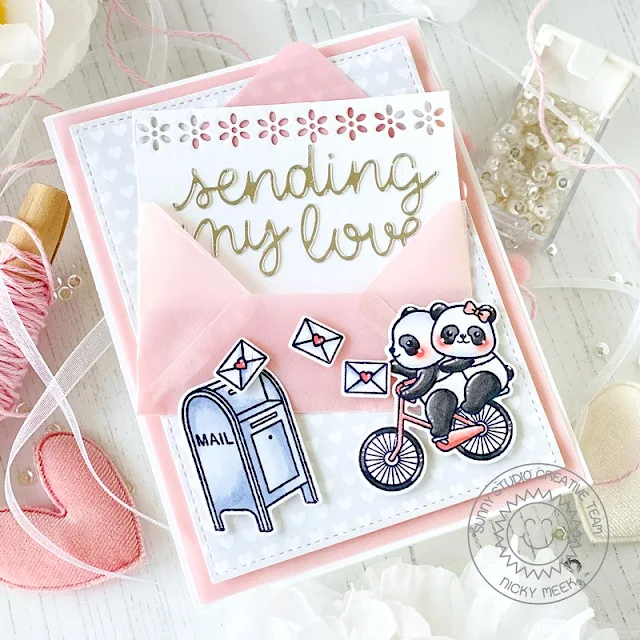
Hi everyone this is Nicky back with you today and I have a new project for Sunny Studio Stamps and I created this sweet Valentine card using the Gift Card Envelope die 

Sunny Studio Stamps: Gift Card Envelope Die Focused Love Themed Card by Nicky Meeks (featuring Bighearted Bears, Stitched Rectangle Dies, Eyelet Lace Border Dies)

I started by creating a white A2 panel of cardstock. Over this I layered a slightly smaller panel of pearlescent pink vellum and over the top of that I layered a panel of the Subtle Grey Tones patterned cardstock that was die cut to size using the Stitched Rectangle Die. I backed this panel with some white craft foam and adhered. This whole background panel was adhered to the card base.

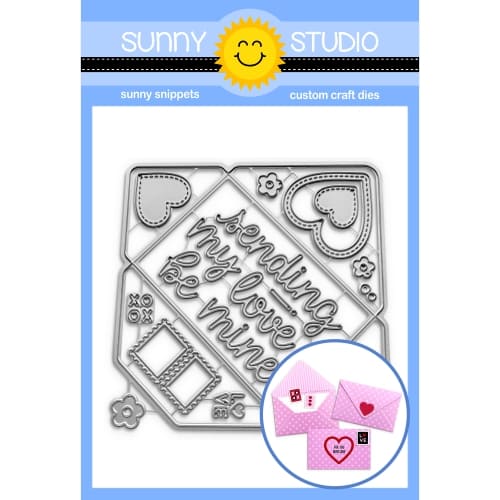
I used more of the same vellum to die cut and assemble the Gift Card Envelope. Whilst of course it is sized perfectly to hold a gift card, this die is useful well beyond this one purpose.  You could do what I did and create a little love note within or it could be used to hold a handmade gift tag and adorn the top of a gift among other ideas. 

Sunny Studio Stamps: Gift Card Envelope Die Focused Love Themed Card by Nicky Meeks (featuring Bighearted Bears, Stitched Rectangle Dies, Eyelet Lace Border Dies)

My little love note was created from white cardstock, I die-cut the lacy border using the Eyelet Lace Border dies and used some of the words from the Gift Card Envelope die and some silver cardstock to create the sentiment. The envelope was adhered at an angle on the background and with the little love note semi-tucked inside and just barely adhered with removable tape in case the recipient wanted to take it out.

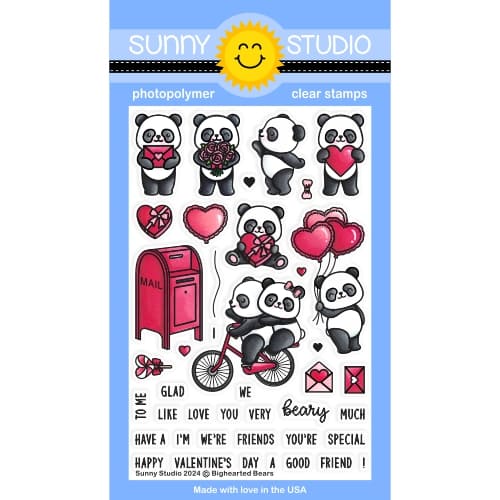
I stamped the images I was needing to work with from the Big Hearted Bears stamp set. The images were coloured with the following Copic marker combinations.

Mailbox - C3, C1, C0
Pandas - T6, T5, T4, C1, C0, E40
Blushes - R22, R20, R00
Bicycle - R22, R20, R00, T6, T5, T4
Envelopes - R22, C3, C1, C0

Sunny Studio Stamps: Gift Card Envelope Die Focused Love Themed Card by Nicky Meeks (featuring Bighearted Bears, Stitched Rectangle Dies, Eyelet Lace Border Dies)

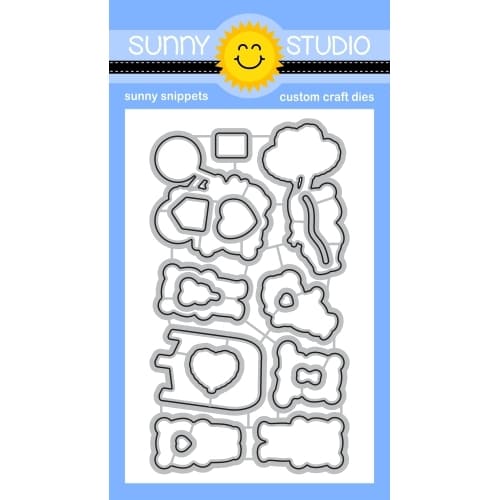
The images were die cut using the coordinating dies and applied with dimensional foam tape and a few points were highlighted with a white gel pen and with that, this card was done!

Thanks for stopping by the blog today, I'll be back next Friday with something new.

Sunny Studio Supplies Used:

Stitched Rectangle Dies
Shop at:
Sunny Studio
Subtle Grey Tones Paper
Shop at:
Sunny Studio
Eyelet Lace Borders
Eyelet Lace Borders
Shop at:
Sunny Studio
Bighearted Bears Stamps
Shop at:
Sunny Studio
Bighearted Bears Dies
Shop at:
Sunny Studio
Gift Card Envelope Die
Shop at:
Sunny Studio

Monday, December 25, 2023

Introducing Love Birds Stamps & Tree Branch Die For Valentine's Day!

Merry Christmas!  I hope you all are enjoying a fun and relaxing holiday with your loved ones today. This week our team will be transitioning from Christmas to Spring, featuring a new mini stamp set called Love Birds that is perfect for Valentine's Day, however as I think my cards will illustrate this set doesn't have to be limited to a single holiday. Let's jump right in!

Card No.1: For my first card featuring the Love Birds Stamps, I started by creating my pastel rainbow cloud background by inking on alternating distress inks together with masks I had cut from our Fluffy Cloud Border Dies. I then trimmed down my panel to 3.5" wide and added the stitching and scalloped trim to the edges with our Slimline Basic Border Dies

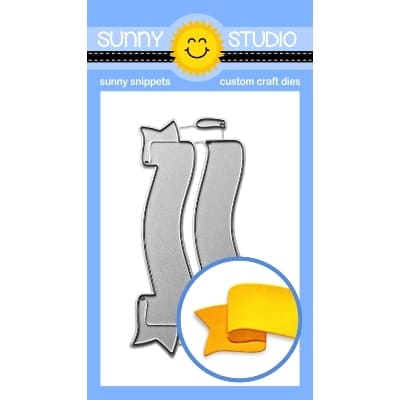
The love bird set comes with a bare tree branch and individual leaves making it easy to customize for both winter and spring scenes and to best position the leaves to suit your card. In this case, I was able to use the same tree branch three times, but by rotating it and placing the leaves in different spots for each of them, I was able to give my card a bit more personality. Finally, I heat-embossed a punny greeting from the set onto our Brilliant Banner 1 Dies which I had inked with a coordinating shade of Picked Raspberry distress ink to tie in with the pink cloud below.

Sunny Studio Blog: Tweetheart Birds on Tree Branches With Rainbow Clouds Valentine's Day Card using Love Birds Clear Stamps

Card No.2: Next up I paired two of those same adorable birds from the new Love Birds Stamps with our new Tree Branch Dies and the birdhouses from our A Bird's Life Stamps and Little Birdie Stamps. To create my cloud background, I used the coordinating cloud dies from our Plane Awesome Die set which I cut from masking material and then inked over using my favorite Jumbo Dauber. I then added the stitched edge along the bottom of my panel using that same Slimline Basic Border die.

To give my birdhouses the appearance they were hanging from the tree, I poked holes in my background panel and used a fat needle with some embroidery floss to string them on, taping the ends of the floss to the back of my panel before adhering the panel to my card base. I then was able to adhere my birdhouses onto my card and hide any holes. Before doing this though, I first adhered a 1" thick strip of red gingham patterned paper to the bottom of my card from our Classic Gingham Paper pack and layered a lacy scalloped edge from our Eyelet Lace Border Dies

Sunny Studio Blog: Love Is In The Air Birds on Tree Branch Red Gingham Scalloped Valentine's Day Card by Mendi Yoshikawa

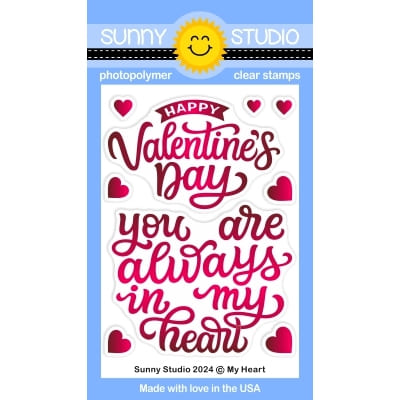
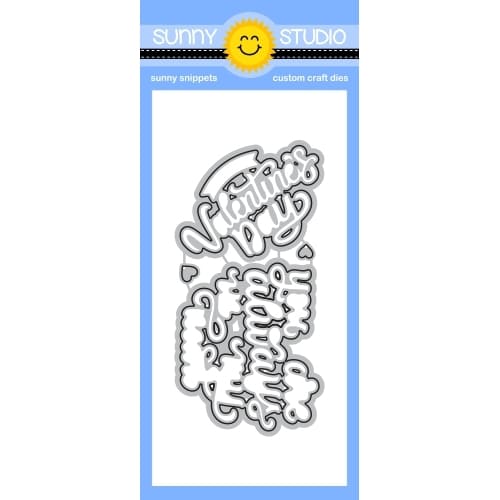
Card No.3: For my next card featuring the adorable Love Birds, I paired them with a greeting from our new My Heart Stamps (which won't be fully unveiled or available to purchase until next week). This greeting was designed to perfectly fit within our Stitched Heart 2 Dies and Scalloped Heart Dies.

In this case, I stamped the greeting first with dye ink, and then while it was still in my MISTI tool, I stamped it again with VersaMark Ink so I could sprinkle the greeting with a little bit of clear embossing powder. In this case, my dye ink wasn't matching my cardstock as well as I would have liked, and heat embossing it warmed up the tones just enough to make them match better. It also has the added bonus of lending a bit of shine and sparkle to my card in person. 

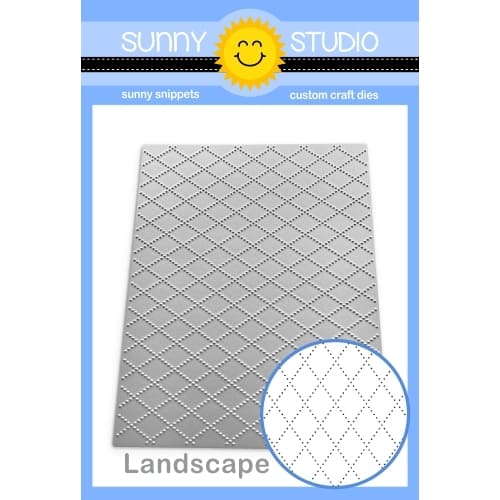
To complete my card, I pierced my background using our Dotted Diamond Landscape Die, added the new Tree Branch Die for my birdie to perch on, and our Pink Spinel Jewels to the center of each stamped flower blossom. It was a fairly quick and simple card to create, but I love how adding the little flowers with the jewels gave it just the touch of oomph it was missing.

Sunny Studio Blog: You Are Always In My Heart Birds with Tree Branch Valentine's Day Card using Love Birds 3x4 Clear Stamps

Card No.4: For my last Love Birds card of the day, I paired them with our larger Out On A Limb tree branch die which I thought was a better scale to match the new free Cherry Blossom die that will automatically come with all retail orders placed in our store starting today! I repeatedly cut the blossoms from white cardstock, inked them with Spun Sugar Distress Ink, and then accentuated the veining detail using my Copic Marker before adding the little center portion which I had also colored with my Copics over a piece of scratch paper. For my background, I inked it up using the same masks I had cut from our Fluffy Clouds Border Dies for my first card.

Sunny Studio Stamps Love Is In The Air Birds on Cherry Blossoms Tree Branch Spring Valentine's Day Card by Mendi Yoshikawa

Here's a closer look at the new Love Birds Stamps, Love Bird Dies, and Tree Branch Dies. While these are available in our store now, the rest of our Spring Release will be shared with our Sneak Peek Week starting on January 1st and available to purchase on January 5th. 


I hope you enjoy the rest of your day and will continue to check back each day this week to see more fun ideas using this cute set by the rest of the team. :)

Other Sunny Studio Supplies Used:

A Bird's Life Stamps
Shop at:
Sunny Studio
A Bird's Life Dies
A Bird's Life Dies
Shop at:
Sunny Studio
Tsukineko Jumbo Dauber
Shop at:
Sunny Studio
Versafine Onyx Black Ink
Shop at:
Sunny Studio

Plane Awesome Stamps
Shop at:
Sunny Studio
Plane Awesome Dies
Plane Awesome Dies
Shop at:
Sunny Studio
Fluffy Clouds Border Dies
Shop at:
Sunny Studio
Eyelet Lace Borders
Eyelet Lace Borders
Shop at:
Sunny Studio
Slimline Basic Borders
Shop at:
Sunny Studio
Little Birdie Stamps
Shop at:
Sunny Studio
Little Birdie Dies
Little Birdie Dies
Shop at:
Sunny Studio
Out on A Limb Dies
Out on A Limb Dies
Shop at:
Sunny Studio
Scalloped Heart Dies
Shop at:
Sunny Studio
Stitched Heart 2 Dies
Shop at:
Sunny Studio
Brilliant Banner 1 Dies
Shop at:
Sunny Studio
Dotted Diamond Landscape
Shop at:
Sunny Studio
My Heart Stamps
My Heart Stamps
Shop at:
Sunny Studio
My Heart Dies
My Heart Dies
Shop at:
Sunny Studio
Pink Spinel Jewels
Pink Spinel Jewels
Shop at:
Sunny Studio
Cornflower Blue Jewels
Shop at:
Sunny Studio
Classic Gingham 6x6 Paper
Shop at:
Sunny Studio
Hero Arts Ultra Fine Clear
Shop at:
Sunny Studio
Hero Arts White Detail
Shop at:
Sunny Studio
VersaMark Watermark Ink
Shop at:
Sunny Studio

Wednesday, July 1, 2020

Stitched Semi-Circle Focused Cards with Tammy and Ana

Hi friends, Tammy here. Since it's July 1st, I thought a Christmas in July card would be a fun way to kick off the month. My card today is featuring the Stitched Semi-Circle Diespaired with the darling flamingos from Fabulous FlamingosThese cuties are ready to spread some holiday cheer, tropical style!

Sunny Studio Stamps: Stitched Semi-Circle Dies Fabulous Flamingos Catch A Wave Dies Tropical Scenes Christmas Card by Tammy Stark

To begin, I cut white cardstock to a 5 1/2" square. using the largest die from the Stitched Semi-Circle DiesI cut out a window. Next, I ink blended a piece of Bristol cardstock with Abandoned Coral and Squeezed Lemonade Distress Oxide inks. Using the Catch A Wave DiesI cut a wave border and ink blended it with Peacock Feathers for a nice, bright water line. I then cut a sandy border, using the Woodland Borders Dieand ink blended it with Antiqued Linen and Vintage Photo Distress oxide inks. Using a paintbrush, I flicked some thinned down brown paint onto my sand to create some interest.

I stamped, colored with Copic markers, and die cut images from the following sets: Fabulous FlamingosCoordinating Dies, Merry MiceCoordinating Dies, Tropical ScenesCoordinating Dies.

Copic Colors used - Flamingos: R22, R20, R30, R00, Y38, Y35; Pineapples: YR24, Y35, Y15, Y11, YG17, YG03, YG01; Santa Hats: R22, R24, R29, R39, W0; Palm Trees: YG67, YG17, YG03, YG01, E40, E42, E44

Sunny Studio Stamps: Stitched Semi-Circle Dies Fabulous Flamingos Catch A Wave Dies Tropical Scenes Christmas Card by Tammy Stark

Using foam tape, I attached the white stitched panel over my inked background. I arranged the stamped images onto my card, attaching some with foam tape for dimension.

To complete my card, I stamped my sentiment (combining Fabulous Flamingos and Merry Mice) onto a black cardstock strip and heat embossed with white embossing powder. Finally, I attached my card front to a 5 1/2" square white card base.

Thanks so much for stopping by! I hope you enjoyed my tropical Christmas in July card! See you next time.

----------------------------------------------------------

Hello friends! It’s Ana today with a fun card showcasing Stitched Semi Circle diesSavanna Safari stamps and dies as well as some beautiful patterned papers! I wanted to create a safari scene but change up the colors a bit. Savannas get really green at certain times of the year so I thought some greens and yellows would look super cute and bright!

Sunny Studio Stamps: Stitched Semi-Circle Dies Savanna Safari Frilly Frame Dies Eyelet Lace Border Dies Everyday Card by Ana Anderson

I chose papers from Spring Fling paper pack and started working on the background. I used stitched rectangle mat die (from Frilly Frames Retro Petals dies) to cut out the green background piece. I used the same die and partially die cut the yellow piece creating a square. Out of leftover green grass paper I die cut a lace border with Eyelet Lace Border dies.

Next, I used the second largest Stitched Semi Circle die and die cut the sunrise patterned paper and stamped the trees (from Savanna Safari) on the scene using olive green ink. I stamped the critters with Memento Tuxedo black ink, colored them with Copic markers and cut them with coordinating dies. Little bird and a flower are from A Bird’s Life stamp set.

Sunny Studio Stamps: Stitched Semi-Circle Dies Savanna Safari Frilly Frame Dies Eyelet Lace Border Dies Everyday Card by Ana Anderson

I assembled the card by adhering the patterned papers with glue tape then popped the stitched semi-circle and the critters with foam tape and stamped the sentiment with black ink. I added some fun interest to the design with yellow confetti from Rainbow Dot Confetti pack and my card was finished.

I really hope you like this sweet card and got inspired to create some scenes with patterned papers and dies! Thank you so much for spending time with us today and I hope you have a wonderful rest of your week!

Sunny Studio Supplies Used:

A Bird's Life Stamps
Shop at:
Sunny Studio
A Bird's Life Dies
A Bird's Life Dies
Shop at:
Sunny Studio
Woodland Borders Dies
Shop at:
Sunny Studio
Catch A Wave Dies
Catch A Wave Dies
Shop at:
Sunny Studio
Fabulous Flamingos Stamps
Shop at:
Sunny Studio
Fabulous Flamingos Dies
Shop at:
Sunny Studio
Frilly Frames Retro Petals Dies
Shop at:
Sunny Studio
Merry Mice Stamps
Merry Mice Stamps
Shop at:
Sunny Studio
Merry Mice Dies
Merry Mice Dies
Shop at:
Sunny Studio
Eyelet Lace Borders
Eyelet Lace Borders
Shop at:
Sunny Studio
Spring Fling Paper
Spring Fling Paper
Shop at:
Sunny Studio
Savanna Safari Stamps
Shop at:
Sunny Studio
Savanna Safari Dies
Savanna Safari Dies
Shop at:
Sunny Studio
Tropical Scenes Stamps
Shop at:
Sunny Studio
Tropical Scenes Dies
Shop at:
Sunny Studio
Stitched Semi-Circle Dies
Shop at:
Sunny Studio

Wednesday, April 15, 2020

Fabulous Flamingos and Backyard Bugs Cards with Franci and Ana

Hi there! Franci here with you today with a flamazing project! Aww these flamingos from the Fabulous Flamingos set are so adorable!! 

Sunny Studio Stamps: Fabulous Flamingos Frilly Frame Dies Everyday Card by Franci Vignoli

I started by stamping, coloring and die cutting them, then I added some details with a white gel pen. I also die cut my panel out of white cardstock using the Frilly Frames Stripes set and create a coordinated card base out of light blue cardstock.

Then I inked a piece of white cardstock with Twisted Citron and Mermaid Lagoon Distress Inks, I blended them together nicely, let them dry completely and stamped all the leaves and flowers on top, with a darker green ink, to create this fun and soft patterned look. I die cut a circle window out of my panel and backed it up with the background I just created.

Sunny Studio Stamps: Fabulous Flamingos Frilly Frame Dies Everyday Card by Franci Vignoli

Finally I stamped my sentiment at the bottom, glued down my critters with foam adhesive, added a little confetti heart at the top and mounted my decorated panel onto my light blue card.

Can't wait to mail this card and make someone smile!! Hope you like it and thank you so much for stopping by today!

-------------------------------------------------------

Hi crafties and welcome back! Ana here today with a spring themed card featuring Backyard Bugs stamps and diesEyelet Lace Border dies and Sunburst embossing folder.

Sunny Studio Stamps: Backyard Bugs Eyelet Lace Border Dies Sunny Sentiments Everyday Card by Ana Anderson

I started by stamping the images from Backyard Bugs, and clouds and the sun from Sunny Sentiments (sun/large cloud) and Rain or Shine (smaller cloud) with Copic friendly ink. I colored them with Copic markers and cut them with coordinating dies.

I used grassy edges die (from Sunny Sentiments dies) to die cut green patterned paper (from Gingham Pastels paper pack) for the grass. To create the sunburst, I embossed top part of the panel, making sure the sun is to the top. I adhered the grass about halfway on the background then added the images.

Sunny Studio Stamps: Backyard Bugs Eyelet Lace Border Dies Sunny Sentiments Everyday Card by Ana Anderson

Using VersaFine Onyx Black ink I stamped the sentiment (from Backyard Bugs set) then added a Eyelet Lace Border that I die cut out of red cardstock. I popped the finished panel with craft foam and adhered it to the card base.

Thank you so much for stopping by today! I hope you have a wonderful rest of your week!


Sunny Studio Supplies Used:

Backyard Bugs Dies
Backyard Bugs Dies
Shop at:
Sunny Studio
Backyard Bugs Stamps
Shop at:
Sunny Studio
Rain or Shine Dies
Rain or Shine Dies
Shop at:
Sunny Studio
Rain or Shine Stamps
Shop at:
Sunny Studio
Sunny Sentiments Dies
Shop at:
Sunny Studio
Sunny Sentiments Stamps
Shop at:
Sunny Studio
Gingham Pastels 6x6 Paper
Shop at:
Sunny Studio
Sunburst Embossing
Sunburst Embossing
Shop at:
Sunny Studio
Frilly Frames Stripes Die
Shop at:
Sunny Studio
Fabulous Flamingos Stamps
Shop at:
Sunny Studio
Fabulous Flamingos Dies
Shop at:
Sunny Studio
Eyelet Lace Borders
Eyelet Lace Borders
Shop at:
Sunny Studio