Showing posts with label Icing Border Dies. Show all posts

Monday, November 10, 2025

Gingerbread House Holiday Cards & Gift Boxes with Mendi

Hello and welcome! This is Mendi, popping in to share some shaped Christmas cards featuring our Gingerbread House Dies

Sunny Studio Stamps Gingerbread House Holiday Christmas Cards & Gift Boxes using Sweet Treat & Icing Border Metal Craft Dies

These fun cards measure 4-3/8" wide x 4" high. Several of the elements, like the roof, scalloped trim, the body of the house, and the foundation, all cut out in one pass, so I figured to keep pieces from going to waste, I would cut them out of kraft, red, and pink cardstock and then mix & match the pieces. I also sat and cut many of the decorative elements from small leftover scraps of white cardstock and then colored them with distress inks or Copic markers over a glass mat that was easy to clean up afterward. This allowed me to choose colors as I was assembling them and to give the shapes more shading and highlights, like I did for the gumdrops and doors that all started out as white cardstock. This was my first time using the dies this way, and I love how the woodgrain of the door was accentuated with the distress inks. It also meant I didn't have many leftover pieces since the door and the frame cut out together, and I wanted the door frame to be white to match the windows.

For my first card, I crafted a pink house using the Gingerbread House Dies, with a wreath and bow added from the Sweet Treat House Add-on Dies and loopy trim from the Icing Border Dies. The cute little gingerbread man and girl from our Christmas Cookies Stamps and Baking Spirits Bright Stamps perfectly complement these houses.

Sunny Studio Stamps Pink Gingerbread House Holiday Card using Christmas Cookies & Baking Spirits Bright Stamps & Craft Dies

Next, I have a more traditionally colored Gingerbread House. This time, I colored the candy decorations in a rainbow of colors using my Copic Markers and accents with a white gel pen. My candy canes started out as solid white. I could have cut another one from red and pieced them together entirely from cardstock, but I found it much quicker to just use the embossed stripes to trace and fill them in with my markers to match. I also utilized some different windows from the die set for this particular card.

Sunny Studio Stamps Rainbow Gingerbread House Holiday Christmas Card using Sweet Treat House Add-on Metal Cutting Craft Dies

My last Gingerbread House card uses many of the same elements as the others, with the wreath from the Sweet Treat House Add-on Dies. However, this time, instead of adding decorative elements along the scalloped trim of the house, I adhered rows of scallops to the roof using the Icing Border Dies. This versatile die set comes with a third adorable border that I didn't get around to using today, but also complements the gingerbread houses so well.

Sunny Studio Stamps Red & Pink Gingerbread House Holiday Christmas Card using Sweet Treat House Add-on & Icing Border Dies

Before I go, I wanted to share how easy it is to turn your shaped cards into shaped holiday gift boxes instead by cutting two of the outer house base shapes and adhering them together on either side with some scored cardstock. Isn't it so cute?! This is the perfect way to dress up a gift card or give small gifts like jewelry, soaps, and candy.

Sunny Studio Stamps Red & Pink Gingerbread House Holiday Christmas Gift Box using Sweet Treat House Add-on & Icing Border Die

To take some of the guesswork out of measuring, I created a custom SVG cut file for use with a Silhouette or Cricut machine to make boxes of your own. It has been sized just right to work with our Gingerbread House dies, which you can download HERE. This is a visual example of a couple of cutouts illustrating where to score using a scoring board. To download the cut file from the Dropbox link, click "file" at the top left corner of the screen and select "download" from the dropdown menu (or click the downward arrow button at the top right).

Free SVG Cut file to turn Sunny Studio Stamps Gingerbread House Cutting Craft Dies into Christmas Holiday Treat Box Gift Bag

That wraps up my projects for today. I would love to hear which of the three designs is your favorite. I can't personally choose. I love them all, and I had so much fun creating them! Of course, these are just a few of the ways these houses can be decorated. You are only limited by your imagination and I can't wait to see how YOU use them!🩷

Don't forget to check out the Gingerbread House Dies and Sweet Treat House Add-on Dies in our online shop, which are currently on sale!

Also, please check out all the card ideas using these sets on each of their product pages. I always upload tons of card ideas following the product image, so there are lots of ideas to scroll through, organized by set.

Supplies Used:

Gingerbread House Dies
Shop at:
Sunny Studio
Icing Border DIes
Icing Border DIes
Shop at:
Sunny Studio
Sweet Treats House Add-on
Shop at:
Sunny Studio
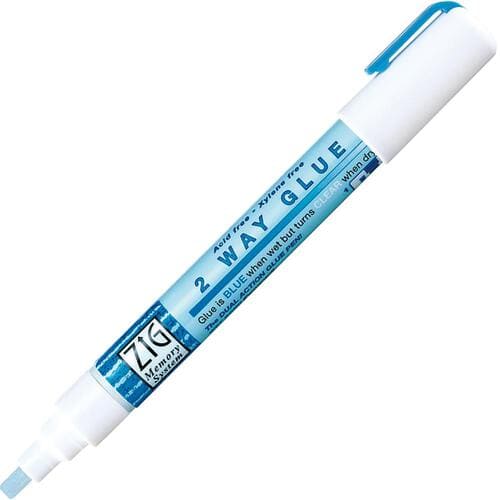
Zig Chisel Tip Glue Pen
Shop at:
Sunny Studio
Christmas Cookies Stamps
Shop at:
Sunny Studio
Christmas Cookies Dies
Shop at:
Sunny Studio
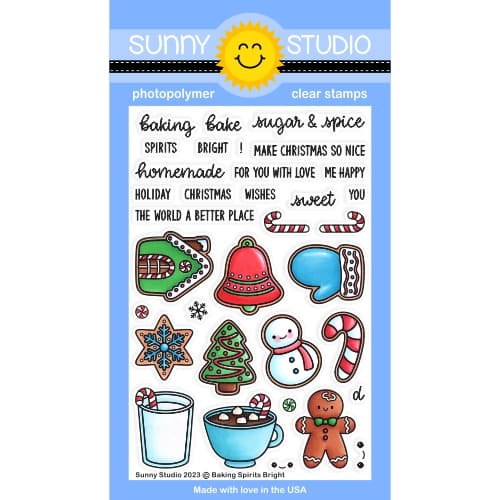
Baking Spirits Bright Stamps
Shop at:
Sunny Studio
Baking Spirits Bright Dies
Shop at:
Sunny Studio

Friday, April 11, 2025

Balloon Numbers Card with Nicky

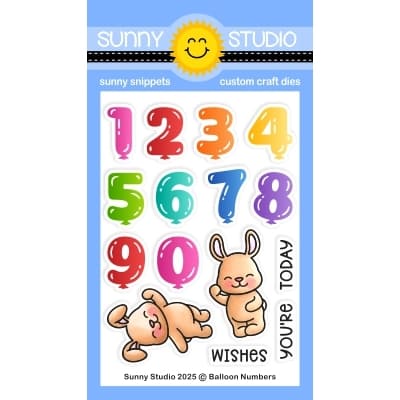
Happy Friday friends! This is Nicky with you today on the Sunny Studio Stamps blog and I'm sharing a new birthday card created using the Balloon Numbers stamps and coordinating dies. Please read on for all the details.

Sunny Studio Stamps: Balloon Numbers Focused Birthday Card by Nicky Meek (featuring Icing Border Dies, Tulip Path Background, Comic Strip Everyday Dies)

To create this card I first ink blended an A2 white panel of cardstock using Worn Lipstick, Dried Marigold, Bundled Sage and Crushed Olive Distress Oxide Inks. I spattered on some water and blotted it up to distress the background and then dotted in a little toning colour interest too.

I framed this panel out with a white die cut created using the Comic Strip Everyday Die (I snipped out the vertical and horizontal pieces). The frame was backed with foam tape and applied and I glued this to my card base. I then used the Icing Border Dies to create the two swirly edges which I glued in place.

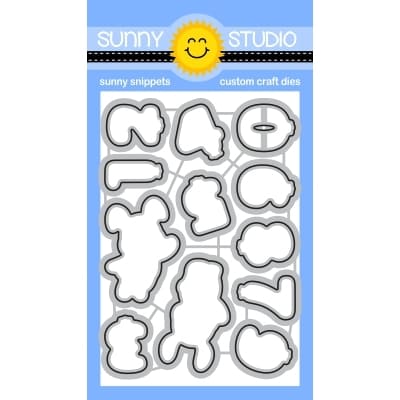
I stamped the number 17 using the Balloon Numbers stamp set and Fire Coral Ink by MFT. I restamped the image using Versamark Ink and heat embossed in clear so that the balloon numbers were glossy. You'll need a Misti to repeat stamp accurately. I die cut the numbers using the coordinating dies.

I then stamped the bunnies, butterflies and clouds from Tulip Path Background Stamp and I coloured with the following Copic markers:

Bunnies - E44, E31, E41, E40, R22, R21, R20, R00
Butterflies - BG1, BG10
Clouds - RV10, R000

Sunny Studio Stamps: Balloon Numbers Focused Birthday Card by Nicky Meek (featuring Icing Border Dies, Tulip Path Background, Comic Strip Everyday Dies)

I die cut using the coordinating dies, backed each element with dimensional foam tape and applied to the scene along with the balloons. I used a metallic gel pen and a ruler to draw in the balloon strings.

For a few finishing touches I stamped in a few tufts of grass and used a couple of green Copic markers to add some shade under the bunnies and I stamped the other words on white sentiment strips and applied them together with a few sparkling clear sequins.

Enjoy your weekend, I hope you can squeeze in some cardmaking time!

Sunny Studio Supplies Used: 

Icing Border DIes
Icing Border DIes
Shop at:
Sunny Studio
Comic Strip Everyday Dies
Shop at:
Sunny Studio
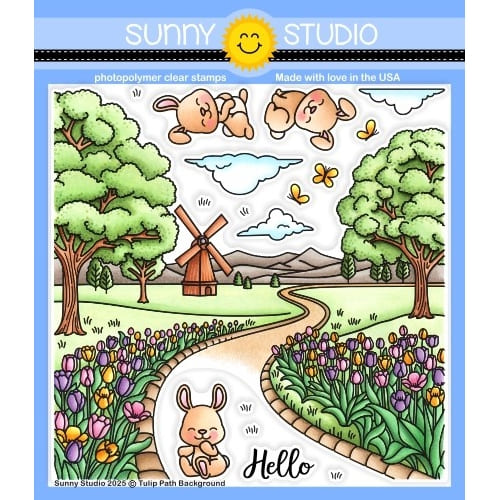
Tulip Path Background Stamps
Shop at:
Sunny Studio
Tulip Path Background Dies
Shop at:
Sunny Studio
Balloon Numbers Stamps
Shop at:
Sunny Studio
Balloon Numbers Dies
Shop at:
Sunny Studio

Monday, December 30, 2024

Window Trio Heart Die Focused Garden Critters Card with Leanne

Hello everyone! Leanne here to share a clean and simple Valentine's card featuring the Window Trio Heart Landscape die

Sunny Studio Stamps: Window Trio Heart Die Focused Valentine's Day Card by Leanne West (featuring Garden Critters, Icing Border Dies, Brilliant Banner Dies)

I used the landscape version of this die and the inlay technique to create a heart filled panel that measures 4"x 5.25".  I adhered the panel to a light pink A2 size mat. I then filled each window with different shades of pink hearts die cut using the same Window Trio Heart Landscape die

Other Sunny Studio supplies used to create this card are listed below:

Icing Border dies - For the decorative wavy lines added above and below the hearts. 

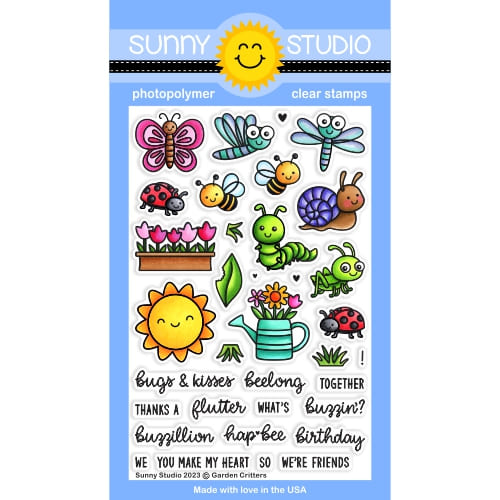
Garden Critter stamp set and coordinating dies - For the butterflies and sentiment. 

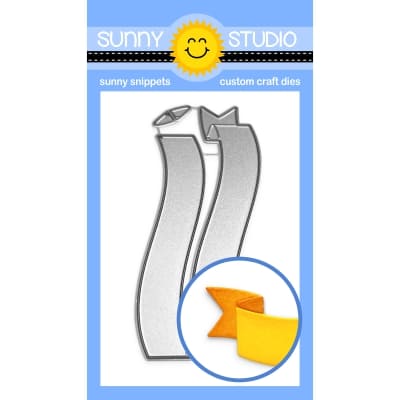
Brilliant Banner 3 die -  For the die cut banner where I stamped the sentiment.

Sunny Studio Stamps: Window Trio Heart Die Focused Valentine's Day Card by Leanne West (featuring Garden Critters, Icing Border Dies, Brilliant Banner Dies)

I used some warm grey Copic markers to add light shading to the banner. I colored the butterflies with R00, R20, R22, RV55, W1, & W3. 

For this simple design, the banner and butterflies can be placed anywhere on the card. I decided wanted a centrally balanced focal point and adhered them with foam squares right in the middle. To finish the design, I added a few sparkling clear sequins. 

Sunny Studio Supplies Used:

Icing Border DIes
Icing Border DIes
Shop at:
Sunny Studio
Garden Critters Stamps
Shop at:
Sunny Studio
Garden Critters Dies
Shop at:
Sunny Studio
Brilliant Banner 3 Dies
Shop at:
Sunny Studio
Window Trio Heart Landscape
Shop at:
Sunny Studio

Saturday, September 9, 2023

Guest Designer Spotlight: Cards with Tina Smith

Cool down this summer with some wintery holiday hugs! Hello Crafty Friends, my name is Tina Smith and I am super excited to be joining Sunny Studio this month as a Guest Designer on their Blog celebrating their amazing Fall/Holiday Release. 

Sunny Studio Stamps: Holiday Hugs and Woolen Mittens Holiday Cards and Tags by Tina Smith

Today I get the pleasure of creating with the Woolen Mitten Die set and the Holiday Hugs Stamps. I created a tag with a treat, a heartwarming A2 card, and a snowflake-filled mitten-shaped card.   

Sunny Studio Stamps: Holiday Hugs Holiday Card by Tina Smith (featuring Icing Border Dies, Stitched Arch Dies)

For my first project, I created an A2 card with the adorable Holiday Hugs Stamp set along with the Coordinating Holiday Hugs Die Set. I love that you can die-cut the arms of the bear and tuck lots of cute images in them. I colored my bear & present with Copic markers and used the Sunny Studio Stitched Arch Die set to place him on. I ink-blended the arch and my card base with inks and added a fun border frame using the Sunny Studios Icing Borders Die Set.   

Sunny Studio Stamps: Woolen Mittens Holiday Tag by Tina Smith

For my second project, I created a shaped card with the Woolen Mittens Die Set. I embossed a mitten panel for the front with the Quilted Hearts Embossing Folder and ink blended the edges & cuff filling in the mitten with stitched details and snowflakes. I created a tag with the Stitched Arch Die set and stamped my greeting from the Holiday Hugs Stamp set. I embellished the top right of the mitten with die-cut holly and buttons adding color by inking the edges, I threaded the buttons and created a bow with twine and ribbon. 

Sunny Studio Stamps: Holiday Hugs Holiday Card by Tina Smith (featuring Icing Border Dies, Stitched Arch Dies)

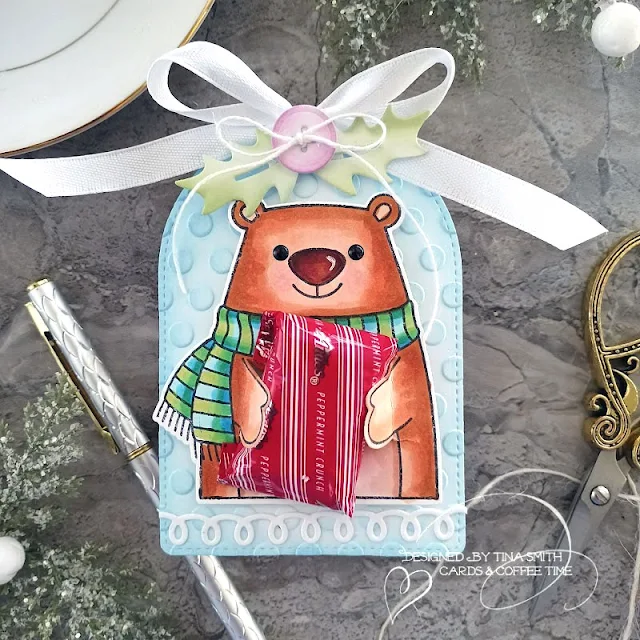
For my final project, I created a fun tag with a treat. I used the Holiday Hugs Stamp, coloring the cute bear with Copic markers. I created a tag with the Stitched Arch Die set, embossing it with the Lots of Dots Embossing Folder and inking the edges. I placed a swirl border at the bottom of the tag using the Icing Borders Die set. I adorned my tag with a button and holly from the Woolen Mitten Die Set and some white ribbon. A small candy will fit perfectly in the arm of the bear, I suggest a miniature chocolate to make your tags extra sweet this Holiday Season!  


Thanks so much for stopping by! If you would like to see the step-by-step tutorial on how I created the projects above you watch the video above or you can check it out on my YouTube Channel, Just Click HERE. Have a Lovely Day!

Sunny Studio Supplies Used:

Icing Border DIes
Icing Border DIes
Shop at:
Sunny Studio
Quilted Hearts Embossing
Shop at:
Sunny Studio
Stitched Arch Dies
Stitched Arch Dies
Shop at:
Sunny Studio
Woolen Mitten Dies
Woolen Mitten Dies
Shop at:
Sunny Studio
Holiday Hugs Stamps
Holiday Hugs Stamps
Shop at:
Sunny Studio
Holiday Hugs Dies
Holiday Hugs Dies
Shop at:
Sunny Studio

Saturday, June 10, 2023

Guest Designer Spotlight: Scrumptious Cupcake Card with Leanne West

Hello everyone, Leanne West here with you! Can you believe it's almost summer? There are lots of summer birthdays in my family so I always like to restock my stash of birthday cards in June. I came up with a birthday card design using the fun images from Scrupmtious Cupcakes which I can duplicate easily. It's a mini slimline card which measures 6.25" long by 3.5" wide.  

Sunny Studio Stamps: Scrumptious Cupcakes Birthday Card by Leanne West (featuring Icing Border Dies, Inside Greetings)

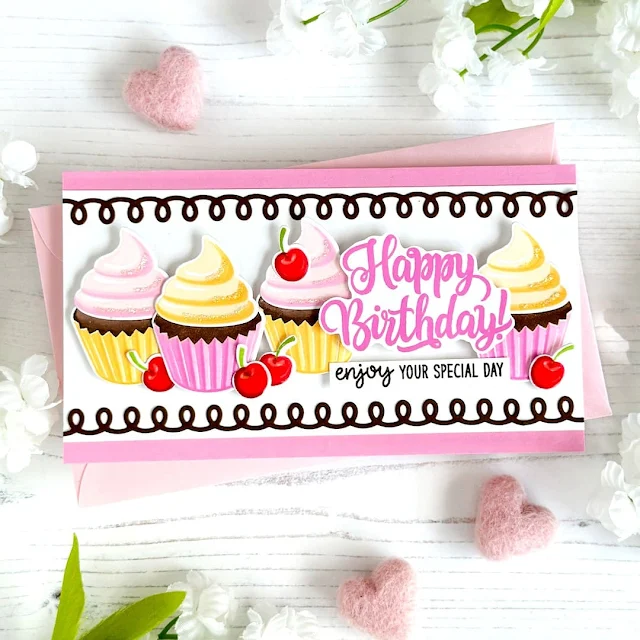
For this sample, I have chosen pink as the primary color with yellow, chocolate brown, and red as the accent colors. I plan on making many more but change the pink out for other colors like aqua blue, lavender, or mint green. I figure I can use the recipients favorite color. Each card will have a row of four cupcakes, some cherries, and the Happy Birthday greeting across the length of the card. I've used one of the Icing Border dies to frame in this row. Even though the die only cuts a 5.5" long border piece, I was able to glue two together seamlessly to cover the full length of my mini slimline card.

Sunny Studio Stamps: Scrumptious Cupcakes Birthday Card by Leanne West (featuring Icing Border Dies, Inside Greetings)

To kick this card design up a notch, I've highlighted the swirls of cupcake icing with some Stickles Glitter Glue. Stickles is always such easy way to give anything a touch of sparkle. I've added Glossy Accents over the cherries to make them really shiny and fresh looking. And lastly I decided to add an additional sentiment below the big Happy Birthday greeting. You would't have to do this but I felt it balanced the design out nicely. This sentiment comes from the Inside Greetings Birthday stamp set.  

Ink colors used for stamping: Altenew Crisp Dye Ink - Baby Pink, Fuchsia, Buttercream, Warm Sunshine, Fresh Leaf, Pink Pearl, Coral Bliss, Heart Beat; brown ink color is Catherine Pooler Icing On the Cake

Sunny Studio Supplies Used:

Icing Border DIes
Icing Border DIes
Shop at:
Sunny Studio
Inside Greetings Birthday
Shop at:
Sunny Studio
Scrumptious Cupcakes Stamps
Shop at:
Sunny Studio
Scrumptious Cupcakes Dies
Shop at:
Sunny Studio

Sunday, April 30, 2023

Special Day Card with Cathy

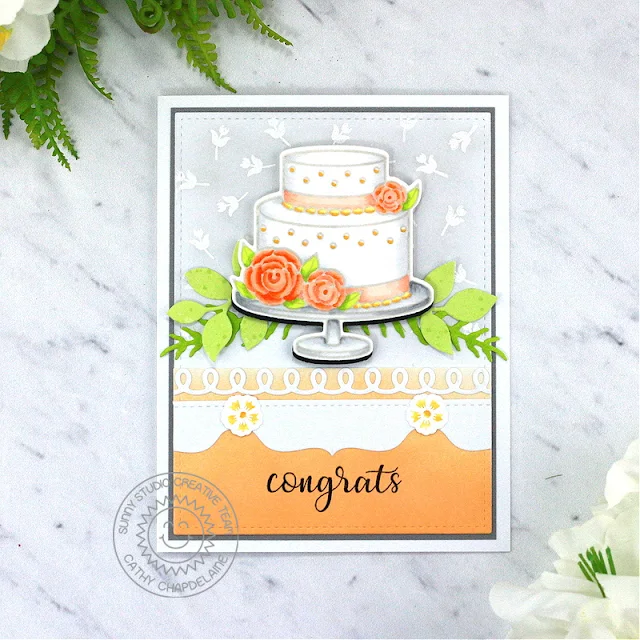
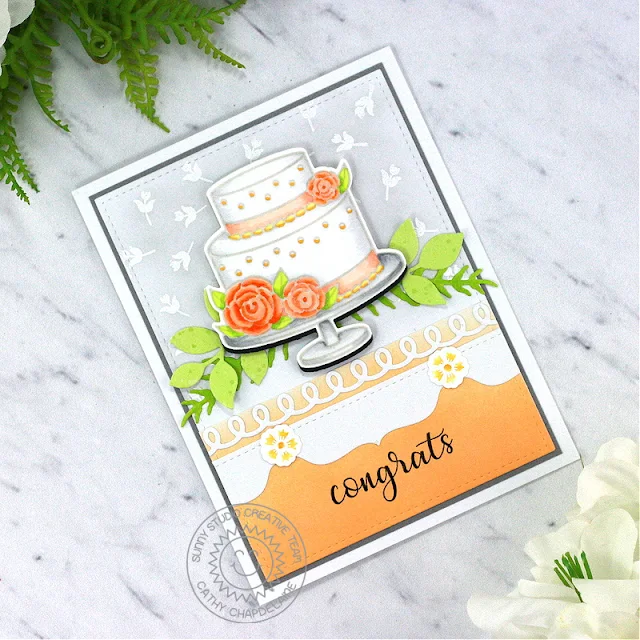
Hey friends! Cathy here today sharing a card featuring this gorgeous cake from the Special Day Stamps! I love a peachy orange/lime green color scheme as the weather gets warmer and I think this would make for a perfect summer wedding congrats card.

Sunny Studio Stamps: Special Day Wedding Card by Cathy Chapdelaine (featuring Icing Border Dies, Spring Greenery, Stitched Rectangle Dies)

I started this card by die-cutting a piece of white cardstock using the largest Stitched Rectangles Die. On the top half of the piece, I stamped a small rose from the Everything’s Rosy Stamps multiple times in Versamark ink and heat embossed them with white embossing powder. I then lightly inked over the roses with Lost Shadow Distress ink.

Next, I die-cut a second piece of white cardstock with the same Stitched Rectangle Die, cut it straight across at 2” and inked it in a gradient from light to dark using Dried Marigold Distress ink. I heat embossed the “congrats” sentiment from the Everything’s Rosy Stamps with black embossing powder 1/2" from the bottom of the cardstock.

Sunny Studio Stamps: Special Day Wedding Card by Cathy Chapdelaine (featuring Icing Border Dies, Spring Greenery, Stitched Rectangle Dies)

For a little extra fanciness, I die-cut an Icing Border Die from white cardstock, adhered it at the top of the Dried Marigold piece and trimmed the excess from the right and left edges. I also die-cut 3 tabs from the Notebook Tabs Dies from white cardstock, adhered one centered on the Dried Marigold piece below the Icing Border and adhered the other 2 tabs to each side, trimming the excess from the edges. To cover where the tabs meet, I stamped a flower from the Fabulous Flamingos Stamps twice on white cardstock using Versamark ink and heat embossed them with white embossing powder. I then used a water brush and painted the inside of the flowers using yellow and orange inks. I die-cut the flowers using the coordinating dies and adhered them where the tabs meet. I adhered the Dried Marigold piece to the bottom of the Stitched Rectangle die-cut, matted the piece on silver cardstock and adhered it to an A2 card base.

Sunny Studio Stamps: Special Day Wedding Card by Cathy Chapdelaine (featuring Icing Border Dies, Spring Greenery, Stitched Rectangle Dies)

Next, I inked 2 pieces of white cardstock (one with Twisted Citron Distress ink and one with Mowed Lawn Distress ink) and die-cut leaves using the Spring Greenery Dies. I adhered these above the Dried Marigold piece. To keep a light and airy feel to the card, I stamped the cake from the Special Day Stamps in light gray ink on Neenah Classic Crest 80lb solar white cardstock, colored it with Copics and die-cut it using the coordinating dies. To make the cake stand out a bit more and balance the black sentiment, I die-cut a piece of black cardstock with the coordinating cake die, cut the top portion of the cake off leaving just the cake stand portion and adhered the colored cake slightly overlapping the black die-cut. I then adhered the cake over the leaves with foam tape.

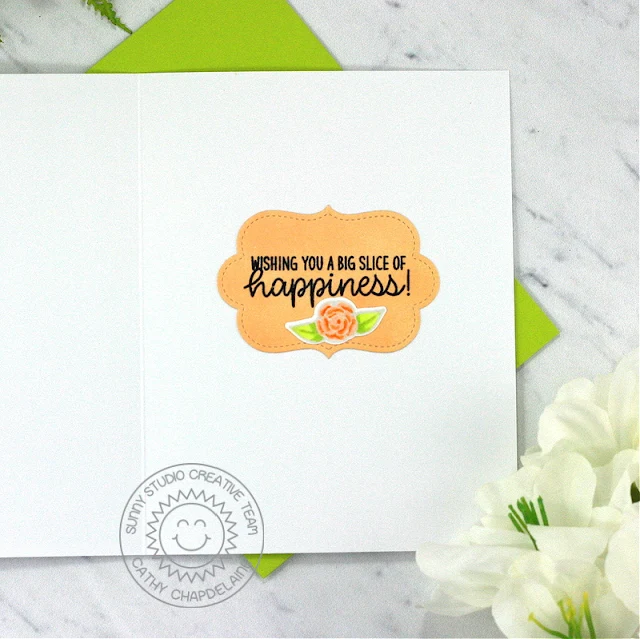
Sunny Studio Stamps: Special Day Wedding Card by Cathy Chapdelaine (featuring Icing Border Dies, Spring Greenery, Stitched Rectangle Dies)

On the inside of the card, I heat embossed the sentiment from the Special Day Stamps with black embossing powder on white cardstock and die-cut it using a label die from the Sliding Window Dies. I then inked the die-cut with Dried Marigold Distress ink. I stamped a rose from the Special Day Stamps in light gray ink, colored it with Copics and die-cut it using the coordinating dies.

I hope you enjoyed and thanks for stopping by! For more inspiration, please visit my blog www.inkredibleadventures.com and you can also find me on Instagram as @cathy.chapdelaine.

Sunny Studio Supplies Used:

Stitched Rectangle Dies
Shop at:
Sunny Studio
Icing Border DIes
Icing Border DIes
Shop at:
Sunny Studio
Sliding Window Dies
Sliding Window Dies
Shop at:
Sunny Studio
Everything's Rosy Stamps
Shop at:
Sunny Studio
Fabulous Flamingos Stamps
Shop at:
Sunny Studio
Spring Greenery Dies
Shop at:
Sunny Studio
Notebook Tabs Dies
Notebook Tabs Dies
Shop at:
Sunny Studio
Special Day Stamps
Special Day Stamps
Shop at:
Sunny Studio
Special Day Dies
Special Day Dies
Shop at:
Sunny Studio