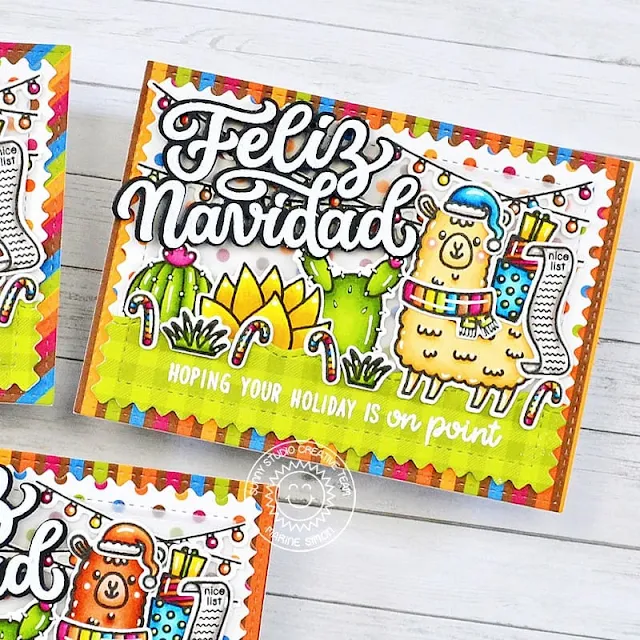
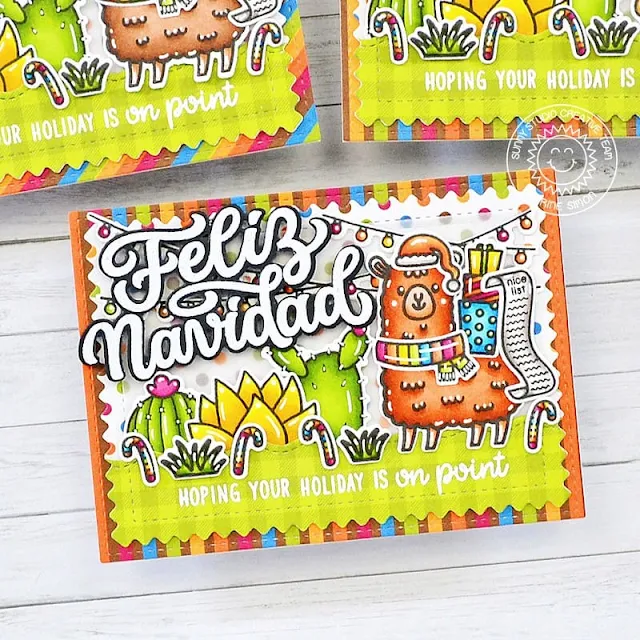
Hello crafty friends, Marine here with you today, I'm thrilled to be back on the blog with this new trio of mini holiday cards showcasing a mix and match of images from different sets (listed down below), as well as the Feliz Navidad stamp set.
As you can see I went for a non-traditional color palette, and was actually inspired by Critter Country pattern papers to build and color my three Christmas cards. And speaking of which, I started off by cutting all my papers:
- three stripe
panels using the second rectangle die from Stitched Rectangles
- three polka
dot panels using a die from Mini Mat & Tag 4
- three gingham
green panels using the same die from Mini Mat & Tag 4 again, and from each of those panels, I cut three wavy
borders using a die from my stash
- three vellum
panels using the smallest rectangle die from Stitched Rectangles
I white heat embossed a greeting on each gingham green wavy border: the words "Hoping your... is" and "on point" from Looking Sharp, and the word "holiday" from Santa Claus Lane, in order to read "Hoping your holiday is on point".
I followed the same order to layer my panels and used liquid glue to attach them on top of each other: a stripe panel on a card base, next a polka dot panel on top, then a vellum panel (I put the glue only at the bottom of it), and finally a gingham green wavy border. I set my card bases aside, and moved on to the stamping.
I stamped all my images on 80lb Neenah solar white cardstock using an alcohol marker friendly black ink, cut them all using the coordinating dies, and colored everything using my Graph'it brush markers and Spectrum Noir Illustrator markers. And as I was saying, I followed the same color palette as the pattern papers to color my images. Here is a detailed list of the sets I used:
- Lovable Llama: llamas, presents
- Looking Sharp: cactus
- Scene Route: lights
- Reindeer Games: hats
- North Pole: nice list
- Penguin Pals: candy canes
- Garden Critters: grass
- Merry Mice: scarves
Once everything was colored, I attached the images on my panels: the lights and cactus using liquid glue, and the others using 1mm foam squares. Next I white heat embossed three Feliz Navidad greetings on black cardstock, used the matching die to cut all three, and then attached them on my cards using 1mm foam squares again. And as always I finished my cards by adding highlights and details to the images using a white gel pen.
And that's it! I hope you like those three non traditional but yet super adorable and fun mini Christmas cards. Thanks so much for stopping by, and see you next time.
Sunny Studio Supplies Used:
 Looking Sharp Stamps Shop at: Sunny Studio |
 Looking Sharp Dies Shop at: Sunny Studio |
 Stitched Rectangle Dies Shop at: Sunny Studio |
 Merry Mice Stamps Shop at: Sunny Studio |
 Merry Mice Dies Shop at: Sunny Studio |
 Scenic Route Stamps Shop at: Sunny Studio |
 Scenic Route Dies Shop at: Sunny Studio |
 North Pole Stamps Shop at: Sunny Studio |
 North Pole Dies Shop at: Sunny Studio | |
 Penguin Pals Stamps Shop at: Sunny Studio |
 Penguin Pals Dies Shop at: Sunny Studio |
 Lovable Llama Stamps Shop at: Sunny Studio |
 Lovable Llama Dies Shop at: Sunny Studio | |
 Reindeer Games Stamps Shop at: Sunny Studio |
 Reindeer Games Dies Shop at: Sunny Studio |
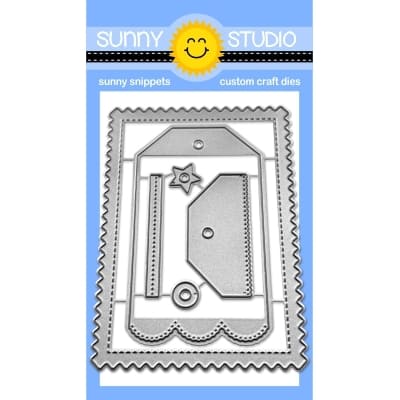 Mini Mat & Tag 4 Dies Shop at: Sunny Studio |
 Critter Country Paper Shop at: Sunny Studio | |
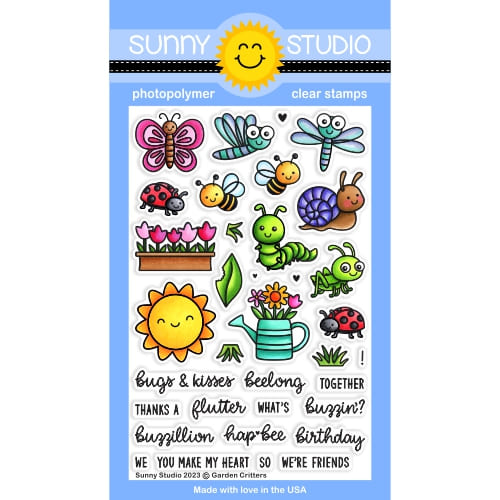 Garden Critters Stamps Shop at: Sunny Studio |
 Garden Critters Dies Shop at: Sunny Studio |
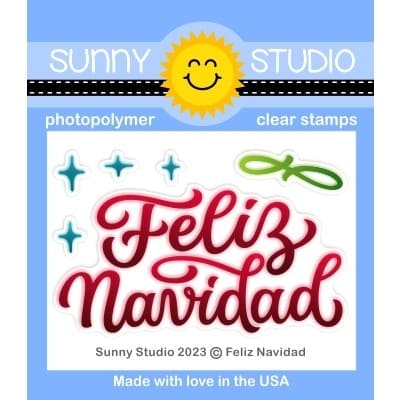 Feliz Navidad Stamps Shop at: Sunny Studio |
 Feliz Navidad Die Shop at: Sunny Studio | |


