Showing posts with label Build-a-Greeting Holidays. Show all posts

Saturday, November 14, 2026

Build-a-Greeting Holiday Cards with Jarle

Hi friends! Jarle here. I’m back with another project for Sunny Studio Stamps. This time, I am featuring the Build-A-Greeting Holidays stamp set.

Sunny Studio Stamps: Build-A-Greetings Holidays & Snowmen In Sweaters Cards by Jarle Franceus (featuring Rounded Rectangle Mat Dies, Rounded Rectangle Window Dies)

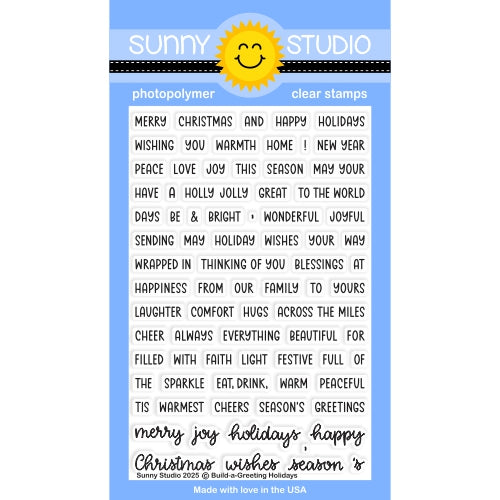
I probably used this set in just about every Christmas card I made this year. It is PACKED with lots of sentiments. Mendi (the owner of Sunny Studio Stamps) made a downloadable overview of all the sentiments you can build with this set. You can find it here.

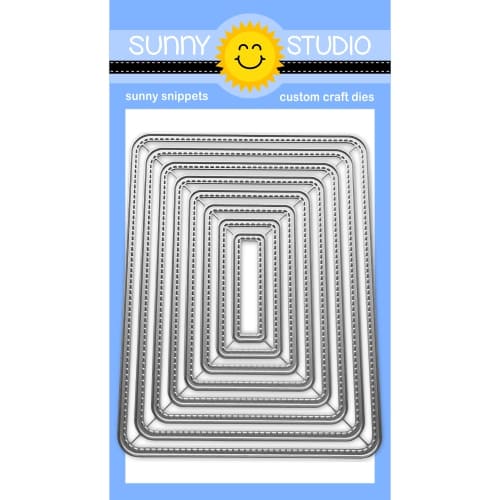
For this trio of mini cards, I started with the Rounded Rectangle Mat dies. I die cut 3 pieces out of Bristol Smooth cardstock. I ink blended Distress Oxides in Salvaged Patina and Mermaid Lagoon on top and splattered on some Perfect Pearls solution. 

I immediately stamped out my sentiments on the bottom of the panels, with the Build-A-Greeting Holidays set. For the black portion of the sentiment, I used Versafine Onyx black ink and for the red portion, I used Berrylicous (Pinkfresh). 

Sunny Studio Stamps: Build-A-Greetings Holidays & Snowmen In Sweaters Cards by Jarle Franceus (featuring Rounded Rectangle Mat Dies, Rounded Rectangle Window Dies)

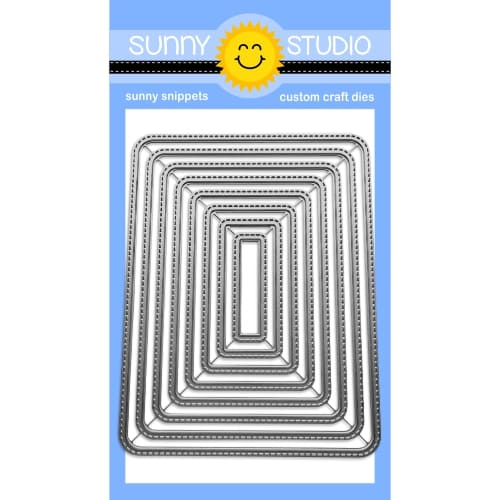
I used the Rounded Rectangle Window dies to cut 3 pieces out of the All is Bright 6x6 paper pack. I glued down the inked panels on top of the patterned paper pieces. 

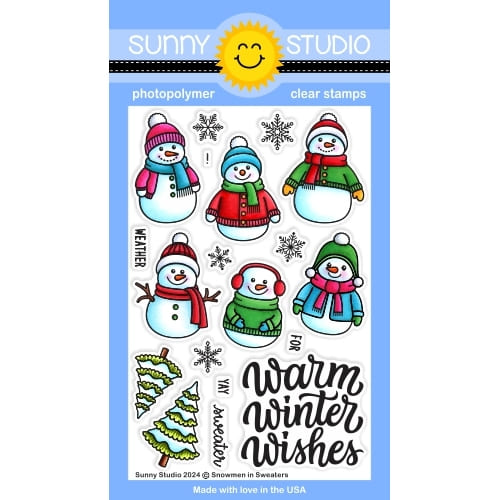
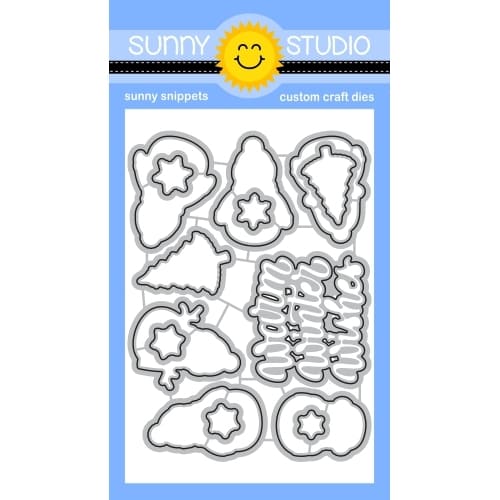
For my images, I used the cute Snowmen in Sweaters stamp set. I stamped them with Jet Black ink on Transotype Perfect coloring paper and colored them with Copic Markers. After that, I cut them out with the coordinating dies. 

These are the combinations I used: 
- R29 / R24 / R22
- RV13 / RV10
- YG09 / YG07 / YG03
- YG67 / YG09 / YG07
- N0 - 0 
- B00 - B000 - 0 
- E18 / E15

Sunny Studio Stamps: Build-A-Greetings Holidays & Snowmen In Sweaters Cards by Jarle Franceus (featuring Rounded Rectangle Mat Dies, Rounded Rectangle Window Dies)

I adhered the Christmas tree with liquid glue and the snowmen were popped up with foam squares. Dimension just gives that little extra something to a card.

I think these 3 mini cards turned out great. I love handing out cute little mini cards during the Christmas season. I hope you feel inspired. Have a beautiful day! 

Sunny Studio Supplies Used:
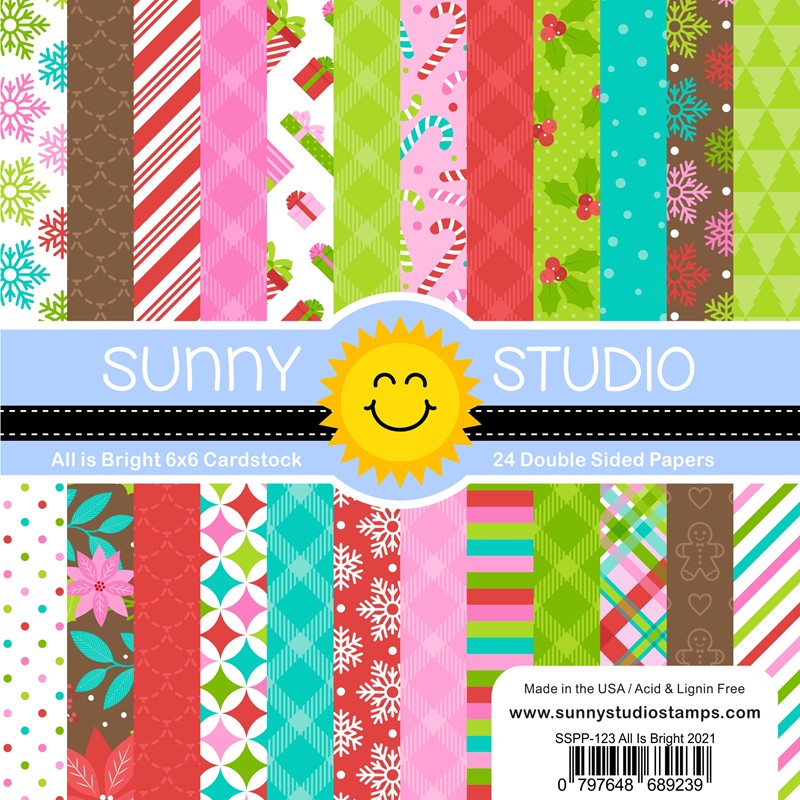
 

All Is Bright Paper
All Is Bright Paper
Shop at:
Sunny Studio
Snowmen in Sweaters Stamps
Shop at:
Sunny Studio
Snowmen in Sweaters Dies
Shop at:
Sunny Studio
Rounded Rectangle Mat Dies
Shop at:
Sunny Studio
Rounded Rectangle Window Dies
Shop at:
Sunny Studio
Build-a-Greeting Holidays
Shop at:
Sunny Studio

Tuesday, November 10, 2026

Alpine Adventure Card with Marieke

Hello all, Marieke here. I'm back again with my weekly post for Sunny Studio Stamps. Today I hope to inspire you with a card that I made using the Alpine Adventures.

Sunny Studio Stamps: Alpine Adventures Winter Themed Card by Marieke Slaats (featuring Build-A-Greeting Holidays, Frilly Frames Hexagon Dies)

The base is a white top fold card, cut a a2 dark gray rectangle and added this to the front of the card. Out of white cardstock I cut the Scalloped Rectangle using the Frilly Frames Hexagon dies. Cut a pink rectangle and a slightly smaller watercolor rectangle and ink blended it using Spun Sugar and Blueprint Sketch Distress Oxide ink.

Sunny Studio Stamps: Alpine Adventures Winter Themed Card by Marieke Slaats (featuring Build-A-Greeting Holidays, Frilly Frames Hexagon Dies)

Stamped the images out of Alpine Adventures op Copic paper and colored them using my Copic markers. Die cut the images using the matching Alpine Adventures dies. Adhered the images on to the watercolor panel and splattered some white paint before adding to the card base.

Used Copic Colors:
Purple - BV08, BV04, BV02, BV00, BV000, BV0000
Pink - R85, R81, R83
Soft Pink - RV02, RV00, RV000, 0
White - W5, W3, W1, W00, 0
Penguin - N8, N6, N4, N3; YR09, YR04, YR02; E53, E51, E50, 0, R20
Green - YG17, YG13, 0
Ice - BG13, BG11, BG10, 0

Sunny Studio Stamps: Alpine Adventures Winter Themed Card by Marieke Slaats (featuring Build-A-Greeting Holidays, Frilly Frames Hexagon Dies)

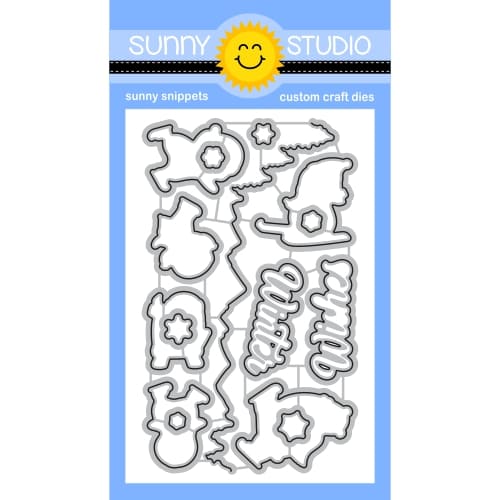
Using the Build-a-Greeting Holidays stamp I created the two lines to compliment the winter sentiment out of Alpine Adventures. Heat set them on gray and pink cardstock. Trimmed them to a banner and cut the word winter using the Alpine Adventures dies.

Have a wonderful day!

Sunny Studio Supplies Used:

Frilly Frames Hexagon Dies
Shop at:
Sunny Studio
Build-a-Greeting Holidays
Shop at:
Sunny Studio
Alpine Adventure Stamps
Shop at:
Sunny Studio
Alpine Adventure Dies
Shop at:
Sunny Studio

Saturday, October 31, 2026

Holiday Tags & Labels Card with Jarle

Hi friends! Jarle here and I am so excited to be back on the Sunny Studio Stamps blog for my weekly project! This time, I am featuring the Holiday Tags & Labels stamp and die set. I really wanted to make a card with this set, instead of some labels (I am always short on Christmas cards).

Sunny Studio Stamps: Holiday Tags & Labels Christmas Card by Jarle Franceus (featuring Build-A-Greetings Holidays, Dapper Diamonds Embossing Folder, Truckloads of Love)

I started by die cutting some red cardstock to A2 size (4,25 by 5,5 inches). First, I embossed it with the Dapper Diamonds embossing folder and then I decided to ink the edges a bit with Aged Mahogany distress ink. To add just a little bit more interest, I splattered on lots of Copic white ink and let it dry. 

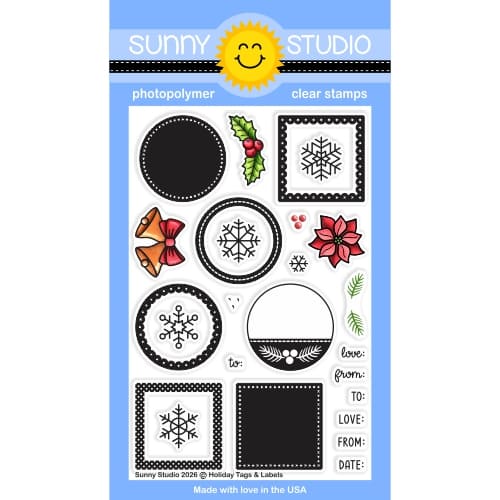
I die cut 3 Christmas baubles out of brushed gold cardstock (from Spellbinders), using the die set from Holiday Tags & Labels. I also cut out the circle die 3 times and ink blended Peacock Feathers and Uncharted Mariner on top. Of course, I splattered on some Perfect Pearls for a little bit of shine. Then, I glued the inked circle on top of the gold baubles. 

Sunny Studio Stamps: Holiday Tags & Labels Christmas Card by Jarle Franceus (featuring Build-A-Greetings Holidays, Dapper Diamonds Embossing Folder, Truckloads of Love)

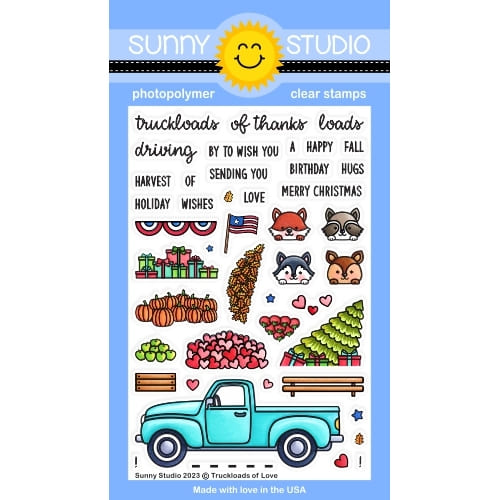
Then I stamped some images from the Holiday Tags & Labels set, together with some critters from the Truckloads of Love stamp set. I colored everything with my Copic markers and die cut everything with the coordinating die set. I glued my images on top of the baubles.

Time for my sentiment! As usual, I used the Build-A-Greeting: Holidays set for my sentiment. I stamped it on black cardstock with Versamark ink, sprinkled on some white embossing powder and heat set it. I cut it down to size. This set is SO great with ALL the different sentiments you can make. I put down the 3 gold baubles with some foam squares on top of the red cardstock. At the bottom, I adhered my beautiful sentiment. 

I think the colors work perfectly. I really love reds and blues for Chrismas cards. Have a beautiful day! 

Sunny Studio Supplies Used:

Dapper Diamonds Embossing
Shop at:
Sunny Studio
Truckloads of Love Stamps
Shop at:
Sunny Studio
Truckloads of Love Dies
Shop at:
Sunny Studio
Build-a-Greeting Holidays
Shop at:
Sunny Studio
Holiday Tags & Labels Stamps
Shop at:
Sunny Studio
Holiday Tags & Labels Dies
Shop at:
Sunny Studio

Monday, October 26, 2026

Holiday Style Card with Tina M

Hi Crafty Friends! Tina M here with you today! I have a cute Christmas card to share with you today, using the Holiday Style and Quill Cuties sets!

Sunny Studio Stamps: Holiday Style & Quill Cuties Christmas Card by Tina Magnusson (featuring Build-A-Greetings Holidays, Slimline Nature Border Dies)

I started by trimming a piece of red cardstock to 4,25 x 5,5 inches to cover my A2-size card base, then adhered it with double-sided tape. I then trimmed a piece of white cardstock to 4 x 5,25 and ink-blended the panel using blue ink. I splattered some white/silver watercolor onto the panel. I trimmed another piece of white cardstock to 1,5 x 4 inches and used the hill border from the Slimline Nature Borders Dies set and ran it through my die-cutting machine to create a small snow hill to adhere at the bottom of the ink-blended panel.

Next, I inked up the Holiday Style Stamps set and stamped the spruce twig three times using pink ink and the Christmas ornament three times using green, red, and turquoise ink and three of the ornament caps using yellow/golden ink.

I then stamped three of the cute hedgehogs from the Quill Cuties Stamps set using Memento Tuxedo Black ink on alcohol-ink-friendly card stock and colored them with my Copic Markers; see list below.

Hedgehogs: W0/1/3/5/7, R01/02
Pink: RV52/55
Green: YG03/17
Red: R20/22/24/27

Sunny Studio Stamps: Holiday Style & Quill Cuties Christmas Card by Tina Magnusson (featuring Build-A-Greetings Holidays, Slimline Nature Border Dies)

Next, I die-cut the ink-blended and colored pieces using the coordinating Holiday Style Dies set and Quill Cuties Dies set. For my sentiment, I stamped Have A Holly Jolly Christmas from the Build-a- Greeting Holidays Stamps set at the bottom of my snow hill.

I adhered the spruce twigs and the Christmas ornaments to the ink-blended panel using liquid glue. I trimmed the parts of the twigs hanging off the edge of the panel with scissors and adhered them to the red card base with double-sided tape. Lastly, I added foam dots to the back of the hedgehogs for dimension and adhered them to the card.

Thank you for stopping by today! Wishing you a happy and colorful day!

Sunny Studio Supplies Used:

Holiday Style Dies
Holiday Style Dies
Shop at:
Sunny Studio
Holiday Style Stamps
Shop at:
Sunny Studio
Slimline Nature Borders
Shop at:
Sunny Studio
Build-a-Greeting Holidays
Shop at:
Sunny Studio
Quill Cuties Stamps
Quill Cuties Stamps
Shop at:
Sunny Studio
Quill Cuties Dies
Quill Cuties Dies
Shop at:
Sunny Studio

Sunday, October 18, 2026

Nativity Scene Builder Die Focused Card with Hanh

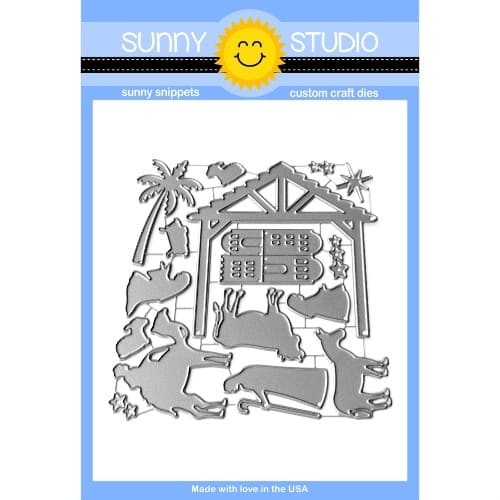
Hello Crafty Friends! It’s Hanh with you today and I have Christmas boxcard to share with you featuring the Nativity Scene Builder Dies Set. 

Sunny Studio Stamps: Nativity Scene Builder Die Focused Christmas Card by Hanh Nguyen (featuring Build-A-Greetings Holidays)

I used the Nativity Scene Builder Dies set to die cut all of the nativity scene elements out of white and yellow cardstock. For the boxcard, I trimmed a few pieces of white cardstock: one piece (4" x 4.25”), one piece (1.25" x 11”) and two pieces (1.25” x 5”). I also trimmed a few pieces of light blue cardstock: one piece (3.75” x 4”), one piece (3.75” x 1”) and two pieces of (1" x 1”). I used some Blueprint Distress Oxide ink to lightly ink up the edges of the large blue panel.

For the boxcard base, I used a score board to score the long white strip at the 1.25”, 5.25”, 6.5”, and 10.5” marks. I folded on the score lines, added liquid glue to the 0.5" end tab and secured it to the other end of the strip to create the boxcard base. 

Sunny Studio Stamps: Nativity Scene Builder Die Focused Christmas Card by Hanh Nguyen (featuring Build-A-Greetings Holidays)

I adhered the larger white and light blue panels to each other and then to the back of the boxcard base. I also adhered the smaller blue panels to the front and side panels of the boxcard. Next, I created the shelves by using the score board again to score the two white strips at the 0.5" on each of the long ends. I folded on the score lines and added the shelves to the boxcard with a strong double sided tape. 

For the sentiment, I stamped the “Joy to the world” sentiment from the Build-a-Greeting Holidays Stamp set with Versamark Watermark ink onto a piece of black cardstock and heat embossed with Detail White Embossing Powder. I used the long banner die from the Slimline Pennant Dies to die cut the strip out. I trimmed off the excess and adhered it to the front panel of the boxcard.

Sunny Studio Stamps: Nativity Scene Builder Die Focused Christmas Card by Hanh Nguyen (featuring Build-A-Greetings Holidays)

I decorated the boxcard with the nativity scene elements as shown in the pictures. I found it helpful to use clear acetate strips to help secure some the more delicate elements to the boxcard shelves.

I appreciate you taking the time to stop by and visit today. I hope you liked my boxcard. Be sure to check out the Sunny Studio Stamps Shop for more info and ideas. Please also visit my INSTAGRAM feed for more inspirations.

Have a wonderful and crafty day!

Sunny Studio Supplies Used:

Slimline Pennant Dies
Shop at:
Sunny Studio
Build-a-Greeting Holidays
Shop at:
Sunny Studio
Nativity Scene Builder
Shop at:
Sunny Studio

Saturday, October 17, 2026

Winter Wreaths Card with Jarle

Hi friends! It's Jarle here, and I am excited to share my weekly project for Sunny Studio Stamps. This week, I used the beautiful Winter Wreaths stamp set. That detail on that wreath is just AMAZING! You have to check it out in the photos below. 

Sunny Studio Stamps: Winter Wreaths Holiday Card by Jarle Franceus (featuring Rustic Winter, Build-A-Greeting Holidays)

I started with a piece of teal cardstock (Teal Topaz from Spellbinders), 4 x 5.25 inches. I blended the edges with Distress Oxides in Peacock Feathers, Chipped Sapphire, and a little bit of Black Soot. I splattered some Copic White and set the panel aside to dry. 

Sunny Studio Stamps: Winter Wreaths Holiday Card by Jarle Franceus (featuring Rustic Winter, Build-A-Greeting Holidays)

After that, I stamped everything with the Winter Wreaths stamp set. I chose a green (with a hint of teal) for the wreath itself. I did the ribbon and poinsettias in shades of red ink. I die-cut everything with the coordinating dies. I also die-cut the 3 deer from the Rustic Winter die set with black cardstock (and a little bird from red cardstock). 

For the sentiment, I went with my trusty Build A Greeting Holidays stamp set. I gold embossed 'wishing you a beautiful season' on a strip of red cardstock. I love this stamp set because you can make SO MANY different sentiments with it. I also really like its simple style. 

Sunny Studio Stamps: Winter Wreaths Holiday Card by Jarle Franceus (featuring Rustic Winter, Build-A-Greeting Holidays)

I popped up the Winter Wreath on the ink-blended panel and added the ribbon with foam squares and the poinsettias with liquid glue. The deer and the sentiment are also popped up. To add a little bit of extra something, I adhered a few jewels from the Gold Jewels and the Magic Rainbow Jewels. I glued down my whole panel on an A2-sized red card base. 

I think the wreath really stands out on this card. The pops of green and red on a darker ink-blended cardstock are gorgeous. Have a beautiful day! 

Sunny Studio Supplies Used:

Rustic Winter Dies
Rustic Winter Dies
Shop at:
Sunny Studio
Winter Wreaths Stamps
Shop at:
Sunny Studio
Winter Wreaths Dies
Winter Wreaths Dies
Shop at:
Sunny Studio
Build-a-Greeting Holidays
Shop at:
Sunny Studio

Monday, October 12, 2026

Merry Mocha Card with Tina M

Hi, Crafty Friends! Tina M here with you today! I have a cute, pink Holiday card to share with you today, featuring the Merry Mocha and Snowman Kisses sets!

Sunny Studio Stamps: Merry Mocha Winter Themed Holiday Card by Tina Magnusson (featuring Dotted Diamond Dies, Build-A-Greeting Holidays, Brilliant Banner Dies)

I started off with an A2 size card base and trimmed a piece of pink card stock from my stash to 4,25 x 5,5 inches to cover card base, I adhered it using double sided tape. I then trimmed a piece of white card stock to 4 x 5,25, masked off 3/8 of an inch from the edges with low tack painters masking tape and ink blended the center of the panel using pink ink.

To add extra interest and detail, I ran the ink blended panel through my die cutting machine using the Dotted Diamond Portrait Die. To finish it off I added Stickles around the edges of the pink area for beautiful sparkle!

Sunny Studio Stamps: Merry Mocha Winter Themed Holiday Card by Tina Magnusson (featuring Dotted Diamond Dies, Build-A-Greeting Holidays, Brilliant Banner Dies)

Next, I stamped the cup from the Merry Mocha Stamps set and two of the cute snowmen from the Snowman Kisses Stamps set using Memento Tuxedo Black ink on alcohol ink friendly card stock and colored them with my Copic Markers. See the list below. I then die cut out the colored pieces using the coordinating Merry Mocha Die set and Snowman Kisses Dies set.

Snowmen: BG10/11, YR21/24, C0/1/6
Pink accessories: RV52/55, V000
Hat: C3/5/6/7, YG03/17, R22/27/29
Cup: RV52/55, V000, E40/41, YG03/17, R22/27/29

For my sentiment I die cut out a banner using the Brilliant Banner 3 Die set from white card stock and stamped May your season sparkle from the Build-a-Greeting Holidays Stamps set. Did you know that with this stamp set you can create over 100 different greetings/sentiments for Christmas/Holidays, that is absolutely amazing and such value for money! Lastly, I added foam dots to the back of the snowmen, cups and the banner and adhered them to the card.

Thank you for stopping by today! Wishing you a happy and colorful day!

Sunny Studio Supplies Used:

Snowman Kisses Stamps
Shop at:
Sunny Studio
Snowman Kisses Dies
Snowman Kisses Dies
Shop at:
Sunny Studio
Merry Mocha Stamps
Merry Mocha Stamps
Shop at:
Sunny Studio
Merry Mocha Dies
Merry Mocha Dies
Shop at:
Sunny Studio
Dotted Diamond Portrait
Shop at:
Sunny Studio
Brilliant Banner 3 Dies
Shop at:
Sunny Studio
Build-a-Greeting Holidays
Shop at:
Sunny Studio