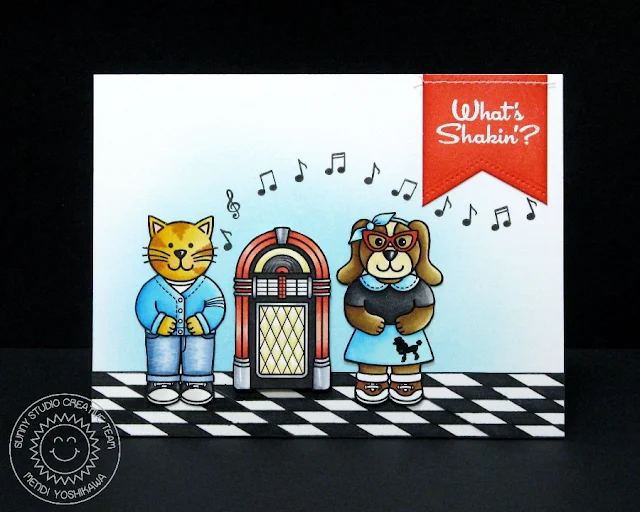
Up first is a card focusing on the poodle skirt wearing dog, the Letterman sweater wearing cat and the little ice cream soda images from the set. I didn't have room to include a table when creating the stamps so I created my own table by using the tree trunk from Summer Picnic as my table base and tracing two oval shadow die-cuts with a sharpie from the Sunny Borders die set to form my table top. For my black and white tile I drew my own floor using this post by Sandy Allnock as inspiration.
I heat embossed a scalloped border in white on black cardstock using the Sunny Borders Stamps and Dies and then repeated the ice cream soda motif on some cardstock inked up with Spun Sugar Distress Ink.
Up next is a card focusing on the fun car from the set. I love that it can fit the critters in the car--They almost remind me of a set of kids riding along in a 1950's Pedal Car.
To set my scene I loosely sketched out my street in pencil, fussy cut it out, erased the pencil lines and then inked it up with Black Soot Distress ink. Before adhering it to my card I inked up a panel in Twisted Citron and Mowed Lawn and then added some texture with my Copic Markers. When I was done I cut off a little wavy portion along the top to form my horizon and adhered it to my card base which had been inked up Tumbled Glass ink. To complete my scene I added trees to the background from our Happy Home stamp set.
Up next is a card spotlighting the cute jukebox from the set. I thought it would be fun to use the checkered blanket from our Summer Picnic set to form my black & white tiled floor. This is a great option if you're nervous drawing your own. I'm sure there is a great way to mask it off to repeat the design, but in the end I decided to stamp 4 of them and just cut them out (which is so easy to do with the straight lines) and then to adhere them on the card so that they formed one continuous design.
For my last card I used Silhouette's Circle Burst cutting file. I opened it up in the Silhouette software and then added a 4.25 x 5.5 rectangle over the top. I used the align commands to center them together and then trimmed it to leave just the areas where the two shapes overlapped. It left me with these rays which were so easy to quickly cut out and apply to my card panel.
I then stitched through the center of each ray with my sewing machine and covered up the messy intersection with a 3-1/2" wide circle cut from white cardstock. For my kitty image I added the sunglasses and guitar accessories from the set and one of the fun retro sentiments from the set.
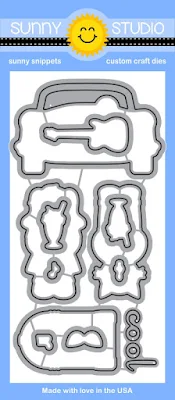
Here's an official look at the new Sock Hop set with the coordinating dies. I spent quite a bit of time researching popular catch phrases from the decade and had a blast creating this one. I hope you like it. :)
Thanks much for swinging by today. Stay tuned tomorrow for one last new release, but before you go make sure to sign up for your chance to win a $20 gift certificate to our store using the rafflecopter below.
We will be giving away one $20 gift certificate each day for a total of five lucky winners this week. The contest for each post closes at Midnight EST on Friday, July 1st with winners announced on Saturday, July 2nd. :)


