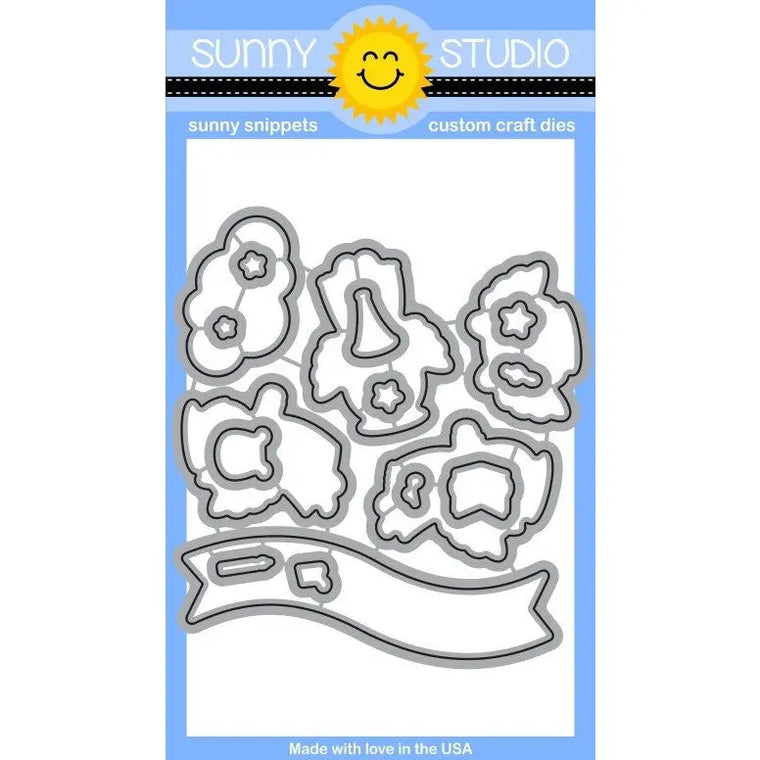
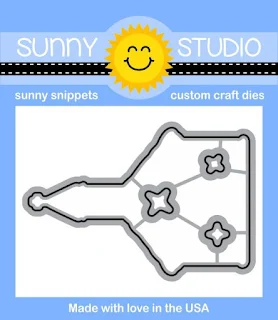
Today I have one last new item to share... It's a new little 2-piece die set called Silver Bells and it's already proving to be quite popular. While it wasn't designed to cut out the bell from our Holiday Style set, they are nearly identical in size and design so you might be able to find a way to use them together.
Card No. 1: For my first card I cut the jingle bells from a silver shimmer cardstock and used a glue pen to adhere the little ridge of the bell over the top of the overall bell shape. I strung some solid twine through the tops of each before adhering them to a 1-5/8" black square. When they were all adhered to my card, I then tied a matching chiffon bow and added over the top with a mini glue dot. As a final touch I stamped my sentiment using our new Festive Greetings set.
Card No. 2: This time I die-cut my bells from gold metallic cardstock. Since metallic cardstock's slick surface has a way of getting smudged with glue pens and such, I elected to apply some of Sizzix's double-sided adhesive to the back of my cardstock before cutting out my bell and it worked wonders.

For my card's background I took turns masking off the space below and above my sentiment strip and stamped the tree branch from Holiday style. I then heat embossed my sentiment using our Heartfelt Wishes stamps and Wishes Word die.
I felt like my bells should be dark inside so I punched some quick 1" circles from black cardstock to back them with. I then tied them with some red twine to hang them from my tree. I think it would be super fun to make this card so the little bells swung back and forth!
Here's a look at the 1-1/8" Jingle Bell die...
For this release's bonus, all orders placed in our shop will automatically come with a complimentary mini snowflake die (while supplies last). There are no special codes needed and all the holiday pre-orders placed earlier this week have been already been packaged with one too. ;)
Please note: We currently are out of the snowflake die and will be substituting our holly die from last Christmas.
Here's a little card I created using the snowflake... It's such a great size for so many different projects. I couldn't resist creating a red and white snowflake card (my favorite) by blending festive berries, candied apple and fired brick distress inks in an ombre fashion to the front of a 4.25" x 5.5" card panel.
After the snowflakes were adhered in rows on my card, I took a ruler and my paper piercer to create little holes approximately 1/8" apart so I could add some hand-stitching. I completed my card with a die-cut heart from our Stitched Heart dies and a sentiment from Festive Greetings.
And last, but certainly not least we have our 12 Birthday winners from last Friday's blog hop...
Congrats to the following Winners:
Sunny Studio blog
Kari Mano
Sandy Allnock's blog
Rose Mary Smalley
Nichol Spohr's blog
Marjorie Dumontier
Eloise Blue's blog
Sheri (from Fun With Paper)
Nancy Damiano's blog
Kym Maxwell
Kay Miller's blog
Denise Ward
Nina-Marie Trapani's blog
Valerie Edwards
Vanessa Menhorn's blog
the crafty math chick
Michelle Short's blog
Larissa Heskett
Larissa Heskett
Anni Lerche's blog
Parker (from Parker's Imagination)
Lexa Levana's blog
Karenladd
Juliana Michaels' blog
SHartl
You have each won a $25 gift code to our online store. If you haven't already heard from me, please email us at info@sunnystudiostamps.com to claim your prize.
Thank you to everyone who visited and left sweet comments on all the blogs. They were so appreciated by all of us. :)
Don't forget there's still time for you to take advantage of our Birthday sale. Use the code CELEBRATE through Sunday at Midnight PST to save 15% off all orders.
Other Sunny Studio Supplies Used:
 Heartfelt Wishes Stamps Shop at: Sunny Studio |
 Holiday Style Stamps Shop at: Sunny Studio |
 Stitched Heart Dies Shop at: Sunny Studio |
 Wishes Word Die Shop at: Sunny Studio |
 Festive Greetings Stamps Shop at: Sunny Studio |


