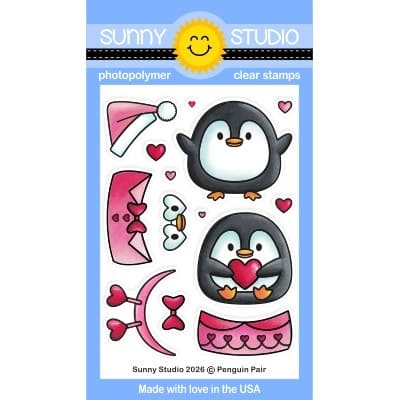
Hello Crafty Friends! It's Hanh here with you today, and I am so excited to share a super fun and cute Christmas card featuring the new Sleigh Ride Surprise Dies. There are so many fun elements in the die set. Today I decided to focus on the main sleigh to create a ride for these adorable penguins from the Roly Poly Penguins and Penguin Pair sets. So let's get started.
I used the Sleigh Ride Surprise Dies to die-cut the sleigh, strand of lights, Christmas tree, and sack of gifts out of colored cardstock. I assembled the strand of lights and sleigh with liquid glue. I added some white highlights with a gel pen.
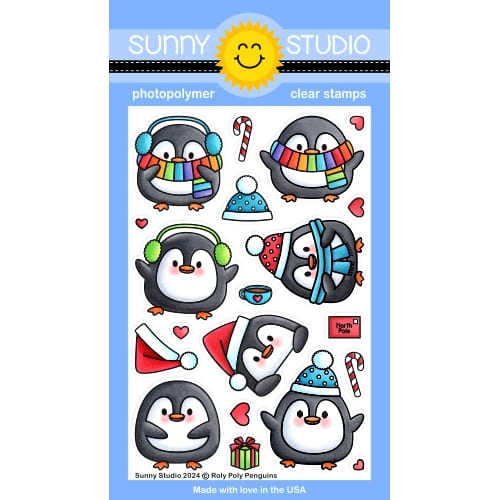
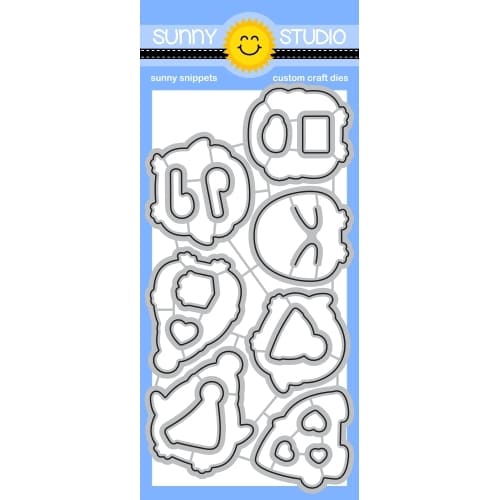
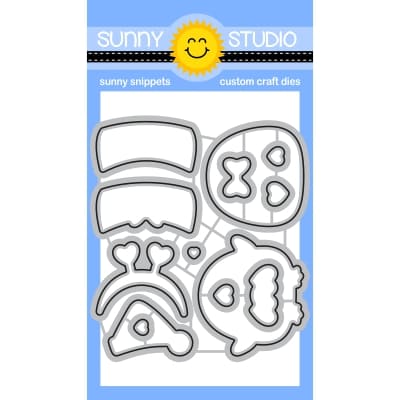
Next, I stamped the penguins and hat from the Roly Poly Penguins Stamps and the Penguin Pair Stamps sets onto a piece of Neenah Solar White 110 lb cardstock with Memento Tuxedo Black ink. I used the coordinating Roly Poly Penguins Dies and Penguin Pair Dies to die-cut them out. I colored with Copic markers and highlighted with a white gel pen.
COPIC COLORS:
Penguins: T4/5/7, W00/0/1, Y38 YR04, R00/20
Hat/Earmuff/Scarf: R14/24/29/39, C0/1/3
For the background, I lightly ink-blended some Spun Sugar Distress Oxide ink onto a piece of Bristol Smooth cardstock. I used the Slimline Nature Borders Dies to die-cut a snowbank out of white cardstock. I adhered the snowbank onto the bottom portion of the inked panel. I trimmed the panel down to 4" x 5.25".
For the sentiment, I stamped the "Holiday Hugs" from the Holiday Hugs Stamps set with Versafine Satin Red ink onto a piece of white cardstock and used the coordinating Holiday Hugs Dies to die-cut them out. I stamped the "coming your way!" from the Holiday Express Stamps set with Memento Tuxedo Black ink onto a piece of white cardstock and used a paper trimmer to trim it out.
I adhered the sleigh, colored images, and sentiments onto the inked panel with liquid glue and foam tape. Finally, the panel was adhered to a white A2 cardbase (4.25" x 5.5").
I appreciate you taking the time to stop by and visit today. I hope you liked my card. Be sure to visit the Sunny Studio Stamps Shop to check out the new Holiday Release for more info and ideas. Please also visit my INSTAGRAM feed for more inspiration.
Glassboard Studio has launched a limited-edition collection for September featuring their most popular products using the Metric system! And in honor of the Labor Day weekend, you can now use the code SUNNYSTUDIO to save 20% at checkout (using our code after Labor Day will still get you 15% every day). Their large glass mat might be my favorite crafty purchase (ever), and their newer scrapbook mat is also fabulous.
Also, there's still time to shop our birthday sale for 20% off all full-priced Sunny Studio-branded products with the discount code ELEVENYEARSat checkout. We've extended the sale to go through Monday at Midnight PDT. Excludes the newest release and retirement items already on sale. Limit one discount code per order.
Hello, and welcome to the last of our Holiday Sneak Peeks! All week, I have been sharing cards showcasing our newest collection, which is finally available to purchase! Yay! Before you run off to shop, though, I have one last new set to share that I'm very excited about.
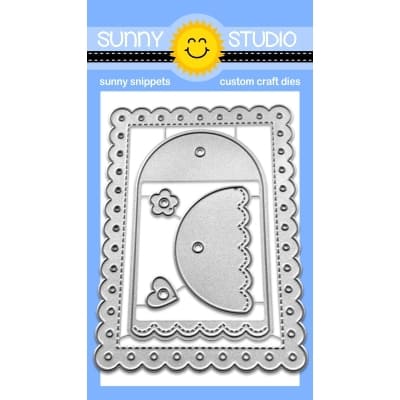
Today I'm sharing ideas using our new Holiday Tags & Labels Stamps and coordinating dies. For years I have wanted a stamp set to complement the smallest tags from both our popular Scalloped Square Tag Dies and Scalloped Circle Tag Dies. This new set is the answer to that wish. The new coordinating Holiday Tags & Labels Dies also introduce two new tag dies, now giving you a total of four mix-and-match options! Hooray!
Tag Set 1: For my first set of gift tags, I had mass production in mind, so I picked a monochromatic design that is easy to do assembly-line style and maximized my time by using all four tag dies. I stamped everything in my MISTI tool so I could quickly go through and stamp in stages. This stamp set even comes with four unique snowflakes in approximately the same size, so I was able to stamp four at the same time and then die-cut four with one pass through the die-cutting machine. Seeing them lined up here makes my heart happy!
I added a couple rows of 1/4" Scor-tape to the back of each tag so when Christmas rolls around I can just peel and stick these to a package like I would with a store-bought tag. I also embellished the tags with 5/8" wide ribbon from my stash and topped them with some Iridescent Pearls using liquid adhesive. Hot glue would make much of the assembly process go faster, but it didn't occur to me until my tags were complete.
Tag Set 2: For this set of tags, I used the sprigs & berries label from the Holiday Tags & Labels Stamps. This is the only label from the set that is holiday-specific, while the others can be used without the accompanying Christmas images year-round for birthday tags and scrapbook labels. The fir tree sprigs and berry images can be used with a variety of different ink colors to create oodles of combinations! I paired these with both the Holiday Tags & Labels Dies and Scalloped Circle Tag Diesand patterned paper from our Classic Gingham Paper,Classic Sunburst Paper, and Striped Silly Paperpacks.
Here's a closer look at the set all done up in the same festive red, black, and white color scheme. I often buy large rolls of gift wrap in red and white prints that coordinate with each other under the tree, so I can see myself mass-producing this gift tag for years to come.
Tag Set 3: If it hasn't been obvious by the multitude of poinsettia-themed products we've released over the years, I have a soft spot for poinsettias. Funny enough, I'm not actually in love with real potted poinsettias, but I'm a sucker for a pretty poinsettia image. For this set of tags showcasing the new Holiday Tags & Labels Stamps,I paired the poinsettia from the set with the fir tree sprigs from our Season's Greetings Stamps, cut out with the included dies. For my tags, I stamped the solid dotted circle label in a true red ink and layered it on a green circular tag from the Holiday Tags & Labels Dies, which I cut from a print found in our Classic Sunburst Paper pack. I adore how they turned out, and I love that the image is easy to quickly color in large batches.
Tag Set 4: This is another tag set I designed to perfectly coordinate with my Christmas-themed red and white wrapping paper. I love how easily the new Holiday Tags & Labels Stampscan be customized to match any color scheme or theme. For this tag set, I paired the square polka-dot label stamped with black ink with the matching stitched square dies from the Holiday Tags & Labels Diesand the Scalloped Square Tag Dies,cut from red cardstock. I again added two rows of 1/4" Scor-tapeto the back to have quick and easy peel-and-stick tags to add to gifts. As a finishing touch, I topped each tag with the silver bells and bow image from the set.
Tag Set 5: I went with a fun and playful color scheme for my last set of gift tags using the new Holiday Tags & Labels Stamps. I paired the stitched circular label from the set with the Scalloped Circle Tag Dies,cut from a pink gingham print from theGingham Pastel Paperpack. To dress them up, I topped each tag with the holly and berries image from the set that I colored with Copic markers. I love how the cursive "to" and "from" add to the cute, whimsical feel.
Card No. 1: The Holiday Tags & Labels Stamps aren't limited to just making gift tags, though. Switching gears, I have several cards I created with this versatile set! Up first is a fun background using the solid square stamp from the set, which I stamped in a diagonal diamond pattern. This was easier than I ever dreamed to line up. I started by lightly penciling in the X and Y axes, then stamping my first blue square at the center. From there, it was quite easy to line up each square and stamp them in rows in my MISTI tool by lining them up with the previous squares using Gina K. Ocean Mist, Turquoise Sea, Light Lilac, Light Orchid, and Powder Blue Ink.
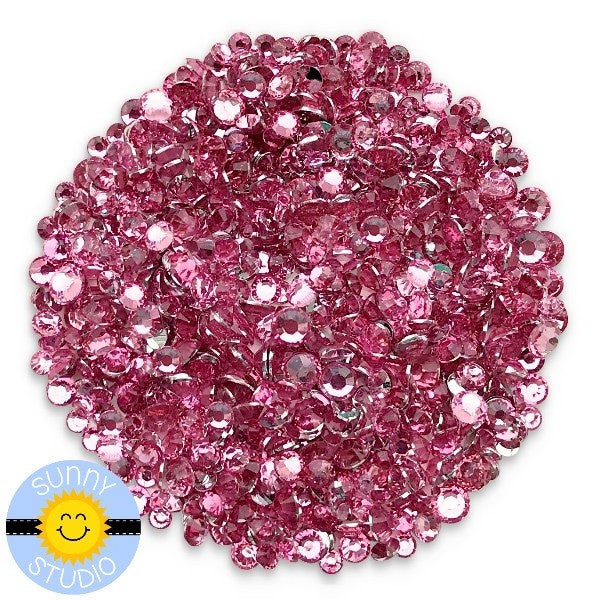
When the ink had dried, I took turns stamping the four snowflakes from the new stamps in the center and heat embossing them with White Detail Embossing Powder. I then topped each snowflake with a little coordinating jewel (linked below) that I adhered with Multi Matte Medium. For my greeting, I added a strip of vellum using the stitched edge from the Slimline Basic Border Dies and the "Happy New Year" greeting from the Season's Greetings Stamps. My husband's mother and sister still live in Japan, so I often try to send them special New Year's cards. To give my greeting a bit of sparkle, I stamped it again with clear Versamark ink while my cardstock was still in position so I could then add some sparkly Holographic Embossing Powder.
Card No. 3: For my last card of the day using the new Holiday Tags & Labels Stamps, I repeatedly stamped and heat-embossed the various snowflakes from the set, stamping four or five at a time, before heating them with White Detail Embossing Powder and moving on to the next set. It went quite quickly, and I love the results! It's a bit tough to see here, but I added some subtle, deeper-red shading to the outside edge with Lumberjack Plaid distress ink, using a very damp towel to buff off any that stuck to the white-embossed snowflakes. For my focal point, I heat embossed the oversized Christmas greeting from the Holiday Greetings Stamps and then paired it with a cute Roly Poly Penguin on each side.
That wraps up today's sneak peek. I'm so happy you joined me this week! I'd love to give a $40 gift code to one lucky winner, who will be randomly selected from comments on this blog post and on our Facebookand Instagramposts. Our daily contests will run through tomorrow at Midnight PST, with winners announced here on our blog on Sunday, August 30th.
In honor of Sunny Studio's 11th birthday this week, we are running a sale for 20% off all full-priced Sunny Studio Branded products using the discount code ELEVENYEARSat checkout through September 6th at Midnight PDT. Excludes the newest release and retirement items already on sale. Limit one discount code per order.
With each new collection, we include a free mini die automatically with orders placed in our online store. For this release, we have a fun new mini oak leaf die!
I've also created a video that offers a closer look at all the products and the cards I made with them, which you can view on our YouTube channel HERE.