Have you hung your stockings by
the chimney with care? It’s Bobbi here with two stockings to hang, but these
are for hanging on your gifts! Every year we hang stockings on our fireplace
and fill them with little items for the twins. Those are the first gifts they
open on Christmas day. Sometimes the little gifts are too big for the stocking
so these tags will be perfect to use.

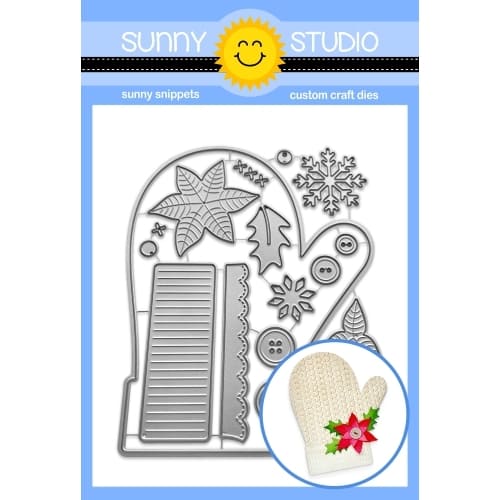
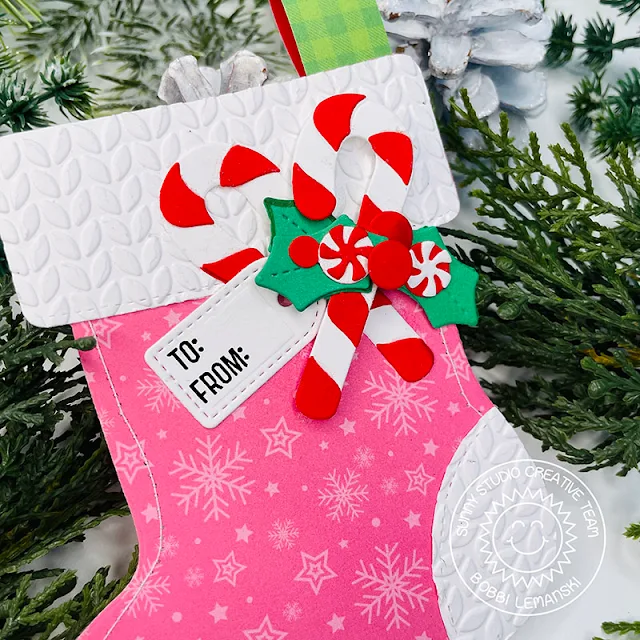
The first stocking is made from coordinated pattern papers from the Joyful Holiday Paper Pack. It features a large, stamped Holiday Greetings stamp sentiment, cut out using the coordinating dies. I added the holly and bow from the Santa's Stocking die set and a few peppermint candies using dies from the Gingerbread House die set. I embossed the white 80lb Neenah Solar White
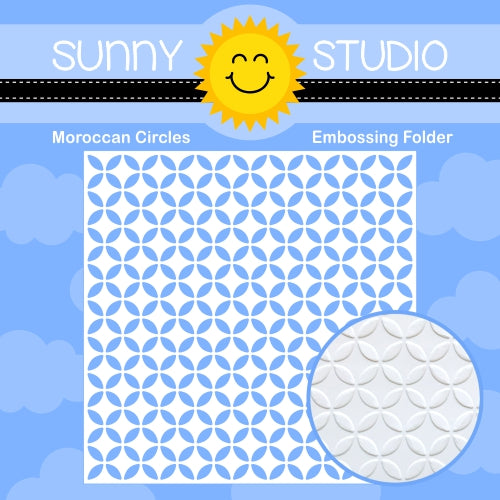
cardstock accent pieces – reinforced toe, heel and top stocking band – using
the Cable Knit Embossing Folder. How cute is that cable knit design?!

I added red faux stitching on
the white accent pieces (so you could see it) and stitched the outer edges
using white thread and my sewing machine. Because this stocking is larger, I
wanted to avoid having to turn the tag over when on the gift. Instead, I attached
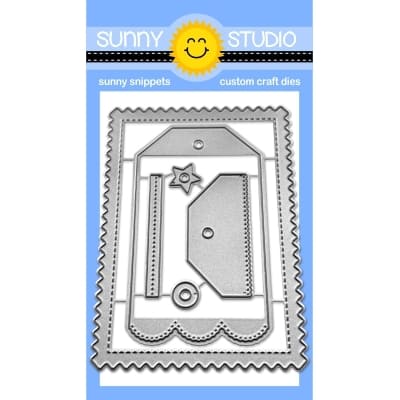
the smallest tag from the Stitched Arch Dies to the holly bouquet at the band and stamped
a “to/from” on the tag in black. The “to/from” stamps are from the Season’s Greetings Sentiments stamp set. There are several styles to
choose from which are really awesome to have for your tags.

For my second stocking, I used
many of the same products to create this festive tag. Notice the tab for
hanging the stocking at the top. I simply cut a strip from the two-sided
pattern paper and attached it with glue. Both stockings have a white die cut backing,
allowing the tab to be glued between the stocking die cuts for a clean finish.
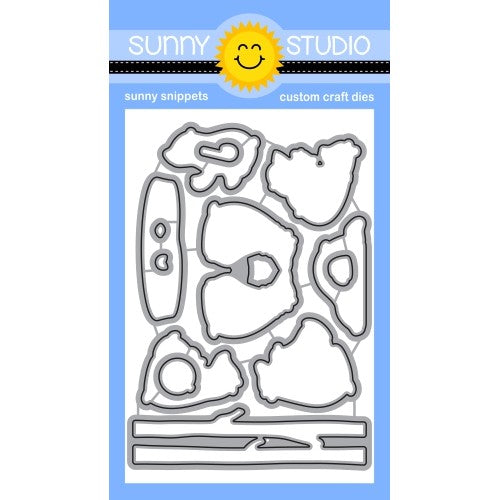
The candy canes, holly
and berries are part of the Santa's Stockings die set. I
added another to/from tag to the
candy cane accent. These stockings are adorable and big enough to add names to
the band to personalize. Keep the top open and it becomes a festive gift card
holder, too!
Thanks
for stopping by today. If you want to see more ideas and inspiration from me,
subscribe to my blog, BobbiHartDesign.com. I’ll
send you updates on new posts! You can also find me on Instagram as @BobbiHartDesign and on Facebook as BobbiHartDesign.
Bobbi Hartmann Lemanski, Bobbi Hart♥ Design, Adding h♥art into every design.
--------------------------------------------
Hey
friends! Cathy here today and with Christmas just days away, I’m sharing some
cute and quick-to-make gift tags!
For these tags,
I’ve used the Mini Mat & Tag 1 Dies and
I started by die-cutting the tag from a medium weight light gray cardstock for
a little extra stability. Next, I die-cut the tag again from white cardstock
and inked a sky with Speckled Egg Distress ink. I heat embossed a sentiment on
each tag using the Lazy Christmas Stamps, Penguin Party Stamps,
and Bear Hugs Stamps. I cut
the bottom scalloped portion of the tags off and adhered them to the gray tag
bases.
Next, I die-cut
patterned papers from the All is Bright Paper and Joyful Holiday Paper using
the thin strip and tag topper dies and adhered them to the tags. For the
snowdrift on each tag, I die-cut the Tropical Trees Backdrop Die 3
times from white cardstock, adhered a “sand” portion of the die-cut across the
bottom of each tag and trimmed the excess from the sides of the tags.
I stamped the
polar bears from the Bear Hugs Stamps and
the Santa hats from the Reindeer Games Stamps on
Neenah Classic Crest 80lb solar white cardstock, colored them with Copics and
fussy cut each image. Those little Santa hats fit so many Sunny Studio critters
and look so cute!
To finish, I
die-cut hole protectors from gray cardstock using a die from the Mini Mat & Tag 4 Dies and
tied some sparkly ribbon to each tag. I stamped some holly and berries from
the Holiday Greetings Stamps,
die-cut them using the coordinating dies and
adhered them to the top of each tag. For a little extra bling, I adhered Pure White Jewels over
the holes on each tag topper.
I hope you
enjoyed and thanks for stopping by today! For more inspiration, please visit my
blog www.inkredibleadventures.com and you can
also find me on Instagram as @cathy.chapdelaine.
Sunny Studio Supplies Used:
