Hello
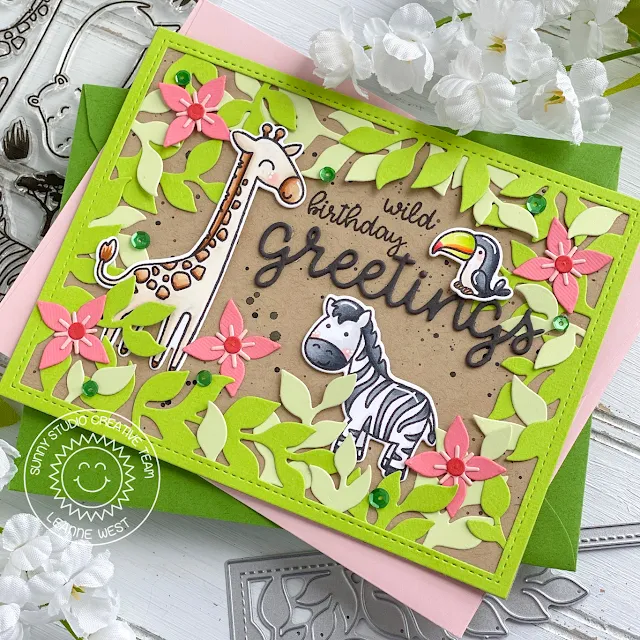
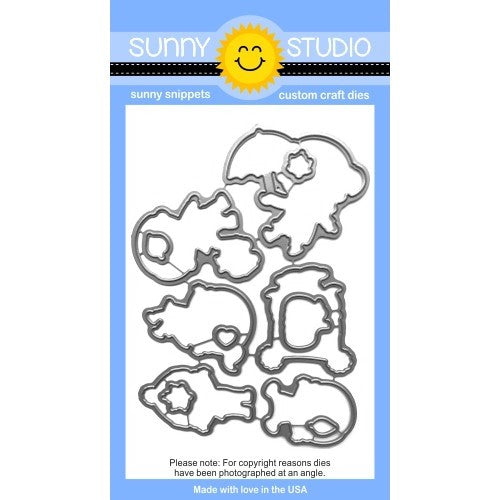
friends! Leanne here and I have some wild inspiration for a fun birthday card. I have combined a leafy die cut frame with the cute animals from Savanna Safari for
this gender neutral birthday card. I think it's always a win, win to have
some versatile birthday cards on hand.
I started with an A2 size kraft card base. I splattered the
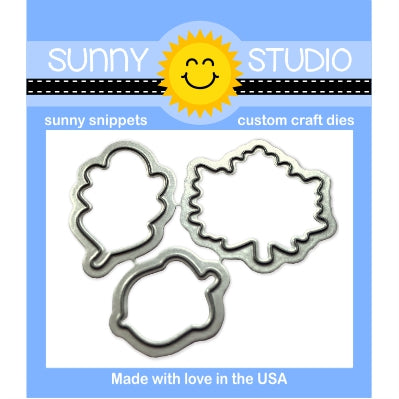
front with some thinned black paint. I die cut two Botanical Backdrop frames - one from bright green card
stock and one from pastel green. I adhered the complete bright green
frame to the card base. I cut up the pastel green one to add extra leaves
and make the frame look very full. I Copic colored the giraffe, zebra,
and toucan from Savanna Safari to
create a fun little jungle scene. I stamped part of the sentiment and
finished it off with the large die cut Greetings Word.
Copic colors used: YR30, E30, E31, E34, E35, N0, N2, N4, N6, YG00, YG01, R00, R14, YR12, YR15
To embellish and enhance the scene even further, I added some die
cut flowers and green sequins. The flower dies are included in the Botanical Backdrop set.
---------------------------------------------------------
Hello
to you! Vanessa here with a new
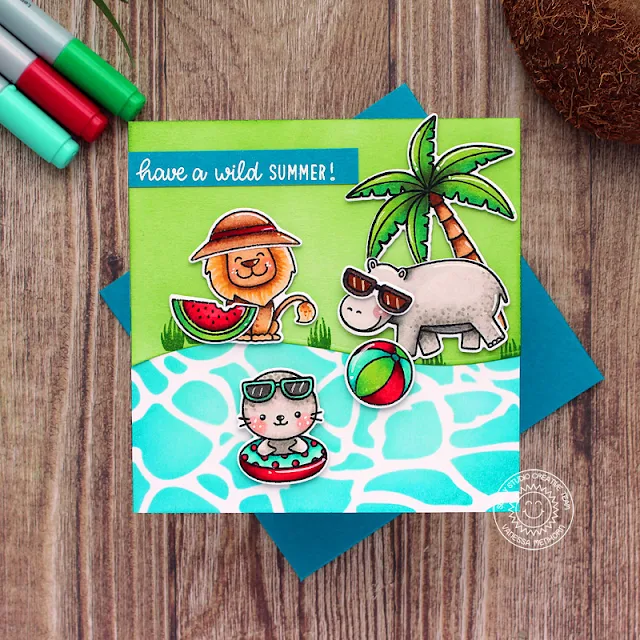
summer card using the Savanna Safari Set.
A lion, a hippo and a seal ... sounds like the beginning of a bad joke! But I
thought they would be fun to hang out together on a card:
I first inked the front of my card base with
turquoise Distress Ink, using a stencil to create the water. Now I die cut the shore, using the Oceans Of Joy dies, from
white cardstock, inked it with green Distress Ink, stamped the grass and
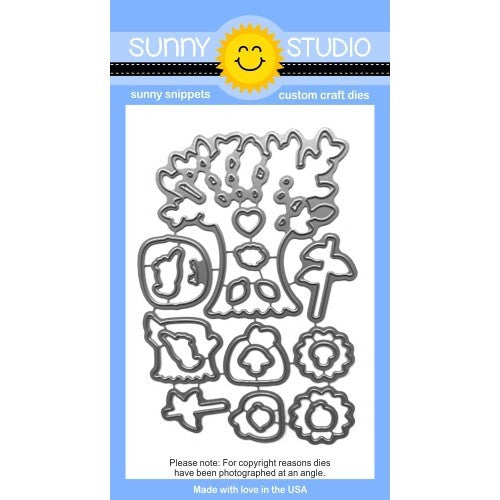
adhered the piece to the card. I stamped the images from Savanna Safari, Sealiously Sweet and Seasonal Trees onto white cardstock, colored them with
Copics, die-cut everything with the matching dies and adhered the elements to the card
with foam tape.
Finally,
I stamped and heat-embossed the sentiment onto a strip of petrol cardstock and
adhered it to the card.
I
hope you like this cute party! Thank you for visiting today, see you on
Thursday!
Sunny Studio Supplies Used:


