Showing posts with label Shaker Card. Show all posts

Thursday, November 20, 2025

Rustic Winter Card with Marine

Hello crafty friends, Marine here. I'm so happy to be back with this monochromatic holiday card showcasing the beautiful Rustic Winter die set. I've had this set in my stash for years but for some reason never used it, and that was a huge mistake because it is amazing, I love those delicate and pretty deer!

Sunny Studio Stamps: Rustic Winter Christmas Card by Marine Simon (featuring Rounded Rectangle Mat Dies, Stitched Semi-Circle Dies, Build-A-Greeting Holidays, Lacy Snowflakes Dies)

I started off by cutting all the bits and pieces out of dark grey, light grey, white, and silver glitter cardstock. I added liquid stardust splatters to the white pieces, copic opaque white ink splatters and liquid stardust splatters to the dark grey and light grey pieces, and then assembled everything. I layered the deer, pine trees, birch trees, and bow on top of silver glitter pieces, but shifted them a little bit to get a pretty silver border around each element. The deer and birch trees are from Rustic Winter, the pine trees are from Distinctive Door Holiday Add-On, and the bow is from Wicker Basket.

Next I worked on my shaker background and cut a Rounded Rectangle Mat panel out of a Joyful Holiday snowflake pattern paper using the second largest die from the set. I used the second Stitched Semi Circle die to cut an opening out of my snowflake panel, cut an acetate panel slightly larger than the opening, created a frosty effect on the edges using copic opaque white ink and a sponge dauber, and once dry, I attached this piece of acetate at the back of my panel to create a window.

Sunny Studio Stamps: Rustic Winter Christmas Card by Marine Simon (featuring Rounded Rectangle Mat Dies, Stitched Semi-Circle Dies, Build-A-Greeting Holidays, Lacy Snowflakes Dies)

To turn this opening into a snow globe, I temporarily taped the second Stitched Semi Circle die to a piece of dark grey cardstock using washi tape, cut the semi circle shape following the outside edges of the die, and then run the panel through my die cutting machine, with the die still attached, to cut a thin frame that I stuck to the front of my snowflake panel around the acetate window using liquid glue. I cut a white panel using the second Stitched Semi Circle die again, cut a wavy border out of this panel, added liquid stardust splatters to it, and once dry, I stuck that border at the bottom of the acetate window using liaquid glue. I cut a fishtail banner out of light grey cardstock using a die from the Stitched Rectangle die set, white heat embossed "Peace, love & joy to the world" from Build-A-Greeting Holidays on it, and attached that banner right below the window using 1mm foam squares.

Sunny Studio Stamps: Rustic Winter Christmas Card by Marine Simon (featuring Rounded Rectangle Mat Dies, Stitched Semi-Circle Dies, Build-A-Greeting Holidays, Lacy Snowflakes Dies)

For the inside of my shaker, I first cut a Classic Sunburst black & grey panel using the second largest Rounded Rectangle Mat die, and added white splatters and liquid stardust splatters to it. On that black & grey panel, I added another white wavy border, making sure it was higher than the one on the front panel, and then stuck seven birch trees from Rustic Winter. I attached two layers of foam strips all around the edges of my inside panel, poured tiny crystal stones on the trees, peeled all the backing papers off the foam strips, and then stuck my front panel to the foam strips to totally close my shaker panel. I attached my shaker panel to a 5,5 x 4,25 inches black panel, next to a white card base, and then I stuck the deer, pine trees, and bow using 1mm and 2mm foam squares.

To decorate each top corner of the card, I cut Lacy Snowflakes out of the same cardstock as the other pieces, added the same details and textures, and assembled them using liquid glue. Finally, I glued White Snowflake Confetti in the center of each snowflake and bow as well. 

And that's it! Thanks so much for stopping by, and see you next week!

Sunny Studio Supplies Used: 

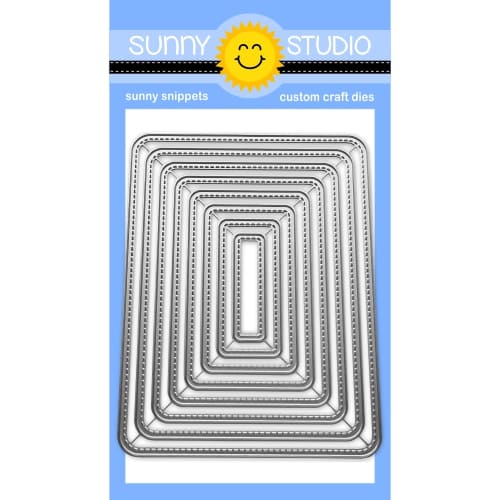
Stitched Rectangle Dies
Shop at:
Sunny Studio
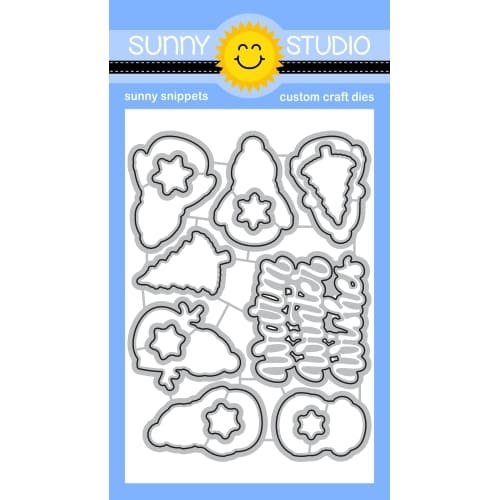
Lacy Snowflakes Die
Lacy Snowflakes Die
Shop at:
Sunny Studio
Rustic Winter Dies
Rustic Winter Dies
Shop at:
Sunny Studio
Stitched Semi-Circle Dies
Shop at:
Sunny Studio
Classic Sunburst Paper
Shop at:
Sunny Studio
Joyful Holiday Paper
Shop at:
Sunny Studio
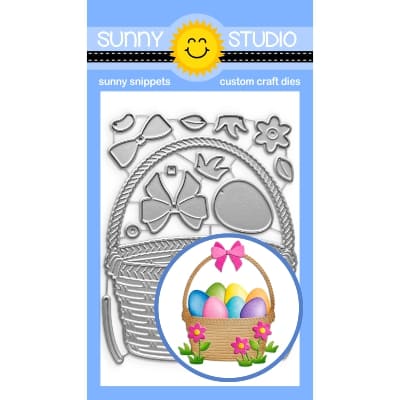
Wicker Basket Dies
Wicker Basket Dies
Shop at:
Sunny Studio
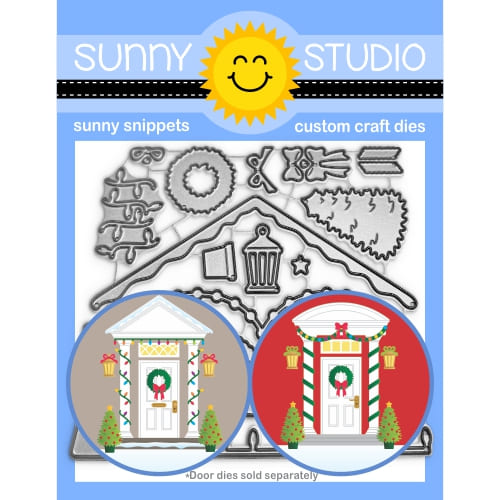
Distinctive Door Holiday Add-on
Shop at:
Sunny Studio
Rounded Rectangle Mat Dies
Shop at:
Sunny Studio
Build-a-Greeting Holidays
Shop at:
Sunny Studio

Tuesday, November 4, 2025

Let's Chill Card with Amanda

Hey, crafty friends, and welcome back to the Sunny Studio Stamps blog! It’s Amanda here with you today sharing a cute little shaker card. I’ve been in a shaker-card mood lately, and I couldn’t resist making a fun, playful design featuring some of my favorite Sunny Studio holiday stamps!

Sunny Studio Stamps: Let's Chill Winter Themed Shaker Card by Amanda Fitterer (featuring Scenic Route, Stitched Arch Dies, Build-A-Greetings Holidays)

I started by creating my shaker portion of the card. To do this, I grabbed my All is Bright patterned paper and found the snowy teal paper. I trimmed this paper down to 4.25” x 5.5”. Using the largest of the Stitched Arch Dies, I ran it through my die cutting machine, centering the arch in the center of the panel.

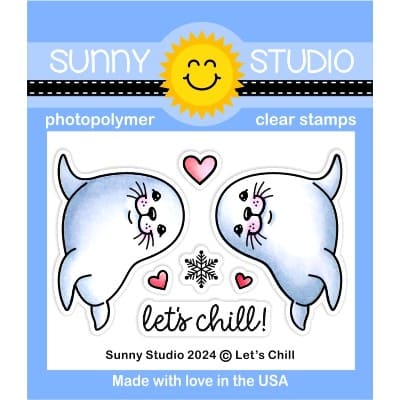
Once I had my 2 pieces, I glued the background arch to an A2 card base and set it aside. I created my snowy hilly background with the Scenic Route Stamps. While I had all my stamp supplies out, I also stamped my 2 cuties from the Let’s Chill Stamps.  

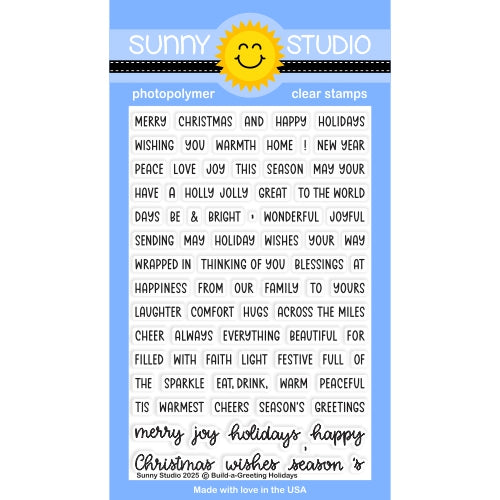
I created my sentiment using the Build-a-Greeting Holidays Stamps. This set has hundreds of combinations to make holiday sentiments and I LOVE it! I stamped the red words with Catherine Pooler’s Rouge ink first. Then, I stamped the rest with black ink.

I colored the images in with Copic markers. Here are the marker colors I used:
Trees: YG17 YG23
Snow: BG10, BG11, BG13
Seals: W0, W2, W3, W5, R20

Sunny Studio Stamps: Let's Chill Winter Themed Shaker Card by Amanda Fitterer (featuring Scenic Route, Stitched Arch Dies, Build-A-Greetings Holidays)

Once all the images were colored, I cut them out with their coordinating dies. To make the hilly scene look like it’s in the background, I glued it behind my arched frame. I also put my sentiment strip behind the frame and glued it in place.

Now, to create the shaker part! I placed some Snow White Jewels on my card base in the center of the arch. On my front panel (the frame), I used double sided tape to adhere my piece of acetate. Then, I added foam strips around the entire front panel and then adhered it to my card base. The final step was to add my cute seals with some 3D foam squares to make them pop! 

I had so much fun making this shaker card, and I hope it brings a smile to your face today! If you haven’t tried making a shaker in a while, consider this your little crafty nudge!

Sunny Studio Supplies Used:

Scenic Route Stamps
Scenic Route Stamps
Shop at:
Sunny Studio
Scenic Route Dies
Scenic Route Dies
Shop at:
Sunny Studio
Stitched Arch Dies
Stitched Arch Dies
Shop at:
Sunny Studio
All Is Bright Paper
All Is Bright Paper
Shop at:
Sunny Studio
Let's Chill Stamps
Let's Chill Stamps
Shop at:
Sunny Studio
Let's Chill Dies
Let's Chill Dies
Shop at:
Sunny Studio
Build-a-Greeting Holidays
Shop at:
Sunny Studio

Thursday, October 16, 2025

Reindeer Games Card with Marine

Hello crafty friends, Marine here, I'm so happy to be back with this cheerful shaker card showcasing Santa and the reindeers getting ready for the holiday season. As very often I picked images from different sets to create a nice and cute mix & match scene, and as always everything is listed down below.

Sunny Studio Stamps: Reindeer Games Winter Themed Christmas Card by Marine Simon (featuring North Pole, Rounded Rectangle Window Dies, Rounded Rectangle Mat Dies)

So, speaking of which, I started off by stamping my images on 110lb Neenah solar white cardstock using an alcohol marker friendly black ink. I used the coordinating dies to cut them all, and then colored everything using my Ohuhu markers and Graph'it brush markers. Here is a detailed list of the stamp sets I used: • North Pole - Santa, north pole sign, nice list • Reindeer Games - reindeers • Snowmen In Sweaters - trees, snowflakes • Santa Claus Lane - presents, sack.

I added highlights and details to the images with a white gel pen, applied white blizzard nuvo drops to the trees to make the snow on them sparkle, and then moved on to the shaker panel and cut all the pieces I needed to build it. First, I cut a Rounded Rectangle Mat panel out of an All Is Bright turquoise paper using the largest die from the set. 

Sunny Studio Stamps: Reindeer Games Winter Themed Christmas Card by Marine Simon (featuring North Pole, Rounded Rectangle Window Dies, Rounded Rectangle Mat Dies)

Next I picked the fourth smallest Rounded Rectangle Window die and cut two openings out of my turquoise panel. And using that same fourth smallest die again, I cut two panels out of white cardstock and cut a wavy border out of each of those white panels to create two snowy borders. For the background of my shaker, I used the largest Rounded Rectangle Mat die again to cut a Joyful Holiday polka dot panel.

Before assembling my shaker panel, I added texture to the different pieces. I mixed copic opaque white ink with water and used a slim brush to add white splatters to the turquoise panel and to the polka dot panel, I mixed liquid stardust with water and added sparkling splatters to the snowy borders, and when my turquoise panel was dry, I stamped "Have a super jolly Christmas" from Reindeer Games at the very bottom using black ink.

Sunny Studio Stamps: Reindeer Games Winter Themed Christmas Card by Marine Simon (featuring North Pole, Rounded Rectangle Window Dies, Rounded Rectangle Mat Dies)

I attached a piece of acetate at the back of my turquoise panel using liquid glue, and still at the back of my panel, I attached foam strips around each opening and on the rest of the panel as well. I poured twenty White Snowflake confetti inside each opening and tiny clear crystal pieces as well, peeled all the backing papers off the foam strips, and then attached my polka dot panel to totally close my shaker panel. Back to the front of my panel, I stuck a snowy border at the bottom of each opening using liquid glue, attached my shaker panel to a 5,5 x 4,25 inches white panel and then to a white card base. Next I finally attached my images using 1mm and 2mm foam squares. 

And that's it! I hope that you like this lovely holiday shaker card! Thanks so much for stopping by, and see you next week!

Sunny Studio Supplies Used:

Santa Claus Lane Stamps
Shop at:
Sunny Studio
Santa Claus Lane Dies
Shop at:
Sunny Studio
North Pole Stamps
North Pole Stamps
Shop at:
Sunny Studio
North Pole Dies
North Pole Dies
Shop at:
Sunny Studio
All Is Bright Paper
All Is Bright Paper
Shop at:
Sunny Studio
Reindeer Games Stamps
Shop at:
Sunny Studio
Reindeer Games Dies
Reindeer Games Dies
Shop at:
Sunny Studio
Joyful Holiday Paper
Shop at:
Sunny Studio
Snowmen in Sweaters Stamps
Shop at:
Sunny Studio
Snowmen in Sweaters Dies
Shop at:
Sunny Studio
Rounded Rectangle Mat Dies
Shop at:
Sunny Studio
Rounded Rectangle Window Dies
Shop at:
Sunny Studio

Thursday, September 25, 2025

Too Cute To Spook Card by Marine Simon

Hello crafty friends, Marine here. I'm back with a spooky shaker card featuring the sweetest black kitties, and I'm having fun celebrating Halloween. Last week was all about goth elegance, well today is about cheekiness and cuteness!

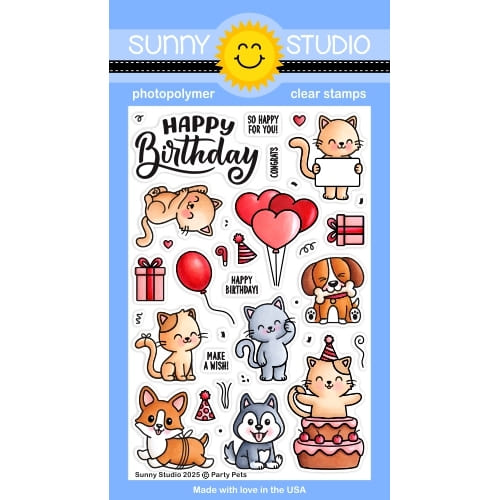
Sunny Studio Stamps: Too Cute To Spook Halloween Card by Marine Simon (featuring Cat Antics, Party Pets, Bewitching, Stitched Semi-Circle Dies)

As very often I started off by stamping the images on 110lb Neenah solar white cardstock using an alcohol marker friendly black ink. I cut them all using the matching dies, and then colored everything using my Graph'it brush markers and Ohuhu markers, picking dark shades of grey for the kitties, spiders and hats, oranges for the pumpkins and pinks for the spooky balloons.

Here is a detailed list of the stamp sets I used: • Cat Antics - cats (on the right + upside down) • Party Pets - cats (left + middle + flying), balloons • Too Cute To Spook - pumpkins, spider webs, spiders, jack o' lantern faces • Bewitching - hats.

Sunny Studio Stamps: Too Cute To Spook Halloween Card by Marine Simon (featuring Cat Antics, Party Pets, Bewitching, Stitched Semi-Circle Dies)

When the coloring was done, I added highlights and details to the images using a white gel pen, and then moved on to my shaker background. I first cut a 5,5 x 4,25 inches Preppy Prints purple panel and cut a large Stitched Semi Circle opening out of it. I mixed black soot oxide ink water and added black splatters to my purple panel, and then did the same with copic opaque white ink and with wilted violet distress spritz for some sparkles. I cut a 5,5 x 4,25 inches acetate panel, attached it at the back of my purple panel using liquid glue and then stamped "Trick or Treat" from Too Cute To Spook on the front, directly on the acetate using black Stazon ink, which is an ink that doesn't smear on acetate or vellum.

Sunny Studio Stamps: Too Cute To Spook Halloween Card by Marine Simon (featuring Cat Antics, Party Pets, Bewitching, Stitched Semi-Circle Dies)

At the back of my purple panel, I attached 2mm foam strips all around the Stitched Semi Circle window, following the rounded shape, added strips on the very edges of the panel, and poured a bunch of Black Bat confetti on the acetate. I cut a 5,5 x 4,25 inches Classic Sunburst pink panel, added black and white splatters all over it, and when it was dry I attached it to the foam strips to totally close my shaker panel. To finish my card base, I cut a black frame using the main Tropical Trees Backdrop die, attached it using 1mm foam squares, and finally stuck all the images using 1mm and 2mm foam squares.

And that's it! I hope that you like this spooky cute Halloween shaker card! Thanks so much for stopping by, and see you next week.

Sunny Studio Supplies Used:

Bewitching Stamps
Bewitching Stamps
Shop at:
Sunny Studio
Bewitching Dies
Bewitching Dies
Shop at:
Sunny Studio
Preppy Prints 6x6 Paper
Shop at:
Sunny Studio
Classic Sunburst Paper
Shop at:
Sunny Studio
Tropical Trees Backdrop
Shop at:
Sunny Studio
Too Cute To Spook Stamps
Shop at:
Sunny Studio
Too Cute To Spook Dies
Shop at:
Sunny Studio
Cat Antics Stamps
Cat Antics Stamps
Shop at:
Sunny Studio
Cat Antics Dies
Cat Antics Dies
Shop at:
Sunny Studio
Party Pets Stamps
Party Pets Stamps
Shop at:
Sunny Studio
Party Pets Dies
Party Pets Dies
Shop at:
Sunny Studio
Stitched Semi-Circle Dies
Shop at:
Sunny Studio