Showing posts with label Too Cute To Spook. Show all posts

Friday, September 26, 2025

Too Cute To Spook Halloween Cards with Mendi

Hello and welcome! This is Mendi here today, popping in to share some fall scene cards featuring our Too Cute To Spook Stamps with dramatic inky backgrounds.

Sunny Studio Halloween Critter Cards using Too Cute To Spook, Scaredy Cat, & Fall Scenes Clear Stamps & Metal Craft Dies

My first card pairs the kitty in the pumpkin from the Scaredy Cat Stamps with the haunted house, tree, bat, and "Happy Halloween!" greeting from the Too Cute To Spook Stamps. I inked my entire background using Picked Raspberry distress ink to create my dramatic background with the pink moon and purple sky. I then cut a circle mask using the Stitched Circle Large Dies to cover where I wanted my moon to go before inking around the mask with Wilted Violet distress ink. When I had the background adequately inked. I cut random holes in my mask with scissors to ink the craters in my moon, before inking again with a smaller brush using a darker layer of the Picked Raspberry. I then spritzed the entire piece with water.. When it was dry, I added white stars with my gel pen and stamped the spooky tree from the set four times around the haunted manor with VersaFine Onyx Black Ink. Lastly, I cut the stitched hillside from black cardstock using the Slimline Nature Border Dies, heat embossed my greeting in white, and added the cat to the foreground.

Sunny Studio Cat in Pumpkin with Full Moon Halloween Card using Too Cute To Spook & Scaredy Cat Clear Stamps and Craft Dies

For my second card showcasing the Too Cute To Spook Stamps, I paired three of the critters in costumes from the set, with the moon from the Scaredy Cat Stamps, the haunted house border and bats from the Fall Scenes Stamps, and the "Happy Halloween" sentiment from the Happy Howl-o-ween Stamps. For my moody cloud background, I started by inking up white cardstock with Salty Ocean Distress Ink and added in some clouds using masks I had cut out using the Fluffy Cloudy Border Dies with Prize Ribbon and then Chipped Sapphire ink along the outside edges. Finally, I layered in clouds cut using the Tulip Path Background Dies, which I colored with those same inks. 

I should note that I originally stamped and cut out the haunted house border using the coordinating dies, but later decided to fussy cut them out, cutting off the trees and fence to make things easy on myself since the other images in the border were pretty straight and easy. However, I then stamped the images again directly onto my background with the nice dark and bold VersaFine Onyx Black Ink so that the trees and fence would be there to just layer my fussy cut image over the top of and have them all seamlessly line up. I could have tried to color around the die-cut images with Copics to match them to my background, like I have done for other cards, but this felt easier, and I think it added extra drama to my scene by not having any white edges.

Sunny Studio Critters in Costumes with Haunted House Halloween Card using Too Cute To Spook & Fall Scenes Clear Craft Stamps

That wraps up my projects for today. Thanks so much for hanging out with me. I hope I've inspired you to spread a little happiness by sending out a card to someone you love. ðŸ’›

Don't forget to check out our Scaredy Cat Stamps and Scaredy Cat Dies in our online shop, which are currently on sale!

Also, please check out all the card ideas using these sets on each of their product pages. I always make sure to upload tons of card ideas following the product image, so there are lots of ideas to scroll through, organized by set.

Supplies Used:

Too Cute To Spook Stamps
Shop at:
Sunny Studio
Too Cute To Spook Dies
Shop at:
Sunny Studio
Scaredy Cat Stamps
Scaredy Cat Stamps
Shop at:
Sunny Studio
Scaredy Cat Dies
Scaredy Cat Dies
Shop at:
Sunny Studio
Fall Scenes Stamps
Fall Scenes Stamps
Shop at:
Sunny Studio
Fall Scenes Dies
Fall Scenes Dies
Shop at:
Sunny Studio
Happy Howl-o-ween Stamps
Shop at:
Sunny Studio
Happy Howl-o-ween Dies
Shop at:
Sunny Studio
Fluffy Clouds Border Dies
Shop at:
Sunny Studio
Slimline Nature Borders
Shop at:
Sunny Studio
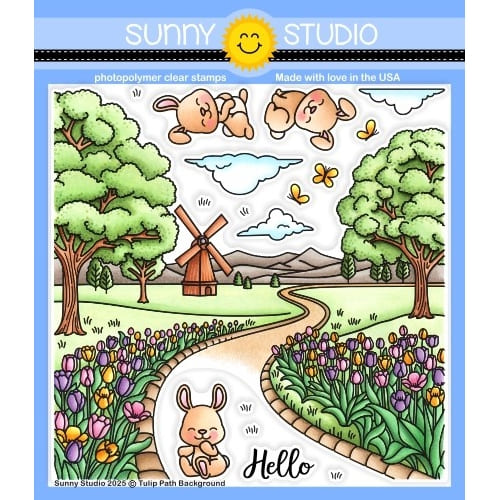
Tulip Path Background Stamps
Shop at:
Sunny Studio
Tulip Path Background Dies
Shop at:
Sunny Studio
PinkFresh Studio Blending Brushes
Shop at:
Sunny Studio
Hero Arts White Detail
Shop at:
Sunny Studio
Versafine Onyx Black Ink
Shop at:
Sunny Studio
VersaMark Watermark Ink
Shop at:
Sunny Studio

Thursday, September 25, 2025

Too Cute To Spook Card by Marine Simon

Hello crafty friends, Marine here, I'm back with a spooky shaker card featuring the sweetest black kitties having fun celebrating Halloween. Last week was all about goth elegance, well today is about cheekiness and cuteness!

Sunny Studio Stamps: Too Cute To Spook Halloween Card by Marine Simon (featuring Cat Antics, Party Pets, Bewitching, Stitched Semi-Circle Dies)

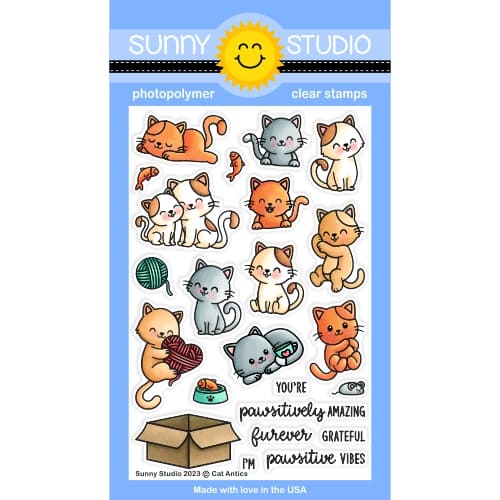
As very often I started off by stamping the images on 110lb Neenah solar white cardstock using an alcohol marker friendly black ink. I cut them all using the matching dies, and then colored everything using my Graph'it brush markers and Ohuhu markers, picking dark shades of grey for the kitties, spiders and hats, oranges for the pumpkins and pinks for the spooky balloons.

Here is a detailed list of the stamp sets I used: • Cat Antics - cats (on the right + upside down) • Party Pets - cats (left + middle + flying), balloons • Too Cute To Spook - pumpkins, spider webs, spiders, jack o' lantern faces • Bewitching - hats.

Sunny Studio Stamps: Too Cute To Spook Halloween Card by Marine Simon (featuring Cat Antics, Party Pets, Bewitching, Stitched Semi-Circle Dies)

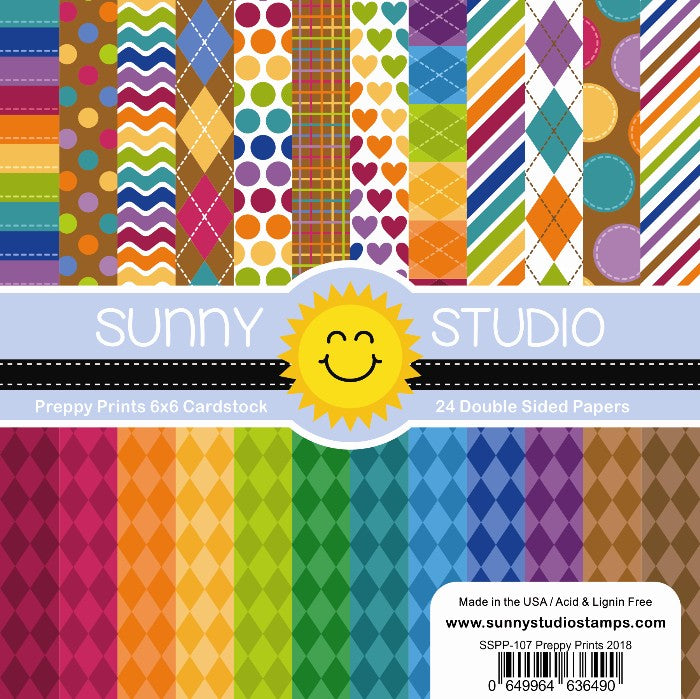
When the coloring was done, I added highlights and details to the images using a white gel pen, and then moved on to my shaker background. I first cut a 5,5 x 4,25 inches Preppy Prints purple panel and cut a large Stitched Semi Circle opening out of it. I mixed black soot oxide ink water and added black splatters to my purple panel, and then did the same with copic opaque white ink and with wilted violet distress spritz for some sparkles. I cut a 5,5 x 4,25 inches acetate panel, attached it at the back of my purple panel using liquid glue and then stamped "Trick or Treat" from Too Cute To Spook on the front, directly on the acetate using black Stazon ink, which is an ink that doesn't smear on acetate or vellum.

Sunny Studio Stamps: Too Cute To Spook Halloween Card by Marine Simon (featuring Cat Antics, Party Pets, Bewitching, Stitched Semi-Circle Dies)

At the back of my purple panel, I attached 2mm foam strips all around the Stitched Semi Circle window, following the rounded shape, added strips on the very edges of the panel, and poured a bunch of Black Bat confetti on the acetate. I cut a 5,5 x 4,25 inches Classic Sunburst pink panel, added black and white splatters all over it, and when it was dry I attached it to the foam strips to totally close my shaker panel. To finish my card base, I cut a black frame using the main Tropical Trees Backdrop die, attached it using 1mm foam squares, and finally stuck all the images using 1mm and 2mm foam squares.

And that's it! I hope that you like this spooky cute Halloween shaker card! Thanks so much for stopping by, and see you next week.

Sunny Studio Supplies Used:

Bewitching Stamps
Bewitching Stamps
Shop at:
Sunny Studio
Bewitching Dies
Bewitching Dies
Shop at:
Sunny Studio
Preppy Prints 6x6 Paper
Shop at:
Sunny Studio
Stitched Semi-Circle Dies
Shop at:
Sunny Studio
Classic Sunburst Paper
Shop at:
Sunny Studio
Tropical Trees Backdrop
Shop at:
Sunny Studio
Too Cute To Spook Stamps
Shop at:
Sunny Studio
Too Cute To Spook Dies
Shop at:
Sunny Studio
Cat Antics Stamps
Cat Antics Stamps
Shop at:
Sunny Studio
Cat Antics Dies
Cat Antics Dies
Shop at:
Sunny Studio
Party Pets Stamps
Party Pets Stamps
Shop at:
Sunny Studio
Party Pets Dies
Party Pets Dies
Shop at:
Sunny Studio

Wednesday, September 24, 2025

Happy Howl-o-ween Card with Tina

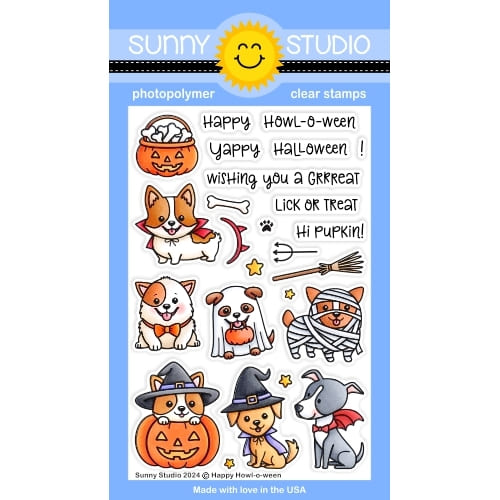
Hi there crafty friends, Tina here and we are continuing the fun Halloween vibes with this project featuring a cute dog from the Happy Howl-o-ween stamp and die set. I love how well these images work with the Bewitching and Too Cute To Spook products. So that is exactly what we are doing today, mixing and matching sets to create a unique scene.

Sunny Studio Stamps: Happy Howl-o-ween Card by Tina Henkens (featuring Bewitching, Too Cute To Spook)

After creating a white square card base, I cut a slightly smaller white panel, selected a plaid stencil from my stash and inked it up with Wilted Violet Distress OxideOur focal point consists of a large circle (Stiched Circles Large). I created this shape two times. One of them was colored with Black Soot Distress Oxide and turned into a grass border with a die from my stash. For the other piece, I cut a smaller circle and used it as a mask for my moon shape. With the mask in place (I used removable adhesive) I inked the entire large circle with the same Wilted Violet Distress Oxide that we used for the card base. I did go over the circle multiple times to darken the tone.

Sunny Studio Stamps: Happy Howl-o-ween Card by Tina Henkens (featuring Bewitching, Too Cute To Spook)

Next, I gently removed the mask and added color to the ‘moon’ (Squeezed Lemon and Spiced Marmalade oxides). After selecting the images from Happy Howl-o-ween, Bewitching and Too Cute To Spook, I colored them with my Copics, adding white highlights with a gel pen. Before assembling the scene, I needed to stamp the sentiment (Too Cute To Spook) directly to the focal panel with Versafine Onyx Black ink.

To create the card, I glued the large purple circle directly to the plaid background panel. Next, I mounted the grass border with foam tape, so I could tuck in the house, a pumpkin and the broom. I completed the scene by adding the cute dog, his cauldron and the other pumpkins. Lastly, I added some sparkle with a few Lavender Quartz Jewels.

I loved combining all these amazing sets and I hope you got inspired by this sweet scene. Thank you for joining me and happy crafting!

Sunny Studio Supplies Used:
Bewitching Stamps
Bewitching Stamps
Shop at:
Sunny Studio
Bewitching Dies
Bewitching Dies
Shop at:
Sunny Studio
Too Cute To Spook Stamps
Shop at:
Sunny Studio
Too Cute To Spook Dies
Shop at:
Sunny Studio
Happy Howl-o-ween Stamps
Shop at:
Sunny Studio
Happy Howl-o-ween Dies
Shop at:
Sunny Studio

Tuesday, September 23, 2025

Fall Scenes & Too Cute To Spook Card with Amanda

Hey, hey, crafty friends, Amanda here! Halloween is just around the corner, and I'm celebrating with this fun card I created! I'm here to explain how I made it so you can get inspired to make something crafty today!

Sunny Studio Costume Critter & Haunted House Halloween Card using Fall Scenes and Too Cute To Spook Clear Stamps & Craft Dies


First, I created an A2 card base out of white cardstock. I trimmed the cardstock to 5.5" x 8.5" and then scored it at 4.25". I, then, folded it on the score line. Next, I pulled out my Critter Country Paper. This pack is full of beautiful fall colors and patterns! I trimeed the orange polka-dot date paper down to 4" x 5.25" and then glued it directly to my card base.

I also pulled out the dark orange polka dot paper, the pumpkin pattern paper, and the green plaid paper. I ran the pumpkin paper through my die cutting machine with the large notebook paper die from the Notebook Photo Corners Die. I also cut a plain piece of white cardstock with this die as well. I cut the photo corners out of the dark orange paper. I created the tab from the green plaid paper with the Notebook Tabs Dies.

Next, I trimmed a piece of white cardstock to 3 - 3/8" x 2 - 5/8". On this panel, I stamped the Fall Scenes background stamp. I also stamped the "trick or treat" from the Too Cute To Spook Stamps on a separate small piece of white cardstock with my MISTI.

Sunny Studio Costume Critter & Haunted House Halloween Card using Fall Scenes and Too Cute To Spook Clear Stamps & Craft Dies

Then, it was time to color! I used Copic markers to color my scene and here are the markers I used:
  • Grass: YG00, YG21, YG23, YG25, YG17
  • All Orange spots:  YR04, YR09
  • Lights: Y13
  • House: N4, N5, N7
  • Concrete: C1, C2, C4
  • Sky: B41
  • Critter: E35, E25, E27, E29, YG23, YG 25, W3, W5, W7, N9, RV21, V05

I also added some white highlights to the little bear with a white Gelly Roll pen. 
I used the Too Cute to Spook Dies to cut out my little costumed friend. Next, I arranged everything as I wanted it on the card and started adhering the pieces together! I used foam squares, tape, and liquid glue to assemble everything.

I love all the layers to this card and that sweet little bear in his costume! Hopefully, you're feeling inspired to make a card yourself! Have fun! 

Supplies Used:
Fall Scenes Stamps
Fall Scenes Stamps
Shop at:
Sunny Studio
Fall Scenes Dies
Fall Scenes Dies
Shop at:
Sunny Studio
Too Cute To Spook Stamps
Shop at:
Sunny Studio
Too Cute To Spook Dies
Shop at:
Sunny Studio
Notebook Photo Corners Dies
Shop at:
Sunny Studio
Notebook Tabs Dies
Notebook Tabs Dies
Shop at:
Sunny Studio
Memento Tuxedo Black Ink Pad
Shop at:
Sunny Studio
Hero Arts Intense Black Ink
Shop at:
Sunny Studio
Critter Country Paper
Shop at:
Sunny Studio