Hello this is
Alma and today I want to share with you an autumn inspiration that even glows
in the dark. So at the recipient a really autumnal coziness comes up.
First, I embossed watercolour paper with the Woodgrain Embossing folder. Then I wiped the paper with Distress Oxide Inks in Walnut Stain, Ground Espresso, Frayed Burlap and Black Soot and sprinkled with water.
Afterwards I
attached the narrow battery of a string of lights inside the card and pulled
the cable through a hole to the front.
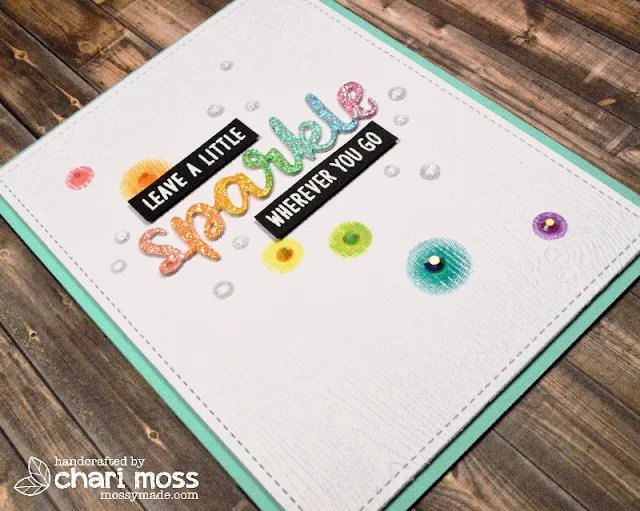
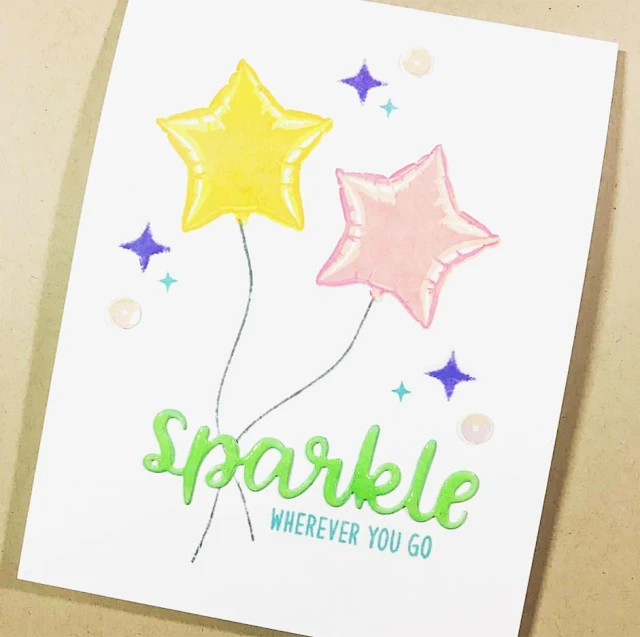
I draped the fairy lights in a wreath and glued them in place. Then I punched out lots of leaves with the Autumn Greenery Dies and colored them with Copics. After that I punched out leaves from vellum and worked them all into the garland of lights, creating a 3D effect. Finally, I punched out four papers with the Sparkle Word Die in black, glued them together to make them stable and sticked them into the wreath. Finally, I glued nylon thread into the wreath as decoration. Now the wreath can start glittering!
Have a great
autumn!
Hello Crafty
Friends! This is Marie back again for another card inspiration! Today I am
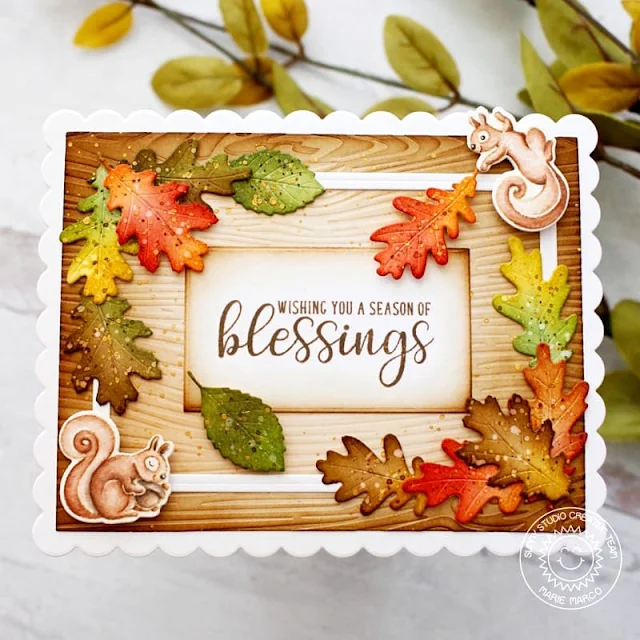
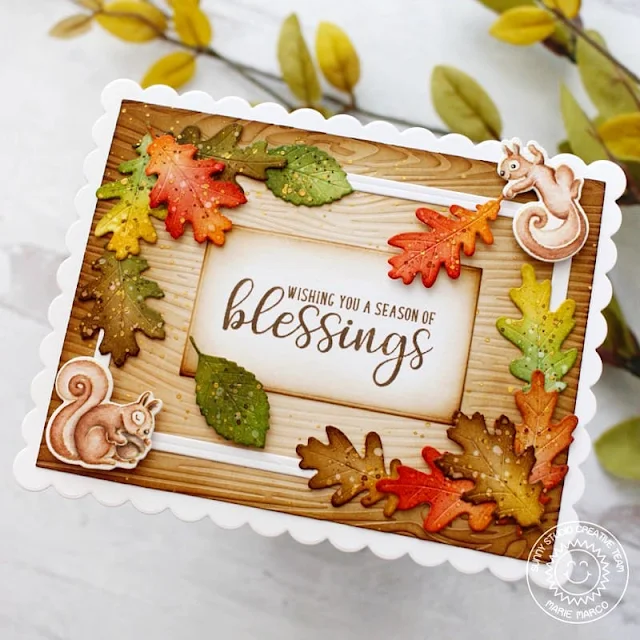
featuring the Autumn Greenery Die to create a Fall Blessings card.
Fall is my favorite time of the year! I love when things start to finally cool down, when pumpkin spice fills my coffee mug, and when I can finally start to anticipate the holidays, but one of the most recognizable signs I love and look forward to is when leaves transition into beautiful colors. What a pleasure it was to be able to create my own fall leaves using these amazing Autumn Greenery Die.
I start off by die cutting my leaves from Bristol Smooth white cardstock. I always use bristol smooth cardstock when I ink blend because the smoothness of the paper really helps distress inks blend together like butter. In no particular order here are all the distress inks I used to ink blend my leaves : Festive Berries, Fired Brick, Wild Honey, Scattered Straw, Mowed Lawn, Rustic Wilderness, Vintage Photo, and Walnut stain. After ink blending I splattered the leaves with water droplets, and vintage photo distress ink. I also gave my leaves some gold splatters using Altenew Metallic Watercolors.
I then die cut an A2 sized piece of bristol smooth cardstock and embossed it using the Sunny Studio Woodgrain 6x6 Embossing Folder. I love this embossing folder! Taking my woodgrain embossed A2 panel, I ink blended the edges using Vintage Photo and Walnut Stain Distress Ink.
To add a super cute touch to my card, I also used the Squirrel Friends Stamps from the latest Fall/WInter Release. I stamped a few images onto watercolor paper and used Derwent Inktense Pencils to color. I cut them out using the corresponding dies.
I cut out a sturdy Base panel from Neenah solar white 110 lb cardstock using a scalloped edged die. I took my woodgrain panel and attached it to my white base and a white frame in the center for my leaves. I cute out a rectangle for my sentiment using the Autumn Greetings stamp set. I love how this sentiment and its elegant font.
I positioned and attached all my elements using Bearly Art Precision Craft Glue, ScorTape, and Foam tape to give some leaves and my squirrels some dimension. And that does it for today's card inspiration! I hope that I've inspired you to create some leaf themed cards not just for fall, but for all year round! These Autumn greenery dies are a year round staple! Until next time, Happy Crafting!!!
Sunny Studio Supplies Used:
 Autumn Greetings Stamps Shop at: Sunny Studio |
 Sparkle Word Die Shop at: Sunny Studio |
 Woodgrain Embossing Shop at: Sunny Studio |
 Squirrel Friends Stamps Shop at: Sunny Studio |
 Squirrel Friends Dies Shop at: Sunny Studio |
 Autumn Greenery Dies Shop at: Sunny Studio |


