Hello crafty
friends, Marine here with you
today, I'm thrilled to be back on the blog with this set of three frosty tags!
Once again, I went through my entire Sunny Studio collection
to pick the different elements, and to create a frozen wintery look, I went for
a teal + white + silver combo.
I started off by
cutting three tags using a turquoise dotted pattern paper from the Dots & Stripes Pastels paper
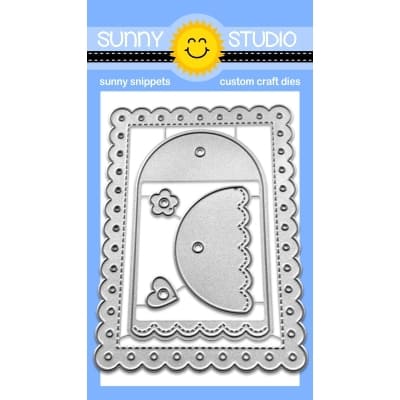
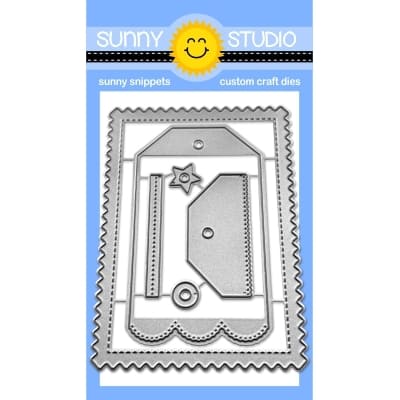
pack and the main die from the Mini Mat & Tag 3 die set.
I also cut three smaller pieces out of a darker colored cardstock and another
die from the Mini Mat & Tag 3 die set.
I embossed those three darker pieces using the Woodgrain embossing folder,
and then to give all those elements more interest, I added white pigment ink on
the edges, as well as copic opaque white ink to emphasize the frozen look.
I cut three
white toppers using another die from the Mini Mat & Tag 3 die set,
and assembled a few things: I attached a small woodgrain panel in the center of
each tag using double sided tape, and then a white topper at the very top of
them using foam squares.
Next I stamped
and cut all the elements to decorate the tags. I white heat embossed three
poinsettias from Classy Christmas on
vellum and cut them using the coordinating dies. I also cut a bunch
of white, silver and white glittery leaves using dies from Pristine Poinsettia and Spring Greenery.
And then I assembled and created a small cluster on each tag.
I cut three
additional tags using the main die from the Mini Mat & Tag 3 die set and
attached one at the back of each tag to give them a nice finishing touch. And
then I added the last details.
I cut three tiny
silver circles using a die from the Comic Strip Everyday die set,
glued one in the middle of each poinsettia, and added a clear droplet on top of
each silver circle to bring more shine. I silver embossed three "Merriest
Wishes" greetings from Reindeer Games on
circle tags I cut using a die from the Sliding Window die set,
and added white ink on those small tags to match the whole frosty look, and
finally I attached those circle tags along with silver bells at the top of each
tag using twine and ribbons.
And that's it! I hope you like those frozen tags, it was super fun to create
them, very easy to mass produce I think! As always, you are more than welcome
to watch the process video for more details (click on the image above). Thank you so much for watching,
and have a very merry Christmas! See you next time!
-------------------------------------------
Hi Friends, Waleska here! Today I have a fun idea for all those last
minute gift wrapping and tags for your gifts, they are simple and very easy to
assemble I hope you like them! The Mini Mat & Tag #1 set is just adorable
and I had so much fun piecing all this tags together with different colors of
cardstock and different cute critters!
I started by cutting the main tags with white
cardstock I then cut the top that comes with the set from different colors of
cardstock from the Joyful Holiday Paper Pad. I cut four pieces of the rectangle from the Mini Mat & Tag 3 and inked them with oxide inks matching the colors I used for the
tops of the tags. The Oxide Ink colors I used are: Picked Raspberry,
Candied Apple, Peacock Feathers and Mowed Lawn. I added water splashes
and sparkle watercolor.
I then stamped and color the four cute critters
from the Christmas Critters Stamp and adhere them to the inked pieces, finally I stamped the “To and
From” from the Christmas Icons stamp set.
I love how adorable this cuties look peeking on
this colorful tags! I hope you like them and can be inspired by them! Have a
great rest of your day! Merry Christmas!Sunny Studio Supplies Used: