Showing posts with label Brilliant Banners. Show all posts

Sunday, November 2, 2025

Roly Poly Penguins Card with Hanh

Hello Crafty Friends! This is Hanh on the Sunny Studio Stamps blog today sharing a fun Christmas card featuring these adorable Roly Poly Penguins who are using the Build-a-Greeting Holidays Stamp set to wish you a Holly Jolly Christmas.

Sunny Studio Stamps: Roly Poly Penguins Christmas Card by Hanh Nguyen (featuring Basic Mini Shapes Dies, Brilliant Banner Dies, Frilly Frame Dies, Build-A-Greetings Holidays)

For the layout, I diecut a piece of white cardstock using the outer die of the Frilly Frames Polka Dot Dies. Next, I took a piece of Bristol Smooth cardstock and lightly ink blended it with Spun Sugar Distress Oxide ink. I trimmed the pink panel down to fit inside white scalloped panel. 

Sunny Studio Stamps: Roly Poly Penguins Christmas Card by Hanh Nguyen (featuring Basic Mini Shapes Dies, Brilliant Banner Dies, Frilly Frame Dies, Build-A-Greetings Holidays)

I stamped the images from the Roly Poly Penguins Stamp set onto a piece of Neenah Solar White 110 lb cardstock with Memento Tuxedo Black ink and used the coordinating Roly Poly Penguins Dies to diecut them out. I also used the Basic Mini Shape Dies and Basic Mini Shape Dies 3 to diecut some holly leaves and berries out of white and red cardstock. I colored the elements with Copic markers and accented with a white gel pen.

COPIC COLORS:
Penguins: T4/5/7/9, W00/0/1, Y38 YR04, R00/20
Red: R24/29/39
Green: YG01/03/17
White: C00/1/3

Sunny Studio Stamps: Roly Poly Penguins Christmas Card by Hanh Nguyen (featuring Basic Mini Shapes Dies, Brilliant Banner Dies, Frilly Frame Dies, Build-A-Greetings Holidays)

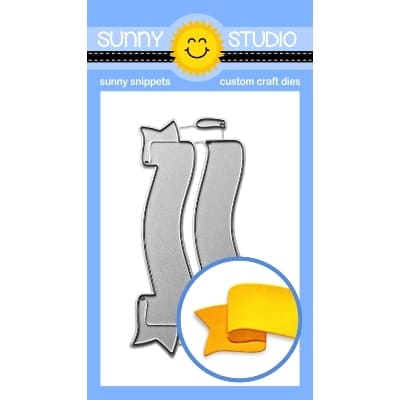
For the sentiment, I diecut a banner out of red cardstock using the Brilliant Banner 3 Dies.  The Build-a-Greeting Holidays Stamp set from the latest release was used to create a sentiment. I stamped the sentiment with Versamark Watermark ink onto the red banner and heat embossed with Detail White Embossing Powder.

Sunny Studio Stamps: Roly Poly Penguins Christmas Card by Hanh Nguyen (featuring Basic Mini Shapes Dies, Brilliant Banner Dies, Frilly Frame Dies, Build-A-Greetings Holidays)

I adhered the sentiment banner and all of the colored images onto the inked panel with foam tape. I added some snowflakes diecut from white cardstock using the Basic Mini Shape Dies 2 and the Basic Mini Shape Dies 5. Finally, I adhered the entire panel onto the front of a top folding white card base (4.25" x 5.5"). 

I appreciate you taking the time to stop by and visit today. I hope you liked my card. Be sure to check out the Sunny Studio Stamps Shop for more info and ideas. Please also visit my INSTAGRAM feed for more inspirations.

Have a wonderful and crafty day!

Sunny Studio Supplies Used:

#REF! #REF!
Mini Basic Shape Dies
Shop at:
Sunny Studio
Frilly Frames Polka-Dot
Shop at:
Sunny Studio
Basic Mini Shape Dies 2
Shop at:
Sunny Studio
Roly Poly Penguin Stamps
Shop at:
Sunny Studio
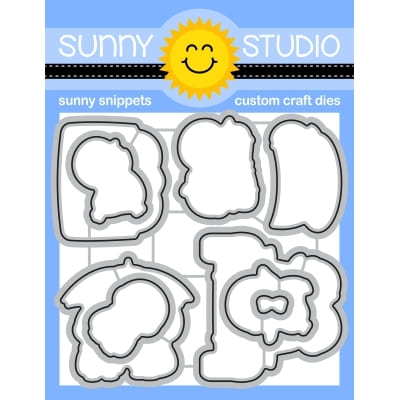
Roly Poly Penguin Dies
Shop at:
Sunny Studio
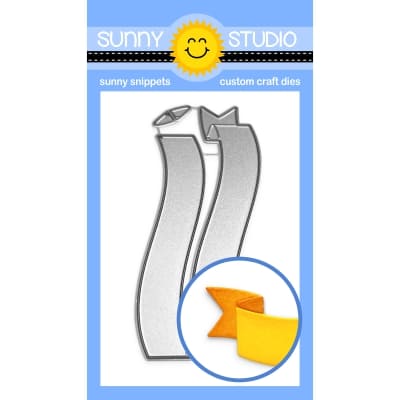
Brilliant Banner 3 Dies
Shop at:
Sunny Studio
Basic Mini Shape Dies 5
Shop at:
Sunny Studio
Build-a-Greeting Holidays
Shop at:
Sunny Studio

Wednesday, October 22, 2025

Alpaca Holiday Card with Tina

Hello crafters, it’s Tina and I have another cute holiday card for you! This time we are creating an oval design with the sweet images from the Alpaca Holiday stamp and die set.

Sunny Studio Stamps: Alpaca Holiday Winter Themed Card by Tina Henkens (featuring Stitched Oval Dies, Scalloped Oval Mat Dies, Brilliant Banner Dies, Inside Greetings)

To create an oval shaped card base from white card stock, I folded the paper in two and used the largest die from Stitched Ovals. You just have to make sure to place the die higher than the fold line from the card stock, that way it will not cut through.

I wanted to have a fun frame for my scene, so I opted for the largest of the Scalloped Oval Mat 1 dies combined with a smaller die from the Stitched Ovals. These sets work great together. My paper was a sheet of teal from the Polka-dot Parade pack. To give this frame a more distressed look I went in with a blending brush and Salvaged Patina Distress Oxide.

To build the scene I needed three more pieces of white card stock in an oval shape (Stitched Ovals), two for the snow banks and one for my sky (also inked with Salvaged Patina and sprinkled with splatters of white paint to mimic the snow).

Sunny Studio Stamps: Alpaca Holiday Winter Themed Card by Tina Henkens (featuring Stitched Oval Dies, Scalloped Oval Mat Dies, Brilliant Banner Dies, Inside Greetings)

From the Alpaca Holiday stamp, I selected three cuties and the mountain range (twice). I colored my images in pink, brown and teal Copics colors. Then it was time to build the scene layer by layer, starting with the sky and adding the two snow banks (cut with a die from my stash). Next, I added the two mountain ranges tucked in behind the snow. I used the second piece to strategically place the hills, doing some cutting with my scissors were needed. Then, I could add the frame and the sweet alpacas.

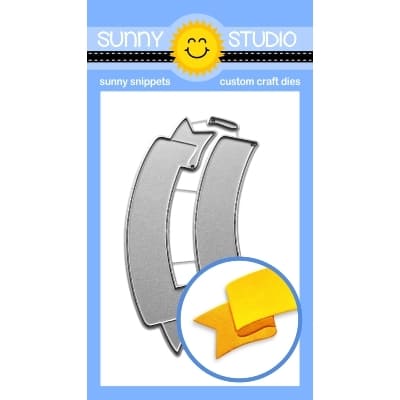
For oval designs, I love to work with a banner (Brilliant Banners 2), because it has that perfect rounded shape. My sentiment was taken from the Inside Greetings Holiday set and stamped in a pink ink from my stash. As embellishments, I glued three small snowflakes (Snowflake Circle Frame die) across the sky, adorning each of them with an Iridescent JewelFor this winter scene, I added lots of snowy dots with my white gel pen! 

I hope you got inspired by these cute alpacas for your holiday cards! Thank you for joining me and happy crafting!

Sunny Studio Supplies Used:

Polka-dot Parade 6x6 Paper
Shop at:
Sunny Studio
Alpaca Holiday Stamps
Shop at:
Sunny Studio
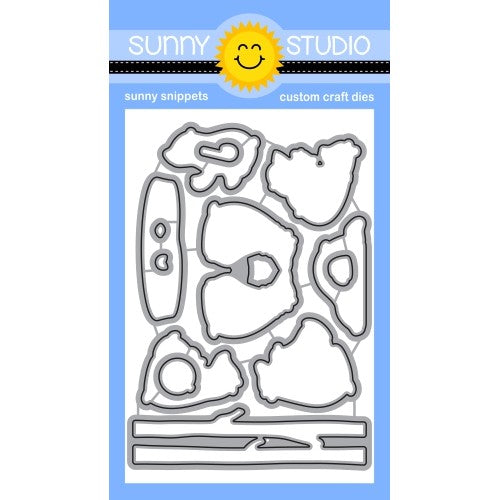
Alpaca Holiday Dies
Alpaca Holiday Dies
Shop at:
Sunny Studio
Stitched Oval Dies
Stitched Oval Dies
Shop at:
Sunny Studio
Snowflake Circle Frame
Shop at:
Sunny Studio
Inside Greetings-Holidays
Shop at:
Sunny Studio
Scalloped Oval Mat 1 Dies
Shop at:
Sunny Studio
Brilliant Banner 2 Dies
Shop at:
Sunny Studio

Wednesday, October 8, 2025

Merry Mice Card with Tina

Hi there crafty friends, Tina here and I am super excited to show you my first Christmas card of the year! How fun is it to add lots of snow to your projects or make them sparkle and shine! You know I love cute critters and today is no exception, we are featuring the cute images from Merry Mice and it’s coordinating dies.

Sunny Studio Stamps: Merry Mice Christmas Card by Tina Henkens (featuring Stitched Arch Dies, Frilly Frame Chevron Dies, Inside Greetings Holiday, Brilliant Banners)

As usual, I started with a white card base and cut an extra panel with the outer die from Frilly Frames Chevron. Next, I created my focal point for the snowy scene and die cut a window with the second largest of the Stitched Arched dies. I set this piece aside for another project.

For extra dimension, I ran the chevron panel again through the die cutting machine with the Dapper Diamonds embossing folder. Fun fact about this method is that you can reverse the panel and get a totally different look, and that is what I did today.

To create the sky and snow banks I used extra pieces of white card stock slightly bigger that the arched frame. I finally decided to use my Distress Mica Stain in the color Snow Flurries which has been in my stash for a while now. The result is a beautiful shiny sky, but you can also use any Distress Oxide inks that you have and a shimmer spray. I glued the snow banks and sky piece to the back of the diamond panel and added the whole to my card base.

Sunny Studio Stamps: Merry Mice Christmas Card by Tina Henkens (featuring Stitched Arch Dies, Frilly Frame Chevron Dies, Inside Greetings Holiday, Brilliant Banners)

After selecting the images from the adorable Merry Mice set, I started coloring with my Copics. I went with yellow, pink and blue shades which go well with the background.  

Next, I mounted the images into the scene with foam tape. The sentiment was taken from the Inside Greetings Holiday set (they also work great on the outside of a card!) and stamped onto a Brilliant Banner 4 piece with a blue ink from my stash. Lastly, I added a few Champagne Clear Jewels for that extra shimmer and shine.

I can’t wait to see all your wonderful Christmas cards! Thank you for joining me and happy crafting!

Sunny Studio Supplies Used:

Dapper Diamonds Embossing
Shop at:
Sunny Studio
Frilly Frames Chevron Die
Shop at:
Sunny Studio
Merry Mice Stamps
Merry Mice Stamps
Shop at:
Sunny Studio
Merry Mice Dies
Merry Mice Dies
Shop at:
Sunny Studio
Stitched Arch Dies
Stitched Arch Dies
Shop at:
Sunny Studio
Inside Greetings-Holidays
Shop at:
Sunny Studio
Brilliant Banner 4 Dies
Shop at:
Sunny Studio

Friday, October 3, 2025

Bountiful Autumn & Turkey Day Thanksgiving Cards with Mendi

Hello and welcome! This is Mendi here today, popping in to share some fall cards featuring our Bountiful Autumn Stamps and Turkey Day Stamps.

Sunny Studio Fall Thanksgiving Cards using Bountiful Autumn, Turkey Day & Background Basics 2 Stamps & Sweater Weather Paper

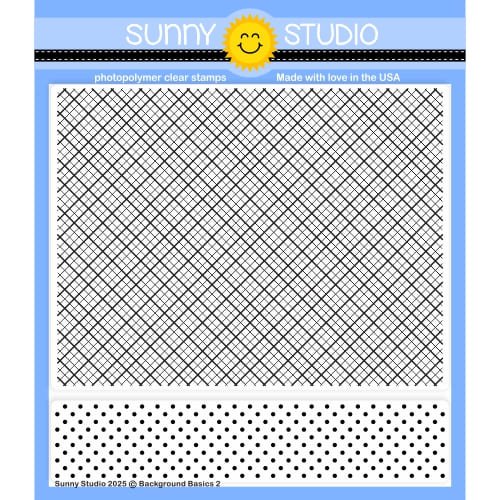
For my first card today, I created a mini slimline card measuring 3-1/2" wide x 6-3/8" high using the stitched mat die from the Slimline Scalloped Frame Dies. I was able to shorten the length by running it through my die-cutting machine a second time. Since we don't have any patterned papers that exceed 6" wide, I decided to use the repeating polka-dot border from the Background Basics 2 Stamps (pictured above) with Gina K Sweet Mango Ink. I love how these can be used to stamp a card background of almost any size. To frame my two mini scenes, I cut two circles from white cardstock using the Stitched Circle Large Dies and then grounded the scenes with pennants from the Notebook Photo Corners Dies, which I had also shortened a bit by running them through my die-cutting machine a second time. I embellished my small scenes using the turkeys, cornucopia, vegetables, and pie from the Bountiful Autumn Stamps and then heat-embossed the greetings from the Turkey Day Stamps.
 
Sunny Studio Fall Turkey Thanksgiving Card using Bountiful Autumn, Background Basics 2 Stamps, and Stitched Circle Craft Dies

For my second card, I created a larger slimline card sized 8-1/2" wide x 4" high. Because once again, a single sheet of 6x6 Sweater Weather Paper wouldn't adequately cover my full background, I decided to die-cut several different colors into 5/8" wide stitched strips using the smallest pennant die from the Slimline Pennant Dies set. I then found the center of the card (cutting 14 strips in total) and positioned the green and teal strips on either side of the center line, working out towards both ends until my entire card front was covered with a striped print. At that point, it was super easy to use my paper trimmer to trim off any excess overhang, which is always so satisfying!

To create the look of three polaroid photos, I used the smallest rectangle in the Stitched Rectangle Dies, shortening them again with a second pass through the die-cutting machine, at the same time as positioning a 2" square die from the Stitched Square Dies to form an opening for each little "picture." I added some 1/8" scor-tape around the perimeter, behind each polaroid, and backed the window openings with a teal vine print from the same Sweater Weather Paper pack. I decorated each picture using all the darling images from our Turkey Day Stamps and heat embossed the curved greeting from the set onto a Brilliant Banner 1 Die.

Sunny Studio Striped Slimline Fall Thanksgiving Card using Turkey Day Clear Stamps, Metal Craft Dies, & Sweater Weather Paper

That wraps up my projects for today. Don't forget to check out the Bountiful Autumn Stamps, Bountiful Autumn Dies, and Sweater Weather Paper in our online shop, which are all currently on sale!

Also, if you are in the market for a glass craft mat, I have a special sale from one of our favorite partners to share with you. In honor of World Cardmking Day, use our affiliate link HERE to save 20% at checkout through Sunday. I love my oversized glass mat so much that I invested in a second one to have as an additional work surface in my room. It's undoubtedly the best craft supply I've ever invested in! Also, if you are catching this post late, no worries. My link provides you with 15% off year-round. 💛

Glassboard Studio 20% off Glass Mat World Cardmaking Day Sale using code SUNNYSTUDIO

Thanks so much for hanging out with me. I hope I've inspired you to spread happiness by sending a card to someone you love. ðŸ’›

Supplies Used: 

Bountiful Autumn Stamps
Shop at:
Sunny Studio
Bountiful Autumn Dies
Shop at:
Sunny Studio
Turkey Day Stamps
Turkey Day Stamps
Shop at:
Sunny Studio
Turkey Day Dies
Turkey Day Dies
Shop at:
Sunny Studio
Slimline Scalloped Frame
Shop at:
Sunny Studio
Slimline Pennant Dies
Shop at:
Sunny Studio
Notebook Photo Corners Dies
Shop at:
Sunny Studio
Background Basics 2 Stamps
Shop at:
Sunny Studio
Stitched Square Dies
Shop at:
Sunny Studio
Stitched Rectangle Dies
Shop at:
Sunny Studio
Stitched Circle Large Dies
Shop at:
Sunny Studio
Brilliant Banner 1 Dies
Shop at:
Sunny Studio
Sweater Weather Paper
Shop at:
Sunny Studio
VersaMark Watermark Ink
Shop at:
Sunny Studio
Hero Arts White Detail
Shop at:
Sunny Studio
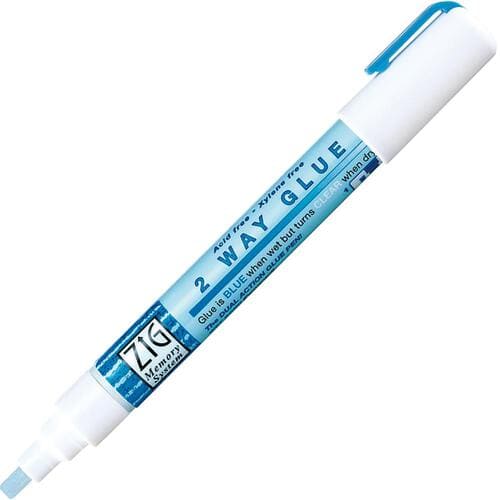
Zig Chisel Tip Glue Pen
Shop at:
Sunny Studio