Hello, and welcome to day 2 of our Spring Sneak Peek Week! All this week I am sharing cards showcasing our newest collection, which will be available for purchase this Friday!
Card No.1: Today, I am sharing cards using our new Quill Cuties Stamps and Dies featuring ten adorable hedgehogs and two brand new nesting circle die sets. I started my card by cutting an A2-sized panel from red cardstock and then covered it with the 1-3/4" wide Radiating Circles Die, cut from pink patterned papers from the Joyful Holiday Paper, Flirty Flowers Paper, Gingham Pastels Paper, and Dots & Stripes Pastels Paper packs. I heat-embossed a greeting from the set onto the center circle and then filled the other circles with six of the hedgehogs from the new set, colored in coordinating pink & red tones.
Card No.2: For my second card using the new Quill Cuties Stamps, I created a frozen pond for the hedgehogs to ice skate on. I started by adding the row of the snowy trees to the background using the stamped border from the Winter Scenes Stamps. I then inked a panel with tumbled glass distress ink for the pond and cut the top edge using the Winter Scenes Dies. Next, I cut a snowy hillside using the Slimline Nature Border Dies and added three more hedgehogs dressed for Valentine's Day to the foreground. Lastly, I heat-embossed the punny greeting from the set onto a red speech bubble from the new Speech Bubbles Extras Dies.
Card No.3: Up next, I focused on the cute little hedgehog in the bathtub and all the coordinating accessories like the rubber ducks, shampoo, bar of soap, and bubbles from the Quill Cuties Stamps. To frame my scene, I layered a Stitched Circle Large Die over the largest of the new Zig Zag Circles Dies. To give the feeling of a bathroom, I added yellow striped wallpaper using the Dots & Stripes Pastels Paper pack, wainscotting using the wrist band from the Woolen Mitten Dies, and a yellow checkered tile floor with the Buffalo Plaid Diagonal Die and Diagonal & Straight Stripes Stencils. Lastly, I mounted my finished circular scene on a blue quilted heart print panel from the Flirty Flowers Paper pack.
Card No.4: For my next card showcasing the Quill Cuties Stamps, I added them to a living room scene using the armchairs, lamp, and side table from the Cozy Christmas Stamps. I framed my scene using the leftover pieces from a cookie card shared yesterday with the Loopy Rectangle Frame Dies. I love that when you cut these out, you don't have to toss the extra pieces, but can save them to mix and match for future cards. I then customized my greeting by pairing the punny greeting from the Quill Cuties Set with the word "Kisses" spelled out using the Sydney Alphabet Dies cut from red cardstock.

That wraps up today's sneak peek. I'm so happy you joined me today! I'd love to give a $40 gift code to one lucky winner, who will be randomly selected from the comments on this blog post, as well as our Facebook and Instagram posts. Our daily contests will run through Saturday, January 10th, at Midnight PST, with winners announced here on our blog on Sunday, January 11th.
Here's a closer look at our new Quill Cuties Stamps, Quill Cuties Dies, Radiating Circles Dies, and Zig Zag Circles Dies used today, which will be available for purchase on Friday, January 9th.
Other Supplies Used:
 Happy Thoughts Stamps Shop at: Sunny Studio |
 Gingham Pastels 6x6 Paper Shop at: Sunny Studio |
 Flirty Flowers 6x6 Paper Shop at: Sunny Studio |
 Dots & Stripes Pastels 6x6 Paper Shop at: Sunny Studio |
 Surprise Party 6x6 Paper Shop at: Sunny Studio |
 Slimline Nature Borders Shop at: Sunny Studio |
 Winter Scenes Stamps Shop at: Sunny Studio |
 Winter Scenes Dies Shop at: Sunny Studio |
 Slimline Pennant Dies Shop at: Sunny Studio |
 Stitched Circle Large Dies Shop at: Sunny Studio |
 Cozy Christmas Stamps Shop at: Sunny Studio |
 Cozy Christmas Dies Shop at: Sunny Studio |
 Joyful Holiday Paper Shop at: Sunny Studio |
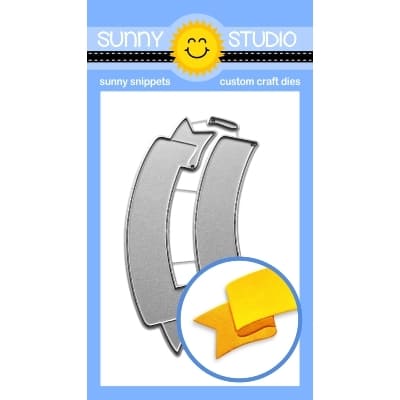 Brilliant Banner 2 Dies Shop at: Sunny Studio |
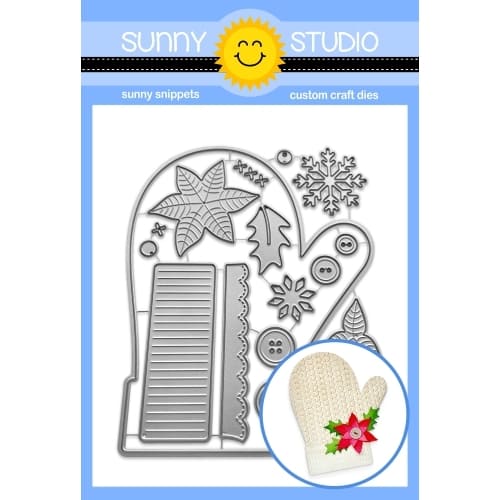 Woolen Mitten Dies Shop at: Sunny Studio |
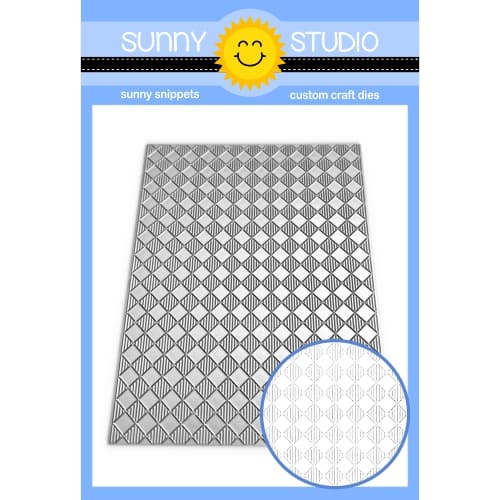 Buffalo Plaid Diagonal Die Shop at: Sunny Studio |
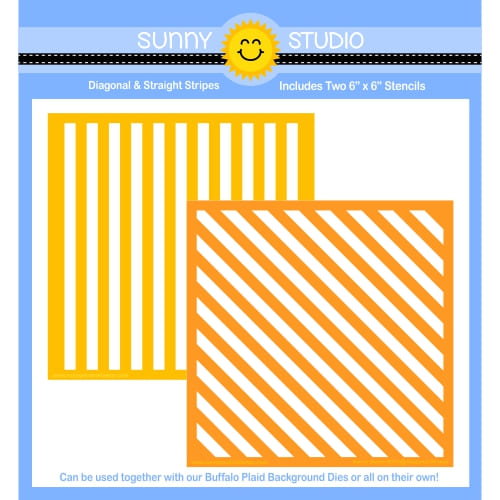 Diagonal & Straight Stripes Stencils Shop at: Sunny Studio |
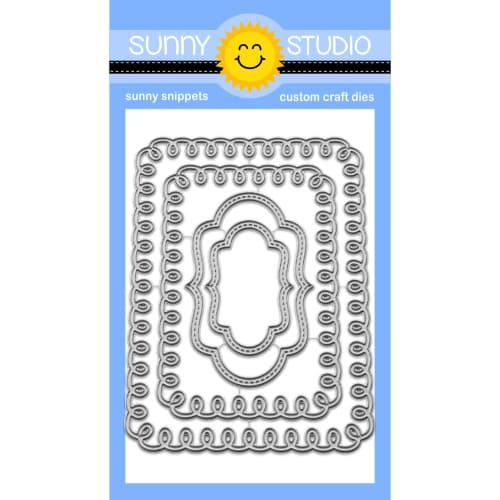 Loopy Rectangle Frame Dies Shop at: Sunny Studio |
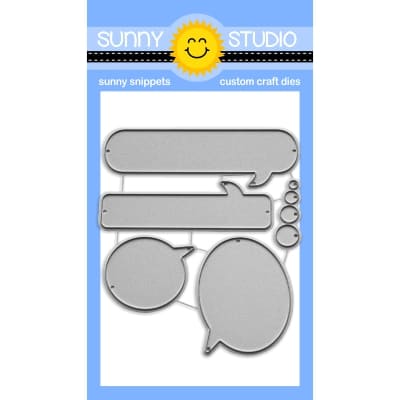 Speech Bubbles Extras Shop at: Sunny Studio |
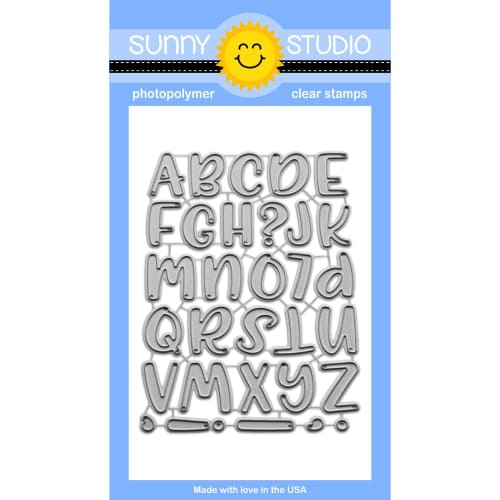 Sydney Alphabet Dies Shop at: Sunny Studio |
 PinkFresh Studio Blending Brushes Shop at: Sunny Studio |
 Hero Arts White Detail Shop at: Sunny Studio |
 VersaMark Watermark Ink Shop at: Sunny Studio |
 Versafine Onyx Black Ink Shop at: Sunny Studio |


