Hello friends!
It's Ashley with one more Christmas card for
you all! I can't believe Christmas is this week already! I decided to use more
non-traditional colors, and go with a pink scene this week featuring the
adorable Sledding Critters!
I started by blending Distress Oxide inks in Picked Raspberry and Spun Sugar onto white cardstock. I splattered the piece with water and white paint for a snowy look and dried it with my heat gun. I cut a snowy hill from white cardstock with a Slimline Nature Borders die and added it to the bottom of the card. I then die cut the Christmas Garland Frame from light pink cardstock and glue it on top.
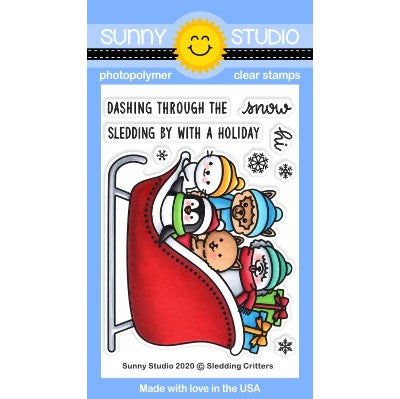
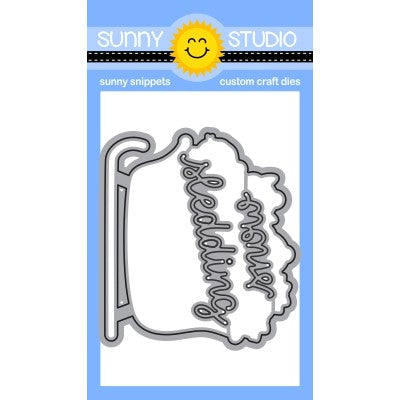
I stamped the image from Sledding Critters in Lawn Fawn Jet Black ink on white cardstock. I colored it with Copics, sticking with pinks and greys for a monochromatic feel, then cut it out with the matching die. I used the snowflakes from the Snowflake Circle Frame die on both white and white glitter cardstocks and scattered them around the edge of the card. I stamped a sentiment from Feeling Frosty in VersaMark ink onto black cardstock and embossed with white before adding it to the card with foam tape. I finished with some pink snowflake sequins from Colorful Snowflake Sequins for extra shine.
Thank you so much for stopping by! Have a wonderful day and Christmas!
-------------------------------------------------
Hello everyone,
Mayra here with you today. WOW!! Christmas is this Friday!! I hope you all have
been having a wonderful Holiday season so far. I created this card to share
with you. I used the very cute Sledding Critters stamp set.
I began by coloring the image using Copic markers. I then die cut the stitched rectangle from the Frilly Frames Quatrefoil dies set. I die cut it using Bristol Smooth Cardstock. I also used the same stitched rectangle to die cut a layer from glittery cardstock. Next, I created two layers of snowy hills using the Slimline Nature Border dies. I also die cut a couple of birch trees using the Rustic Winter dies set. I then die cut the larger of the two tags from the Scalloped Tag Square dies set using red cardstock. I then cut a smaller square to fit within the tag. I also die cut a smaller square using the glittery cardstock. I then die cut the snowy slopes from the smaller glittered square.
Copic colors used: Red: R46, R17, R05; Green: YG03, YG17, YG67, G29; Tan: E31, E55, E35, E41; Gray/Off White: E40, E41, W1, N3, W3
I used Distress Inks to add color to both the stitched rectangle panel and the small square panel. I started with Chipped Sapphire Distress Ink, Blueprint Sketch Distress Oxide, Chipped Sapphire Distress Oxide, and a bit of Black Soot Distress Ink. I then added white splatters over both panels and a bit over the colored image and tag. Next, I used Copic markers to add some color to the die cut Birch trees.
I hope you enjoy the card I created to share with you today. I pray you each have a wonderful and super blessed Christmas.
Sunny Studio Supplies Used:
 Rustic Winter Dies Shop at: Sunny Studio |
 Feeling Frosty Stamps Shop at: Sunny Studio |
 Snowflake Circle Frame Shop at: Sunny Studio |
 Scalloped Tags-Square Shop at: Sunny Studio |
 Christmas Garland Frame Shop at: Sunny Studio |
 Frilly Frames Quatrefoil Shop at: Sunny Studio |
 Slimline Nature Borders Shop at: Sunny Studio |
 Scaredy Cat Dies Shop at: Sunny Studio |
 Sledding Critters Dies Shop at: Sunny Studio | |


No comments:
Post a Comment