Hey everyone, how are you all doing this weekend? I'm so excited to be popping in today with a Sunny Saturday Share. There have been so many amazing cards popping up on Instagram that have made my jaw drop, so I couldn't wait to share them with all of you!
Merry Mice & Fancy Frames Rectangle Dies card by Nicky Meek
Panda Party, Alpaca Holiday, Gleeful Reindeer, and Roly Poly Penguins card by Janneke Peters
Reindeer Games card by Nicky Meek
Reindeer Games card by Janneke Peters
Charming City, Happy Home, Cozy Christmas, Stitched Squares card by Dawn
Cozy Christmas, Santa Claus Lane, Turkey Day, Joyful Holiday, Gingham Jewel Tones, Stitched Squares, Scalloped Oval 1 card by Dawn
Holiday Style card by Crafty Engineer
Thank you for sharing all these fabulous ideas with us! I hope you will continue to share your gorgeous projects with us--It always makes my day to see them. Please tag us on instagram @sunnystudiostamps or share your projects with us in our flickr group. Sadly we are no longer able to view all the posts using our hashtag on Instagram so it's super important for you to also tag us @sunnystudiostamps so we can find them and they don't get missed. 💛
 Gleeful Reindeer Stamps Shop at: Sunny Studio |
 Happy Home Dies Shop at: Sunny Studio |
 Happy Home Stamps Shop at: Sunny Studio |
 Holiday Style Dies Shop at: Sunny Studio |
 Holiday Style Stamps Shop at: Sunny Studio |
 Gingham Jewel Tones 6x6 Paper Shop at: Sunny Studio |
 Alpaca Holiday Stamps Shop at: Sunny Studio |
 Alpaca Holiday Dies Shop at: Sunny Studio |
 Santa Claus Lane Stamps Shop at: Sunny Studio |
 Santa Claus Lane Dies Shop at: Sunny Studio |
 Merry Mice Stamps Shop at: Sunny Studio |
 Merry Mice Dies Shop at: Sunny Studio |
 Scalloped Oval Mat 1 Dies Shop at: Sunny Studio |
 Charming City Stamps Shop at: Sunny Studio |
 Charming City Dies Shop at: Sunny Studio |
 Cozy Christmas Stamps Shop at: Sunny Studio |
 Cozy Christmas Dies Shop at: Sunny Studio |
 Reindeer Games Stamps Shop at: Sunny Studio |
 Reindeer Games Dies Shop at: Sunny Studio |
 Joyful Holiday Paper Shop at: Sunny Studio |
 Panda Party Stamps Shop at: Sunny Studio |
 Panda Party Dies Shop at: Sunny Studio |
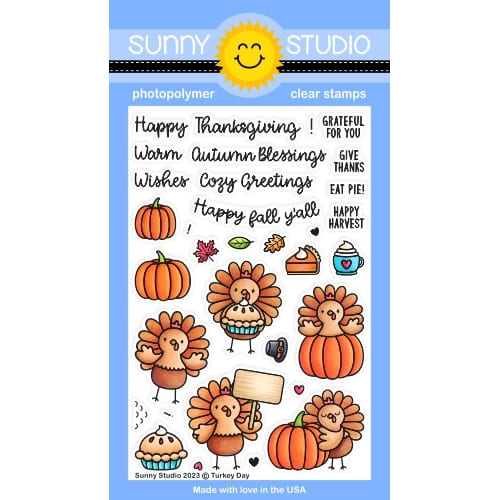 Turkey Day Stamps Shop at: Sunny Studio |
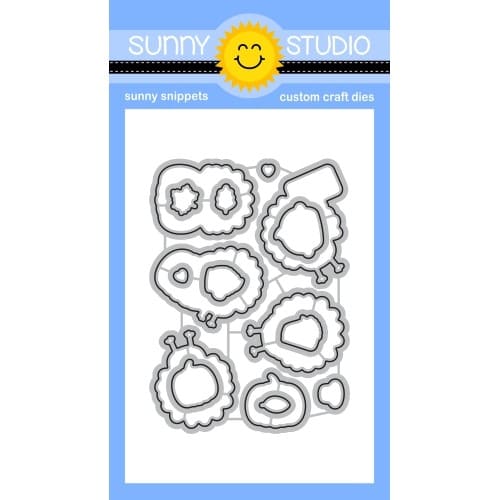 Turkey Day Dies Shop at: Sunny Studio |
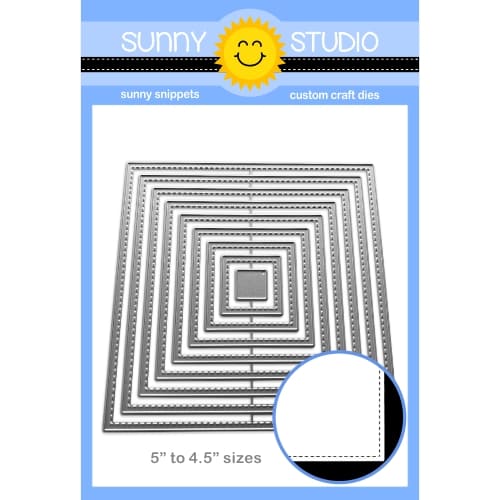 Stitched Square Dies Shop at: Sunny Studio |
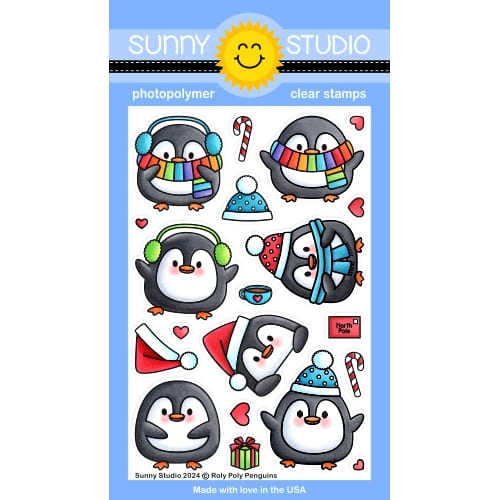 Roly Poly Penguin Stamps Shop at: Sunny Studio |
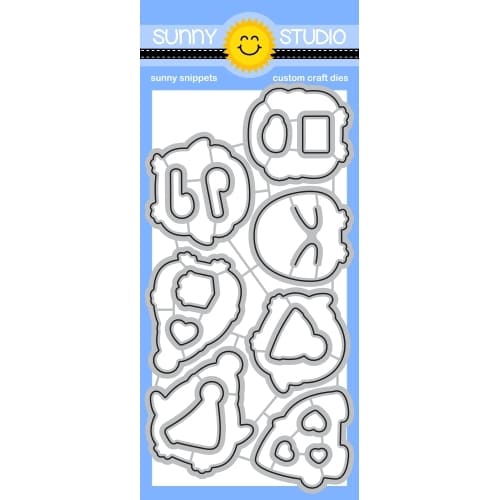 Roly Poly Penguin Dies Shop at: Sunny Studio |
 Fancy Frames- Rectangles Shop at: Sunny Studio |


