Showing posts with label Stitched Semi-Circle Dies. Show all posts

Thursday, November 20, 2025

Rustic Winter Card with Marine

Hello crafty friends, Marine here. I'm so happy to be back with this monochromatic holiday card showcasing the beautiful Rustic Winter die set. I've had this set in my stash for years but for some reason never used it, and that was a huge mistake because it is amazing, I love those delicate and pretty deer!

Sunny Studio Stamps: Rustic Winter Christmas Card by Marine Simon (featuring Rounded Rectangle Mat Dies, Stitched Semi-Circle Dies, Build-A-Greeting Holidays, Lacy Snowflakes Dies)

I started off by cutting all the bits and pieces out of dark grey, light grey, white, and silver glitter cardstock. I added liquid stardust splatters to the white pieces, copic opaque white ink splatters and liquid stardust splatters to the dark grey and light grey pieces, and then assembled everything. I layered the deer, pine trees, birch trees, and bow on top of silver glitter pieces, but shifted them a little bit to get a pretty silver border around each element. The deer and birch trees are from Rustic Winter, the pine trees are from Distinctive Door Holiday Add-On, and the bow is from Wicker Basket.

Next I worked on my shaker background and cut a Rounded Rectangle Mat panel out of a Joyful Holiday snowflake pattern paper using the second largest die from the set. I used the second Stitched Semi Circle die to cut an opening out of my snowflake panel, cut an acetate panel slightly larger than the opening, created a frosty effect on the edges using copic opaque white ink and a sponge dauber, and once dry, I attached this piece of acetate at the back of my panel to create a window.

Sunny Studio Stamps: Rustic Winter Christmas Card by Marine Simon (featuring Rounded Rectangle Mat Dies, Stitched Semi-Circle Dies, Build-A-Greeting Holidays, Lacy Snowflakes Dies)

To turn this opening into a snow globe, I temporarily taped the second Stitched Semi Circle die to a piece of dark grey cardstock using washi tape, cut the semi circle shape following the outside edges of the die, and then run the panel through my die cutting machine, with the die still attached, to cut a thin frame that I stuck to the front of my snowflake panel around the acetate window using liquid glue. I cut a white panel using the second Stitched Semi Circle die again, cut a wavy border out of this panel, added liquid stardust splatters to it, and once dry, I stuck that border at the bottom of the acetate window using liaquid glue. I cut a fishtail banner out of light grey cardstock using a die from the Stitched Rectangle die set, white heat embossed "Peace, love & joy to the world" from Build-A-Greeting Holidays on it, and attached that banner right below the window using 1mm foam squares.

Sunny Studio Stamps: Rustic Winter Christmas Card by Marine Simon (featuring Rounded Rectangle Mat Dies, Stitched Semi-Circle Dies, Build-A-Greeting Holidays, Lacy Snowflakes Dies)

For the inside of my shaker, I first cut a Classic Sunburst black & grey panel using the second largest Rounded Rectangle Mat die, and added white splatters and liquid stardust splatters to it. On that black & grey panel, I added another white wavy border, making sure it was higher than the one on the front panel, and then stuck seven birch trees from Rustic Winter. I attached two layers of foam strips all around the edges of my inside panel, poured tiny crystal stones on the trees, peeled all the backing papers off the foam strips, and then stuck my front panel to the foam strips to totally close my shaker panel. I attached my shaker panel to a 5,5 x 4,25 inches black panel, next to a white card base, and then I stuck the deer, pine trees, and bow using 1mm and 2mm foam squares.

To decorate each top corner of the card, I cut Lacy Snowflakes out of the same cardstock as the other pieces, added the same details and textures, and assembled them using liquid glue. Finally, I glued White Snowflake Confetti in the center of each snowflake and bow as well. 

And that's it! Thanks so much for stopping by, and see you next week!

Sunny Studio Supplies Used: 

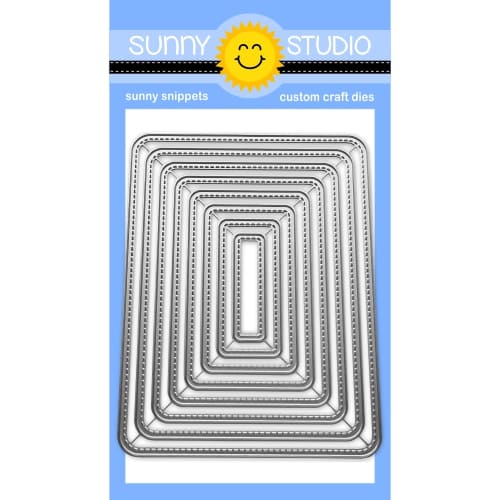
Stitched Rectangle Dies
Shop at:
Sunny Studio
Lacy Snowflakes Die
Lacy Snowflakes Die
Shop at:
Sunny Studio
Rustic Winter Dies
Rustic Winter Dies
Shop at:
Sunny Studio
Stitched Semi-Circle Dies
Shop at:
Sunny Studio
Classic Sunburst Paper
Shop at:
Sunny Studio
Joyful Holiday Paper
Shop at:
Sunny Studio
Wicker Basket Dies
Wicker Basket Dies
Shop at:
Sunny Studio
Distinctive Door Holiday Add-on
Shop at:
Sunny Studio
Rounded Rectangle Mat Dies
Shop at:
Sunny Studio
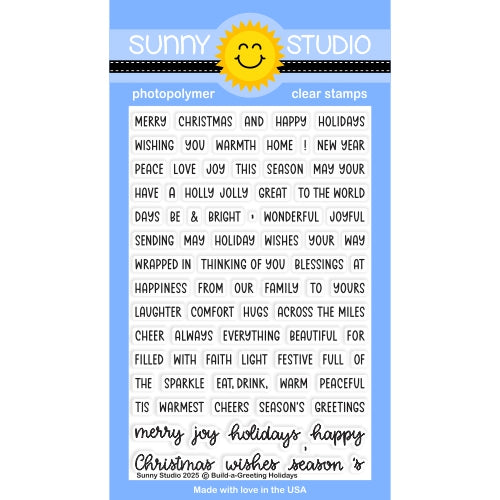
Build-a-Greeting Holidays
Shop at:
Sunny Studio

Thursday, September 25, 2025

Too Cute To Spook Card by Marine Simon

Hello crafty friends, Marine here. I'm back with a spooky shaker card featuring the sweetest black kitties, and I'm having fun celebrating Halloween. Last week was all about goth elegance, well today is about cheekiness and cuteness!

Sunny Studio Stamps: Too Cute To Spook Halloween Card by Marine Simon (featuring Cat Antics, Party Pets, Bewitching, Stitched Semi-Circle Dies)

As very often I started off by stamping the images on 110lb Neenah solar white cardstock using an alcohol marker friendly black ink. I cut them all using the matching dies, and then colored everything using my Graph'it brush markers and Ohuhu markers, picking dark shades of grey for the kitties, spiders and hats, oranges for the pumpkins and pinks for the spooky balloons.

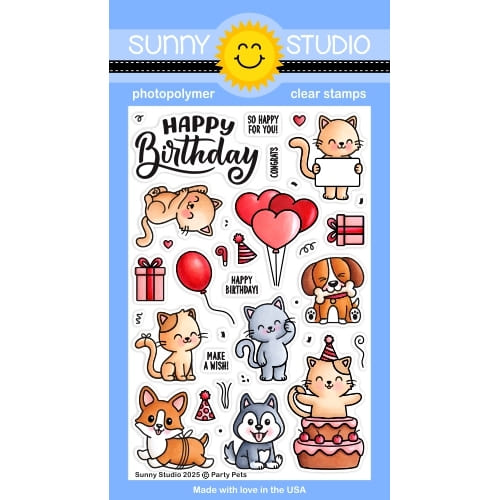
Here is a detailed list of the stamp sets I used: • Cat Antics - cats (on the right + upside down) • Party Pets - cats (left + middle + flying), balloons • Too Cute To Spook - pumpkins, spider webs, spiders, jack o' lantern faces • Bewitching - hats.

Sunny Studio Stamps: Too Cute To Spook Halloween Card by Marine Simon (featuring Cat Antics, Party Pets, Bewitching, Stitched Semi-Circle Dies)

When the coloring was done, I added highlights and details to the images using a white gel pen, and then moved on to my shaker background. I first cut a 5,5 x 4,25 inches Preppy Prints purple panel and cut a large Stitched Semi Circle opening out of it. I mixed black soot oxide ink water and added black splatters to my purple panel, and then did the same with copic opaque white ink and with wilted violet distress spritz for some sparkles. I cut a 5,5 x 4,25 inches acetate panel, attached it at the back of my purple panel using liquid glue and then stamped "Trick or Treat" from Too Cute To Spook on the front, directly on the acetate using black Stazon ink, which is an ink that doesn't smear on acetate or vellum.

Sunny Studio Stamps: Too Cute To Spook Halloween Card by Marine Simon (featuring Cat Antics, Party Pets, Bewitching, Stitched Semi-Circle Dies)

At the back of my purple panel, I attached 2mm foam strips all around the Stitched Semi Circle window, following the rounded shape, added strips on the very edges of the panel, and poured a bunch of Black Bat confetti on the acetate. I cut a 5,5 x 4,25 inches Classic Sunburst pink panel, added black and white splatters all over it, and when it was dry I attached it to the foam strips to totally close my shaker panel. To finish my card base, I cut a black frame using the main Tropical Trees Backdrop die, attached it using 1mm foam squares, and finally stuck all the images using 1mm and 2mm foam squares.

And that's it! I hope that you like this spooky cute Halloween shaker card! Thanks so much for stopping by, and see you next week.

Sunny Studio Supplies Used:

Bewitching Stamps
Bewitching Stamps
Shop at:
Sunny Studio
Bewitching Dies
Bewitching Dies
Shop at:
Sunny Studio
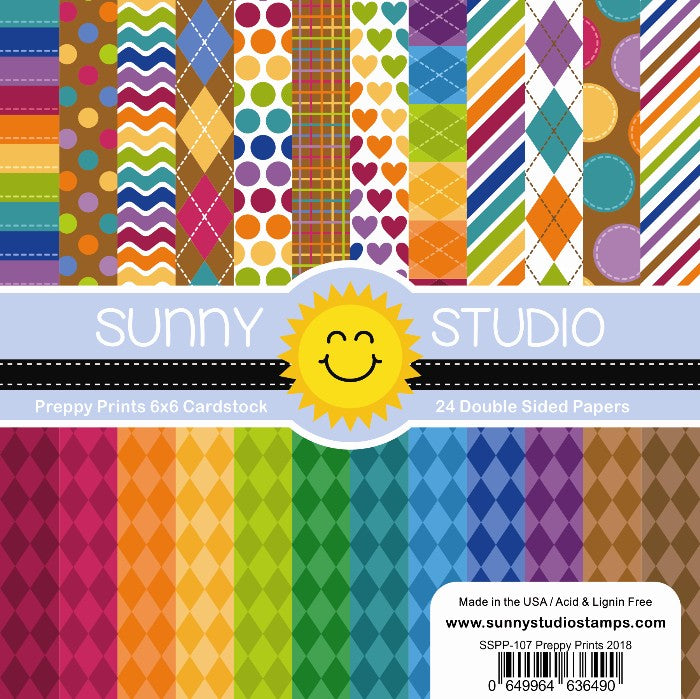
Preppy Prints 6x6 Paper
Shop at:
Sunny Studio
Classic Sunburst Paper
Shop at:
Sunny Studio
Tropical Trees Backdrop
Shop at:
Sunny Studio
Too Cute To Spook Stamps
Shop at:
Sunny Studio
Too Cute To Spook Dies
Shop at:
Sunny Studio
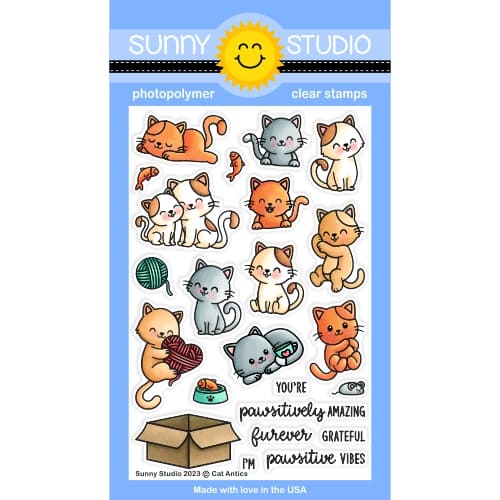
Cat Antics Stamps
Cat Antics Stamps
Shop at:
Sunny Studio
Cat Antics Dies
Cat Antics Dies
Shop at:
Sunny Studio
Party Pets Stamps
Party Pets Stamps
Shop at:
Sunny Studio
Party Pets Dies
Party Pets Dies
Shop at:
Sunny Studio
Stitched Semi-Circle Dies
Shop at:
Sunny Studio

Thursday, August 28, 2025

Sunflower Fields Card with Marine

Hello crafty friends, Marine here, I'm happy to be back with this bright and cheerful autumn card featuring a mix and match of images from different layering stamp sets. It's always so much fun and kind of magical to see those images come to life layer after layer.

Sunny Studio Stamps: Sunflower Fields Fall Themed Card by Marine Simon (featuring Pretty Pumpkins, Watering Can, Stitched Semi-Circles Dies)

To start, I cut a 5,5 x 4,25 inches panel out of dark kraft cardstock and cut an opening out of it using the largest Stitched Semi Circle die. Next I took my Woodgrain embossing folder, applied brown ink inside the folder on one side, placed my kraft panel on the other side, closed the embossing folder and ran it through my die cutting machine to create a cool tone on tone brown woodgrain texture. I mixed some ground espresso distress ink with water and used a slim brush to add brown splatters all over my panel, and then did the same with copic opaque white ink. While my Stitched Semi Circle woodgrain panel was drying, I cut a 5,5 x 4,25 inches panel out of a brown polka dot paper from the Critter Country paper pack, added white splatters all over it, and once that panel was dry, I stuck my woodgrain panel to it using 1mm foam squares.

Sunny Studio Stamps: Sunflower Fields Fall Themed Card by Marine Simon (featuring Pretty Pumpkins, Watering Can, Stitched Semi-Circles Dies)

Next I stamped all my images on 110lb Neenah solar white cardstock using dye inks from Lawn Fawn and from Altenew, and here is a detailed list of the layering stamp sets I used: • Sunflower Fields - sunflowers • Pretty Pumpkins - pumpkins, leaves, swirling ivy • Watering Can - watering can. And here are the different color combinations I used to create each image:

• sunflowers - butter + sunflower + carrot + fake tan + doe + walnut (LF)
• watering can - lobster + chili pepper (LF)
• aqua pumpkins - kiddie pool + merman + peacock (LF)
• green pumpkin - frayed leaf + forest glades + moss (Altenew)
• yellow pumpkin - butter + lemonade + sunflower (LF)
• orange pumpkin - carrot + fake tan + pumpkin spice (LF)
• leaves - forest glades + moss (Altenew)
• swirling ivy - moss (Altenew)

Sunny Studio Stamps: Sunflower Fields Fall Themed Card by Marine Simon (featuring Pretty Pumpkins, Watering Can, Stitched Semi-Circles Dies)

Once all the stamping was done, I cut the images using the matching dies, splattered white ink all over them, and once they were dry, I attached them all to my card using 1mm and 2mm foam squares, and liquid glue as well for the swirling ivy. I white heat embossed "Happy autumn" from Crisp Autumn on dark brown cardstock, cut it using the coordinating die, and stuck it to the card using foam squares again. 

And that's it! I hope that you like this bright autumn themed card. Thanks so much for stopping by, and see you next week!

Sunny Studio Supplies Used:

Pretty Pumpkins Dies
Shop at:
Sunny Studio
Pretty Pumpkins Stamps
Shop at:
Sunny Studio
Sunflower Fields Stamps
Shop at:
Sunny Studio
Sunflower Fields Dies
Shop at:
Sunny Studio
Woodgrain Embossing
Woodgrain Embossing
Shop at:
Sunny Studio
Stitched Semi-Circle Dies
Shop at:
Sunny Studio
Watering Can Stamps
Watering Can Stamps
Shop at:
Sunny Studio
Watering Can Dies
Watering Can Dies
Shop at:
Sunny Studio
Crisp Autumn Stamps
Crisp Autumn Stamps
Shop at:
Sunny Studio
Crisp Autumn Dies
Crisp Autumn Dies
Shop at:
Sunny Studio
Critter Country Paper
Shop at:
Sunny Studio

Sunday, August 10, 2025

Fabulous Flamingos Card with Hanh

Hello Crafty Friends! This is Hanh on the Sunny Studio Stamps blog today with a flamazing birthday card to share with you featuring the beautiful flamingos from the Fabulous Flamingos set.

Sunny Studio Stamps: Fabulous Flamingos Birthday Card by Hanh Nguyen (featuring Stitched Semi-Circle Dies)

I stamped the flamingos and leaves from the Fabulous Flamingos Stamp, the balloon and hat from the Party Pets Stamp and present from the Foxy Friends Stamp sets onto a piece of Neenah Solar White 110 lb cardstock with Memento Tuxedo Black ink. I used the coordinating Fabulous Flamingos DiesParty Pets Dies and Foxy Friends Dies to die cut them out. I colored them with Copic markers and highlighted them with a white gel pen. 

COPIC COLORS:
Flamingos: RV000/00/02/04/06, C1, Y13/15
Green: YG00/01/03/25
Teal: BG10/53/45

Sunny Studio Stamps: Fabulous Flamingos Birthday Card by Hanh Nguyen (featuring Stitched Semi-Circle Dies)

For the background, I took another piece of Neenah white cardstock (4.25" x 5.5") and die cut a window using the second largest die from the Stitched Semi-Circle Dies. I lightly ink blended the semi-circle with Tumbled Glass Distress Oxide ink. I used the panel with the window as a guide to adhere the semi-circle to the front of a white A2 card base (4.25" x 5.5"). 

For the sentiment, I stamped the Happy Birthday sentiment from the Party Pets Stamp set with Memento Tuxedo Black ink onto a piece of white cardstock. I used the Party Pets Dies to die cut it out. The sub-sentiment was a combo of the "to one" and "friend" from the Foxy Friends Stamp set with the "flamazing" from the Fabulous Flamingos Stamp set stamped directly onto the panel with Memento Tuxedo Black ink.

Sunny Studio Stamps: Fabulous Flamingos Birthday Card by Hanh Nguyen (featuring Stitched Semi-Circle Dies)

I added foam tape to the back of the panel with the window and adhered it to the front of the card base as well. The Happy Birthday sentiment and colored images were adhered with a combo of liquid adhesive and foam tape. I finished the card with a few sequins from the Majestic Clear Confetti

I appreciate you taking the time to stop by and visit today. I hope you liked my card. For more info and ideas, be sure to visit the Sunny Studio Stamps Shop. Please also visit my INSTAGRAM feed for more inspirations.

Have a wonderful and crafty day!

Sunny Studio Supplies Used:

Fabulous Flamingos Stamps
Shop at:
Sunny Studio
Fabulous Flamingos Dies
Shop at:
Sunny Studio
Stitched Semi-Circle Dies
Shop at:
Sunny Studio
Foxy Friends Stamps
Foxy Friends Stamps
Shop at:
Sunny Studio
Foxy Friends Dies
Foxy Friends Dies
Shop at:
Sunny Studio
Party Pets Stamps
Party Pets Stamps
Shop at:
Sunny Studio
Party Pets Dies
Party Pets Dies
Shop at:
Sunny Studio