Showing posts with label Autumn Garland. Show all posts

Saturday, September 27, 2025

Autumn Garland & Elegant Leaves Cards with Mendi

Hello and welcome! This is Mendi here today, popping in to share some fall cards featuring the Autumn Garland Stamps and Elegant Leaves Stamps.

Sunny Studio Fall Leaf Cards using Autumn Garland, Elegant Leaves & Background Basics 2 Clear Stamps Metal Cutting Craft Dies

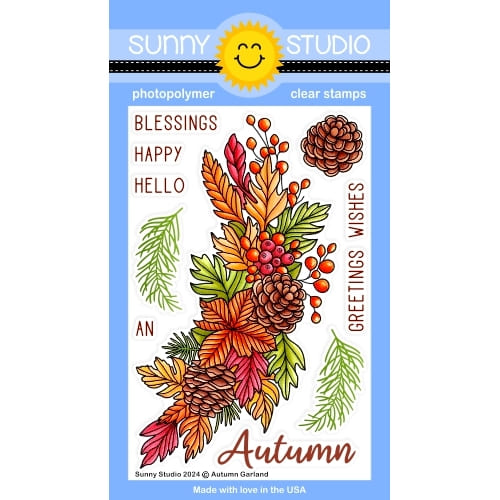
My first card showcases all the images from the Autumn Garland Stamps which I heat embossed using Hero Arts Copper Embossing Powder and colored with Copic markers. I arranged all the extra pinecones and fir tree sprigs around my main garland image to form a cresent shape across the bottom of my card, adding the "Autumn Blessings" greeting from the same set.

Sunny Studio Fall Leaves Card using Autumn Garland Clear Stamps, Cutting Craft Dies, and Diagonal & Straight Stripes Stencils

Both of my cards today were an opportunity for me to play with some of the Distress Embossing Glaze powders I had purchased awhile back. This was my first time experimenting with them. So many of the colors in my stash are earthtones so I thought they would be perfect for playing with today's stamp sets. 

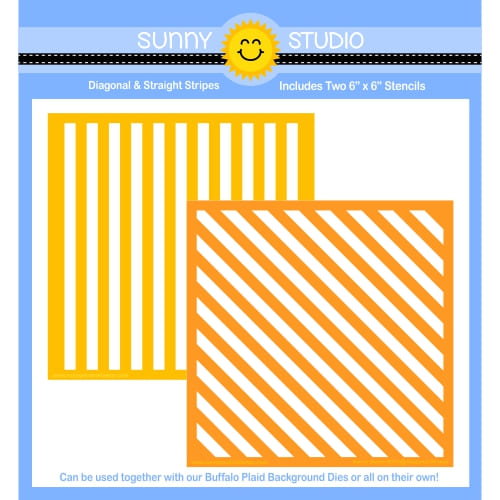
For this card, I started by inking a white cardstock panel with Scattered Straw Distress Ink and then used the Diagonal & Straight Stripes Stencils to apply the striped background by pressing my Versamark pad directly into the surface of my tacked down stencil and paper. It was difficult for me to capture here, but the stripes have a very pretty transparent and glossy appearance when they catch the light.

Sunny Studio Fall Leaves Card using Autumn Garland Clear Stamps, Cutting Craft Dies, and Diagonal & Straight Stripes Stencils

For my second card, I started by blending an inky background using various Distress Inks before stamping the polka-dot background over the top using the Background Basics 2 Stamps with a taupe colored ink from my stash. I then pulled out the Elegant Leaves Stamps to stamp a border of leaves around the edge of my card using clear VersaMark Ink. I took turns stamping them one at a time so that I could sprinkle on different colors of Distress Embossing glaze and heat set them as I went around the four sides.

Sunny Studio Fall Leaf Card using Elegant Leaves, Background Basics 2 Clear Stamps, Metal Cutting Craft Dies & Distress Glaze

I borrowed the brilliant idea to layer the polka-dot background with the stamp leaf images from Jennifer McGuire. By layering the two, it really shows off the translucent quality of these amazing glazes! I completed my card by trimming down the panel and centering it on a white notecard and heat embossing the word "thankful" and "for your kindness" on black cardstock using white embossing powder. I tried so many different combinations and in the end, I love the way the white over black popped against all the other rich colors in my background.

Sunny Studio Fall Leaf Card using Elegant Leaves, Background Basics 2 Clear Stamps, Metal Cutting Craft Dies & Distress Glaze

That wraps up my projects for today. Thanks so much for hanging out with me. I hope I've inspired you to spread a little happiness by sending out a card to someone you love. 💛

Don't forget to check out our Elegant Leaves Stamps and Elegant Leaves Dies in our online shop, which are currently on sale!  Also, make sure to check out the loads of other card ideas on the Elegant Leaves Stamps product page, as there are so many other beautiful ways to use these stamps!

Supplies Used:

Elegant Leaves Stamps
Shop at:
Sunny Studio
Elegant Leaves Dies
Elegant Leaves Dies
Shop at:
Sunny Studio
Autumn Garland Stamps
Shop at:
Sunny Studio
Autumn Garland Dies
Autumn Garland Dies
Shop at:
Sunny Studio
Diagonal & Straight Stripes Stencils
Shop at:
Sunny Studio
PinkFresh Studio Blending Brushes
Shop at:
Sunny Studio
Hero Arts White Detail
Shop at:
Sunny Studio
VersaMark Watermark Ink
Shop at:
Sunny Studio

Tuesday, October 22, 2024

Squirrel Friends Card with Amanda

Well hello there, friends! It's Amanda sharing a super sweet Autumn card I made with you today! I love being able to craft and share my creations with you! Keep scrolling to see how I created this card, featuring the Squirrel Friends Stamps, that I'm just NUTS about!

Sunny Studio Stamps: Squirrel Friends Fall Themed Card by Amanda Fitterer (featuring Pumpkin Patch Dies, Autumn Garland)

To create this card, I trimmed a piece of white cardstock to 3.25" x 6.25". I ink blended Catherine Pooler Buttercream and Apricot inks on the lower portion of the panel. I stamped some little leaves from the Squirrel Friends Stamps along the top and middle portion of the panel using the same inks.  

Next, I stamped out my squirrels, nuts and leaves from the Squirrel Friends Stamps. I colored them with Copic markers and then die cut them out with their coordinating dies. I added little white gel pen dots on their eyes to make them look that much more adorable!

Sunny Studio Stamps: Squirrel Friends Fall Themed Card by Amanda Fitterer (featuring Pumpkin Patch Dies, Autumn Garland)

Then, I grabbed the Pumpkin Patch Dies. These dies are so versatile, I've used them SO many times!  For this card, I cut each piece of the pumpkins two times. This gives me 6 pumpkins total to play with! I used Copic markers to color each one, making them all unique! I glued each piece of the pumpkin together with liquid glue.  

For my sentiment, I grabbed the Autumn Garland Stamps. I stamped the "GREETINGS" directly onto my card panel in black ink. For the "Autumn" piece, I stamped it with embossing glue ink on black cardstock, applied white embossing powder, and then melted the powder with a heat tool. I die cut it out with the coordinating die and put 3D foam tape behind it.

Sunny Studio Stamps: Squirrel Friends Fall Themed Card by Amanda Fitterer (featuring Pumpkin Patch Dies, Autumn Garland)

The next step was to assemble the card! I adhered each component to the card front with either liquid glue (for the background pieces) or 3D foam squares for the foreground elements.

Hope you enjoyed this card and THANK YOU for coming to the Sunny Studio Blog today! 

Sunny Studio Supplies Used:

Squirrel Friends Stamps
Shop at:
Sunny Studio
Squirrel Friends Dies
Shop at:
Sunny Studio
Pumpkin Patch Dies
Pumpkin Patch Dies
Shop at:
Sunny Studio
Autumn Garland Stamps
Shop at:
Sunny Studio
Autumn Garland Dies
Autumn Garland Dies
Shop at:
Sunny Studio

Friday, October 4, 2024

Autumn Garland Card with Nicky

Happy Friday friends, this is Nicky with you today on the Sunny Studio Stamps Blog and I have a new Fall themed card to share with you, showcasing the Autumn Garland set. Please continue reading for all the details.

Sunny Studio Stamps: Autumn Garland Card with Nicky Meek

This is an A2 card and I first created my card base and then I also created a panel of sturdy white cardstock with dimensions of 4 inches x 5 1/4 inches. I used Distress Oxide Ink in Speckled Egg to ink blend a soft focal point which I distressed a little by dotting in some interest with a metallic gel pen, a white gel pen and a Copic marker.

I backed this panel with white craft foam and applied it to the card base. I stamped the Autumn Garland image and coloured using the following Copic marker combinations:

Cones - E49, E44, E43
Leaves - E49, E44, YR27, E13
Group of Leaves (right of centre) - YG67, R05, R22, R20, R00
Green Leaves - YG67, YG95
Fir Sprigs- BG75, E42
Berries - R59, R37, R29

Sunny Studio Stamps: Autumn Garland Card with Nicky Meek

I die cut the image using the Autumn Garland Die, I backed the image with dimensional foam tape and applied it to the ink blended background panel.

The sentiments from Autumn Garland were stamped with Versamark Ink and heat embossed using Ranger's Copper Embossing Powder. The word "Autumn" was die cut using its coordinating die and then both words applied with dimensional foam tape, nestled under the garland.

I highlighted a few points using a white gel pen and then a few rose gold sequins were adhered here and there for final accents.

Thank you for stopping by today and I'll be back next Friday with something new to share.  Happy crafting!

Sunny Studio Supplies Used:
 

Autumn Garland Stamps
Shop at:
Sunny Studio
Autumn Garland Dies
Autumn Garland Dies
Shop at:
Sunny Studio

Tuesday, October 1, 2024

Autumn Garland Card with Alma

Hi, this is Alma, and I'm back on the Sunny Studio Stamps blog. Today I want to share a card with you using the amazing and dreamy new stamp set Autumn Garland Stamps.

Sunny Studio Stamps: Autumn Garland Card by Alma (featuring Nutty For You Dies, Squirrel Friends)

First of alI  I stamped and colored the stamps, then I die-cut it with the Nutty for You Dies.

After that, I adhered the top of the acorn with foam tape to create a 3D effect. I blended the background with the "Distress Oxides" in the colors "prize ribbon" and "chipped sapphire" and added white water splatters. 

Sunny Studio Stamps: Autumn Garland Card by Alma (featuring Nutty For You Dies, Squirrel Friends)

As a highlight, I colored the Squirrel Friends Stamps and placed them as the focal point on the card.

Wishing you all a lovely Tuesday!

Sunny Studio Supplies Used: 

Nutty For You Dies
Nutty For You Dies
Shop at:
Sunny Studio
Squirrel Friends Stamps
Shop at:
Sunny Studio
Squirrel Friends Dies
Shop at:
Sunny Studio
Autumn Garland Stamps
Shop at:
Sunny Studio

Thursday, September 26, 2024

Autumn Garland Card with Marine

Hello crafty friends, Marine here with you today, I'm thrilled to be back on the blog with this bright and bold card showcasing the gorgeous Autumn Garland

Sunny Studio Stamps: Autumn Garland Fall Themed Card by Marine Simon (featuring Buffalo Plaid Dies, Straight Stripes Stencil)

I really wanted to feature two garlands on the same panel, but wasn't sure if they would fit, so I was happy that they did! I only had to trim a little bit of each element, and was able to keep both garlands on my panel. And once again, I chose to use kraft cardstock for the background panel, and for the garlands as well. I like to stencil and color on kraft cardstock all year round, but, to me, doing this during the fall season really emphasizes the autumn vibe of a card.

So, I started off by stamping two Autumn Garlands on kraft cardstock using an alcohol marker friendly black ink. I cut them using the matching die, and colored them both using my alcohol markers. And I used my all time favorite autumn color palette, which is red, orange, yellow, khaki green, aqua and brown.

Sunny Studio Stamps: Autumn Garland Fall Themed Card by Marine Simon (featuring Buffalo Plaid Dies, Straight Stripes Stencil)

Next I cut a 5,5 x 4,25 inches kraft panel, and added texture to this panel using the Buffalo Plaid Diagonal die. And I colored it using the Diagonal Stripes stencil along with oxide inks in the same color palette as the Autumn Garlands: lumberjack plaid, rusty hinge, fossilized amber, peeled paint and peacock feathers. I mixed some vintage photo oxide ink and some ground espresso oxide ink with water, added splatters to the panel using a small brush, and then did the same with copic opaque white and with fossilized amber distress spritz for some nice shimmery splatters.

Sunny Studio Stamps: Autumn Garland Fall Themed Card by Marine Simon (featuring Buffalo Plaid Dies, Straight Stripes Stencil)

I added the same splatters to my garlands, and once they were dry, I attached them both on my panel using 1mm foam squares and trimmed the excess on the edges. I white heat embossed "Autumn greetings" from Autumn Garland on brown cardstock, cut "Autumn" using the matching die, trimmed "Greetings" into a slim banner, and attached both pieces between the garlands using 2mm foam squares. And finally I glued a few golden pearls here and there for an extra shiny touch.

And that's it! I really love how my card turned out, and I hope you like it too. Thanks so much for stopping by, and see you next time.

Sunny Studio Supplies Used: 

Autumn Garland Stamps
Shop at:
Sunny Studio
Autumn Garland Dies
Autumn Garland Dies
Shop at:
Sunny Studio
Buffalo Plaid Diagonal Die
Shop at:
Sunny Studio
Diagonal & Straight Stripes Stencils
Shop at:
Sunny Studio

Wednesday, September 25, 2024

Brilliant Banner 3 Die Focused Card with Tina

Hi crafty friends, Tina here and today I am featuring the versatile Brilliant Banner 3 die, combined with one of my favorite sets Holiday Hugs. The matching die makes it easy for the cute bear to hold all kinds of stuff like this sweet mug!

Sunny Studio Stamps: Brilliant Banner 3 Die Focused Christmas Card by Tina Henkens (featuring Pretty Poinsettia, Autumn Garland, Holiday Hugs)

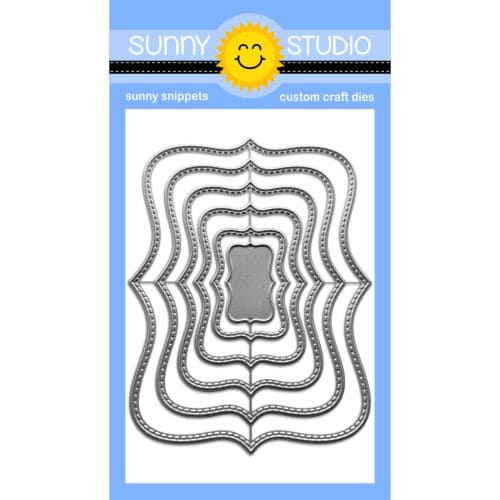
I love the start with a simple white card base and add a colorful layer on top. This time, I selected a red gingham paper from Joyful Holiday and cut it with the outer die of the Frilly Frames Stripes.

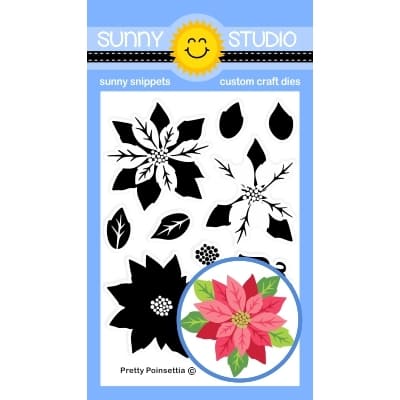
Each time I use a layered stamp set, I make sure to create a few more pieces. In this case I had some pink-red flowers in my stash from the Pretty Poinsettia set. They are the perfect backdrop for my cute bear together with some teal branches from Autumn Garland.

Sunny Studio Stamps: Brilliant Banner 3 Die Focused Christmas Card by Tina Henkens (featuring Pretty Poinsettia, Autumn Garland, Holiday Hugs)

To make these elements stand out more, I added an extra white layer to the red gingham panel by cutting the largest of the Limitless Labels 1, and dry embossing it with the Woodgrain embossing folderThen it was time to stamp and cut the sweet bear with his mug from Holiday Hugs. All the coloring was done with Copic markers in red, pink, and teal tones. Of course, I added some white snowflakes with a gel pen.

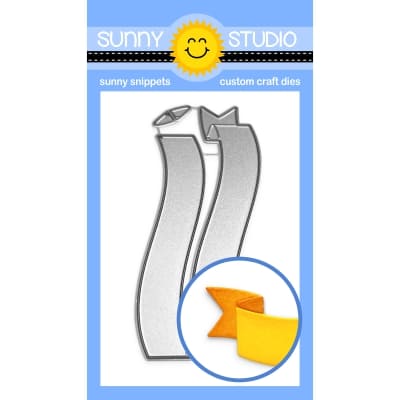
Next, I cut the Brilliant Banner 3 die from white card stock and stamped the combined sentiment (Holiday Express) in a red ink from my stash. After placing the poinsettias and leaves, I mounted the bear and banner with foam tape. A few Crystal Clear Jewels were scattered across the design as a finishing touch.

Thank you for visiting the blog and happy crafting!

Sunny Studio Supplies Used:

Holiday Express Stamps
Shop at:
Sunny Studio
Frilly Frames Stripes Die
Shop at:
Sunny Studio
Woodgrain Embossing
Woodgrain Embossing
Shop at:
Sunny Studio
Joyful Holiday Paper
Shop at:
Sunny Studio
Holiday Hugs Stamps
Holiday Hugs Stamps
Shop at:
Sunny Studio
Holiday Hugs Dies
Holiday Hugs Dies
Shop at:
Sunny Studio
Pretty Poinsettia Stamps
Shop at:
Sunny Studio
Pretty Poinsettia Dies
Shop at:
Sunny Studio
Limitless Labels 1 Dies
Shop at:
Sunny Studio
Autumn Garland Stamps
Shop at:
Sunny Studio
Autumn Garland Dies
Autumn Garland Dies
Shop at:
Sunny Studio
Brilliant Banner 3 Dies
Shop at:
Sunny Studio