Showing posts with label Diagonal & Straight Stripes Stencils. Show all posts

Thursday, September 18, 2025

Pink Peonies Card with Marine

Hello crafty friends, Marine here, I'm thrilled to be back on the blog with this monochromatic Halloween card featuring black peonies and spiders. I mostly like to create Halloween cards with cute critters, but when I colored the Pink Peonies back in April (you can check the card right here) I knew I would color them again in black to make a monochromatic card.

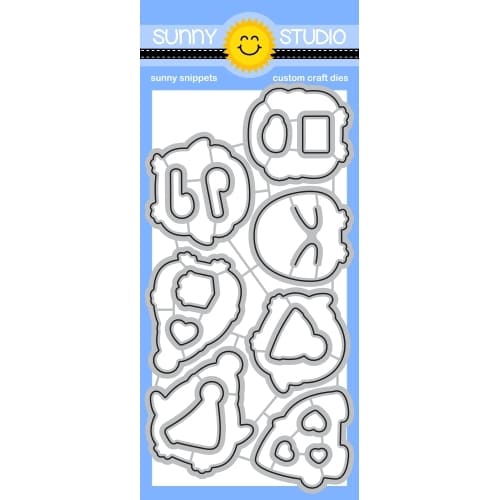
Sunny Studio Stamps: Pink Peonies Monochromatic Halloween Card by Marine Simon (featuring Scalloped Oval Mat Dies, Stitched Oval Dies, Too Cute To Spook, Buffalo Plaid Dies)

I started off by stamping my images on 110lb Neenah solar white cardstock using an alcohol marker friendly black ink, I cut them using the coordinating dies and then colored them using my Graph'it brush markers in shades of grey: dark shades for the peonies and spiders, and lighter shades for the leaves. The peonies and leaves are from Pink Peonies, the spiders and spider webs are from Too Cute To Spook, and I usually add details to my images with a white gel pen, but this time I mixed copic opaque white ink with water and used a slim brush to add white splatters to the flowers and leaves, and only added white gel pen details to the spiders.

Sunny Studio Stamps: Pink Peonies Monochromatic Halloween Card by Marine Simon (featuring Scalloped Oval Mat Dies, Stitched Oval Dies, Too Cute To Spook, Buffalo Plaid Dies)

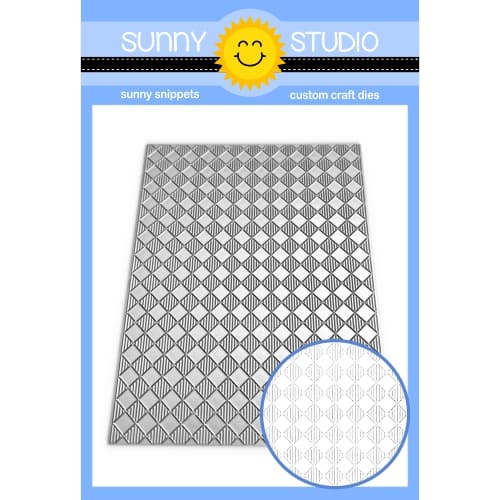
I cut a 5,25 x 4 inches Strathmore bristol smooth panel, ran it through my die cutting machine along with my Buffalo Plaid Diagonal die, covered the entire panel with hickory smoke oxide ink, and used the Diagonal Stripes stencil along with black soot oxide ink to add a nice pattern to my panel. Next I mixed black soot oxide ink with water and added black splatters to my panel, I did the same with copic opaque white ink and then with iron gate mica spray for sparkling details. And once my panel was dry, I attached it to a 5,5 x 4,25 inches black panel.

Sunny Studio Stamps: Pink Peonies Monochromatic Halloween Card by Marine Simon (featuring Scalloped Oval Mat Dies, Stitched Oval Dies, Too Cute To Spook, Buffalo Plaid Dies)

Next I cut a large Scalloped Oval Mat 1 panel out of black cardstock, used the largest Stitched Oval 2 die to cut an opening out of it and this way created a scalloped frame. I used the largest Stitched Oval 2 die again to cut a Subtle Grey Tones woodgrain panel, added black splatters to it, attached both the black frame and grey panel together using tape at the back, and stamped "Happy Halloween" from Too Cute To Spook right in the middle of that panel. I added 1mm foam tape at the back, attached it to my Buffalo Plaid Diagonal panel, and then stuck all my images using 1mm and 2mm foam squares. 

And that's it! I really love the elegant and monochromatic style of this card, and I hope that you like the unusual look. Thanks so much for stopping by, and see you next time!

Sunny Studio Supplies Used:

Subtle Grey Tones Paper
Shop at:
Sunny Studio
Pink Peonies Stamps
Pink Peonies Stamps
Shop at:
Sunny Studio
Pink Peonies Dies
Pink Peonies Dies
Shop at:
Sunny Studio
Scalloped Oval Mat 1 Dies
Shop at:
Sunny Studio
Stitched Oval 2 Dies
Shop at:
Sunny Studio
Too Cute To Spook Stamps
Shop at:
Sunny Studio
Too Cute To Spook Dies
Shop at:
Sunny Studio
Buffalo Plaid Diagonal Die
Shop at:
Sunny Studio
Diagonal & Straight Stripes Stencils
Shop at:
Sunny Studio

Saturday, August 30, 2025

Farm Fresh & Happy Harvest Cards with Mendi

Hello and welcome! This is Mendi here today, popping in to share some fall cards featuring our Farm Fresh Stamps.

Sunny Studio Gingham Autumn Fall Cards using Farm Fresh & Happy Harvest Clear Stamps & Buffalo Plaid Metal Cutting Craft Dies

For my first card showcasing the Farm Fresh Stamps, I created a barnyard scene using the barn border, goat, duck, chickens, eggs, and hay box from the set. I framed the scene with a Stitched Circle Small Die and layered it over a yellow gingham background using the Buffalo Plaid Straight Die and the Diagonal & Straight Stripes Stencils. I then heat-embossed the punny greeting "Just chicken in" from the set onto the Brilliant Banner 2 Die, cut from red cardstock and inked with Candied Apple and Fired Brick distress inks.

Sunny Studio Yellow Gingham Autumn Fall Card using Farm Fresh Clear Stamps, Brilliant Banner, & Buffalo Plaid Metal Craft Die

I filmed a short video showing how the buffalo plaid dies and stencils were designed to work together HERE. If you like the glass mat I am using in my video, make sure to check out the special 20% off Labor Day coupon and link I have for you to use at Glassboard Studio through Monday at the end of my post. 💛


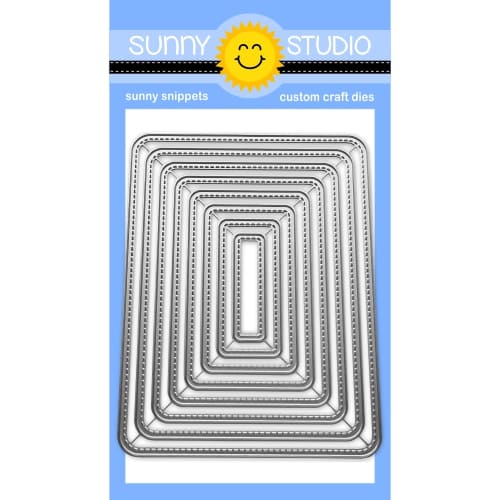
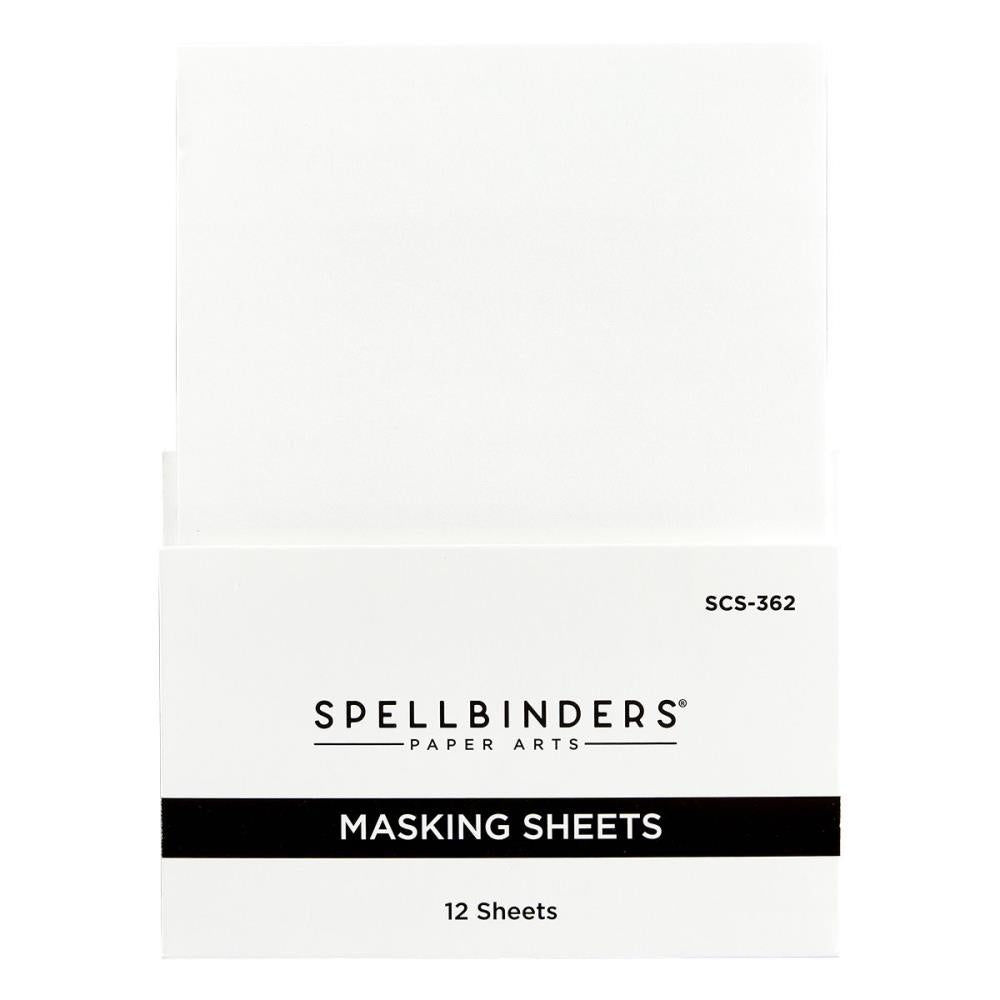
For my second card featuring the Farm Fresh Stamps, I used the scarecrow and hay box from the set, with the sunflowers and crows from the Happy Harvest Stamps. I cut a rectangle from one of the Spellbinders Masking Sheets using our Stitched Rectangle Dies and then inked up a rectangle window in the center of my card using Broken China and Mowed Lawn distress inks to frame my scene. I love the clean and simple look that masking provides. I finished my card by stamping the "autumn blessings" greeting from the Happy Harvest set in the top right corner.

Sunny Studio Autumn Scarecrow & Sunflowers Fall Card using Farm Fresh & Happy Harvest Clear Stamps & Metal Cutting Craft Dies

Don't forget to check out our Farm Fresh Stamps and Happy Harvest Stamps in our online shop, which are currently on sale!

Also, if you are in the market for a glass craft mat, I have a special sale from one of our favorite partners to share with you. Use our affiliate link HERE to save 20% at checkout through Monday. I love my oversized glass mat so much that I invested in a second one to have as an additional work surface in my room. It's undoubtedly the best craft supply I've ever invested in!

Glassboard Studio 20% off Glass Mat Labor Day Sale using code SUNNYSTUDIO

That wraps up my projects for today. Thanks so much for hanging out with me. I hope I've inspired you to spread a little happiness by sending out a card to someone you love. ðŸ’›

Supplies Used:

Happy Harvest Stamps
Shop at:
Sunny Studio
Happy Harvest Dies
Happy Harvest Dies
Shop at:
Sunny Studio
Farm Fresh Stamps
Farm Fresh Stamps
Shop at:
Sunny Studio
Farm Fresh Dies
Farm Fresh Dies
Shop at:
Sunny Studio
Stitched Rectangle Dies
Shop at:
Sunny Studio
Stitched Circle Small Dies
Shop at:
Sunny Studio
Brilliant Banner 2 Dies
Shop at:
Sunny Studio
Buffalo Plaid Straight Die
Shop at:
Sunny Studio
Diagonal & Straight Stripes Stencils
Shop at:
Sunny Studio
PinkFresh Studio Blending Brushes
Shop at:
Sunny Studio
Hero Arts White Detail
Shop at:
Sunny Studio
Spellbinders Masking Sheets
Shop at:
Sunny Studio
VersaMark Watermark Ink
Shop at:
Sunny Studio
Versafine Onyx Black Ink
Shop at:
Sunny Studio

Monday, April 28, 2025

Captivating Camellias Spring Cards with Mendi

Hello and welcome! This is Mendi here today, popping in to share some floral cards for Spring using our gorgeous Captivating Camellias Stamps and Dies. These have always been a favorite set of mine, so I had so much fun revisiting them for these two clean and simple cards.

Sunny Studio Floral Mother's Day & Thank You Cards using Captivating Camellias Stamps and Diagonal Stripes Stencils

For my first card, I chose a hot pink and grey color scheme and personalized the card for Mother's Day. After I had my floral arrangement laid out the way I wanted, I stamped a banner from our Banner Basics Stamps in Sparkling Rose ink onto a polka-dot print paper from our Polka-Dot Parade Paper pack. I then fussy cut the banner out with my scissors and masked off the top portion with a post-it note so I could ink around the pennant ends with that same ink with an ink dauber to create the look of extra dimension. 

When I was done, I stamped my "Happy Mother's Day" greeting using the sentiment from the Captivating Camellias set. To get the sentiment to match the curve of the banner, I used my Misti tool with a piece of acetate layered over my banner. This gave me a sticky surface for my stamps to cling to in a curved position before picking up the words with the Misti Lid to stamp them with ink.

Ink used for diagonal stripes: Gina K. Soft Stone

Sunny Studio Pink & Grey Floral Mother's Day Card using Captivating Camellias Stamps and Diagonal Stripes Stencils

I used many of the same elements for my second card but experimented with a different color scheme and floral arrangement for my flowers. This time, I made a thank you card using the oversized "thanks" sentiment from our Big Bold Greetings Stamps and Dies.

The ink used for diagonal stripes: PinkFresh Studio Misty Coast

Sunny Studio Red & Grey Spring Floral Thank You Card using Captivating Camellias Stamps and Diagonal Stripes Stencils

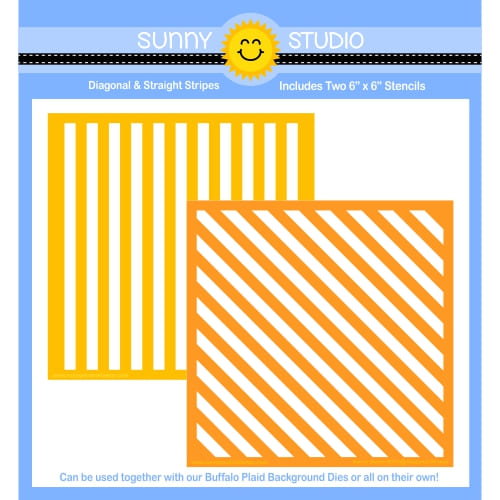
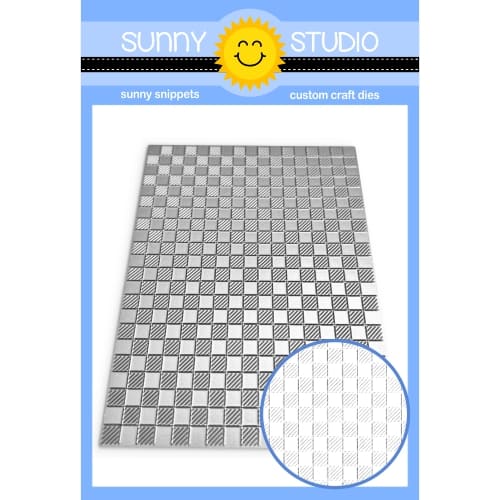
To achieve the checked backgrounds for each card today, I masked off every other stripe for our Diagonal & Straight Stripes Stencil using a 1/2" wide low tack masking tape from my craft stash. This had the benefit of masking off every other stripe while also holding my stencil in place as I inked up the background. Then, when I was done adding stripes in one direction, I rotated my stencil 90 degrees and inked them up in the opposite direction to form the oversized plaid look I was going for.


That wraps up my projects for this morning. I hope I've inspired you in your own cardmaking and that you spread a little happiness by sending out a card to a loved one today.

Don't forget to check out our 
Captivating Camellias Stamps and Dies which are both on sale in our online shop right now! Also, please check out all the card ideas using these sets on each of their product pages. I always make sure to upload tons of card ideas following the product image so there are lots of ideas to scroll through there organized by set.💗

Supplies Used:

Versafine Onyx Black Ink
Shop at:
Sunny Studio
Polka-dot Parade 6x6 Paper
Shop at:
Sunny Studio
Captivating Camellias Stamps
Shop at:
Sunny Studio
Captivating Camellias Dies
Shop at:
Sunny Studio
Tsukineko Jumbo Dauber
Shop at:
Sunny Studio
PinkFresh Fairy Dust Ink
Shop at:
Sunny Studio
PinkFresh Heartbeat Ink
Shop at:
Sunny Studio
PinkFresh Over The Hills Ink
Shop at:
Sunny Studio
Banner Basics Stamps
Shop at:
Sunny Studio
Banner Basics Dies
Banner Basics Dies
Shop at:
Sunny Studio
Big Bold Greetings Stamps
Shop at:
Sunny Studio
Big Bold Greetings Dies
Shop at:
Sunny Studio
Diagonal & Straight Stripes Stencils
Shop at:
Sunny Studio

Friday, April 25, 2025

Vintage Jar Spring Bouquet Cards with Mendi

Hello and welcome! This is Mendi here today, popping in to share some Spring floral bouquet cards today featuring our Vintage Jar Stamps and Dies!

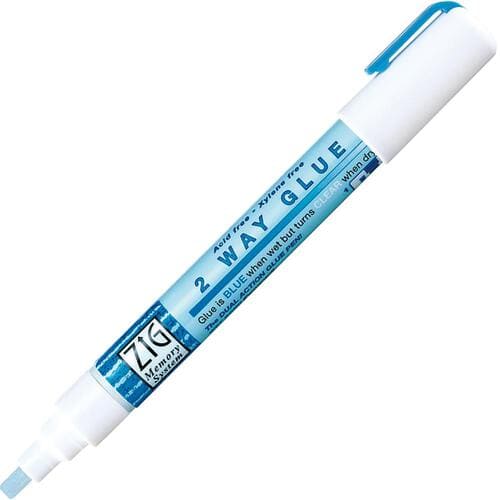
For both of these cards, I started by stamping my first layer onto cardstock and die-cutting the jar with the coordinating dies, and then I stamped the second layer using a slightly darker shade of dye ink onto vellum before sprinkling the image with clear embossing powder and heat setting it. Typically, you can't heat-emboss with dye inks; however, because of the non-porous nature of the vellum and the fact that most dye inks would just smear off without drying, the clear embossing powder helped set the image. It also gave me a wider range of inks in my stash to choose from. I then die-cut the vellum layer and used a Zig Glue Pen to add a thin line of glue on the back of the vellum piece directly behind my heat-embossed lines to hide the adhesive and to give me a pocket to insert my flower stems.

Sunny Studio Floral Card Set by Mendi (using Vintage Jar, Spring Bouquet, Tranquil Tulips Stamps, & Brilliant Banner Dies)

For my first card showcasing the Vintage Jar Stamps, I filled my jar with the daffodils from our Spring Bouquet Stamps and Dies. I created a fresh green gingham backdrop for my card by pairing our Buffalo Plaid Diagonal Die with our Diagonal & Straight Stripes Stencils. I then layered my white scalloped cardstock panel down the center by die-cutting the edges with a border from our Slimline Pennant Dies and added the offset straight stitching with our Slimline Basic Border Dies. As the final touch, I heat-embossed the "Happy Birthday" phrase from our Inside Greetings Birthday Stamps onto a yellow polka-dot print from our Spring Fever Paper pack, which I die-cut using our Brilliant Banner 2 Dies.

Ink colors used for stems & leaves:

Sunny Studio Green Gingham Floral Daffodil Card (using Vintage Jar, Spring Bouquet Stamps, Buffalo Plaid Diagonal, & Brilliant Banner 2 Dies)

For my next card featuring the Vintage Jar Stamps, I created a floral bouquet using our Tranquil Tulips Stamps and Dies. This time I turned to our Background Basics 2 Stamps to stamp the tone-on-tone hot pink diagonal grid print for my card background. To form my white scalloped cardstock strip down the center, I paired the eyelet lace border and the stitched edge from our Ribbon & Lace Border Dies

I stamped the same "Happy Birthday" phrase from our Inside Greetings Birthday Stamps onto a lavender polka-dot print from our Dots & Stripes Pastels Paper pack, which I die-cut using our Brilliant Banner 1 Dies. The polka-dot print felt washed out next to the vibrant purple tulips, so I inked up my patterned paper with some Wilted Violet Distress ink to closely match the colors. I love the idea of inking patterned paper to make it work for your needs and that the print still shows through the light layer of ink!

Ink colors used for hot pink tulips:
Ink colors used for purple tulips:
Ink colors used for stems & leaves:

Sunny Studio Hot Pink Floral Spring Birthday Card (using Vintage Jar, Tranquil Tulips, Background Basics 2 Stamps, & Brilliant Banner 1 Dies)

That wraps up my projects for this morning. I hope I've inspired you in your own cardmaking and that you spread a little happiness by sending out a card to a loved one today.

Don't forget to check out our Vintage Jar Stamps and Tranquil Tulips Stamps in our online shop, which are both currently on sale I also encourage you to check out all the card ideas with these sets on each of their product pages. I always make sure to upload tons of ideas for each set following the product image so there are lots of ideas to scroll through there organized by set. 💗

Supplies Used:

Vintage Jar Dies
Vintage Jar Dies
Shop at:
Sunny Studio
Vintage Jar Stamps
Vintage Jar Stamps
Shop at:
Sunny Studio
Versafine Onyx Black Ink
Shop at:
Sunny Studio
Polka-dot Parade 6x6 Paper
Shop at:
Sunny Studio

Slimline Basic Borders
Shop at:
Sunny Studio
Slimline Pennant Dies
Shop at:
Sunny Studio
Spring Bouquet Stamps
Shop at:
Sunny Studio
Spring Bouquet Dies
Spring Bouquet Dies
Shop at:
Sunny Studio
Tranquil Tulips Stamps
Shop at:
Sunny Studio
Tranquil Tulips Dies
Shop at:
Sunny Studio
Ribbon & Lace Dies
Ribbon & Lace Dies
Shop at:
Sunny Studio
Spring Fever Paper
Spring Fever Paper
Shop at:
Sunny Studio
Brilliant Banner 1 Dies
Shop at:
Sunny Studio
Brilliant Banner 2 Dies
Shop at:
Sunny Studio
Buffalo Plaid Diagonal Die
Shop at:
Sunny Studio
Diagonal & Straight Stripes Stencils
Shop at:
Sunny Studio
Inside Greetings Birthday
Shop at:
Sunny Studio
Background Basics 2 Stamps
Shop at:
Sunny Studio
Hero Arts White Detail
Shop at:
Sunny Studio
VersaMark Watermark Ink
Shop at:
Sunny Studio
Zig Chisel Tip Glue Pen
Shop at:
Sunny Studio