Showing posts with label Holiday Greetings. Show all posts

Monday, November 17, 2025

Retro Ornaments Christmas Cards with Mendi

Hello and welcome! This is Mendi here today, popping in to share some Christmas cards featuring our Retro Ornaments Stamps

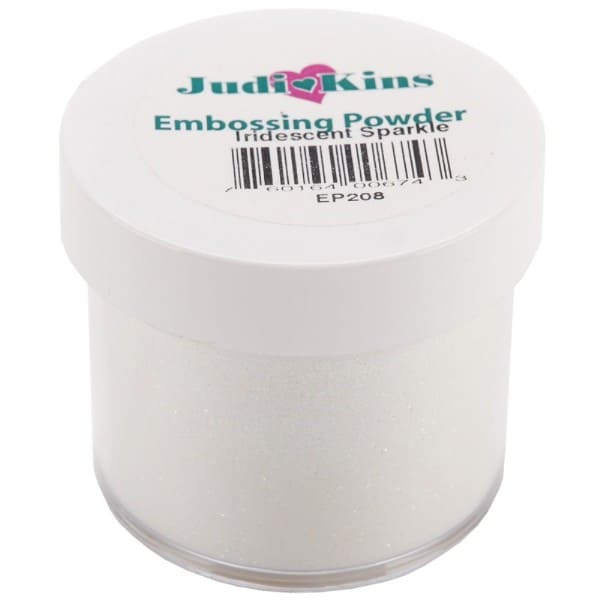
For all of my cards today, I used ornaments I had previously stamped and shared HERE when this set first debuted. I took my images to the next level today by stamping over them a second time using clear VersaMark Watermark Ink or Hero Arts Unicorn Pigment Ink before sprinkling them with Judikins Iridescent Sparkle Embossing Powder. I own about a dozen different sparkly embossing powders, and this one is truly my favorite due to it's all around versatility. It comes in a huge 2-ounce bottle (a lifetime supply), has a clear base, and one of the best sparkles that doesn't lean towards a particular color family, so it takes on whatever color you are pairing it with.

Sunny Studio Cards using Retro Ornaments, Pretty Poinsettia, Holiday Greetings, & Classy Christmas Clear Stamps & Craft Dies

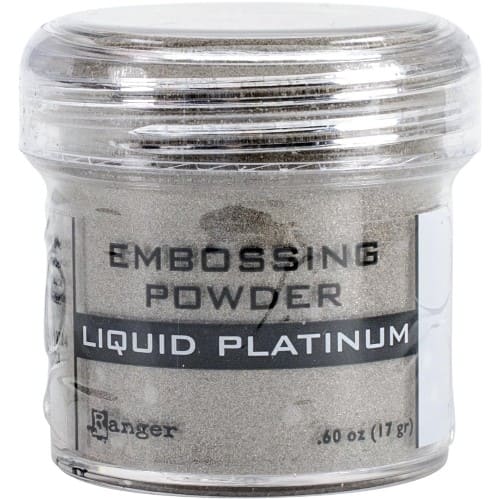
First, I made a card using traditional Christmas colors with the Retro Ornaments Stamps. I positioned my three vintage glass baubles in a window cut using the Stitched Arch Dies. I colored behind the opening using Salvaged Patina Distress Ink and heat embossed the beaded chains using Ranger's Liquid Platinum Embossing Powder

Sunny Studio Red & Aqua Card using Retro Ornaments, Pretty Poinsettia Clear Stamps, Stitched Arch & Winter Greenery Craft Die

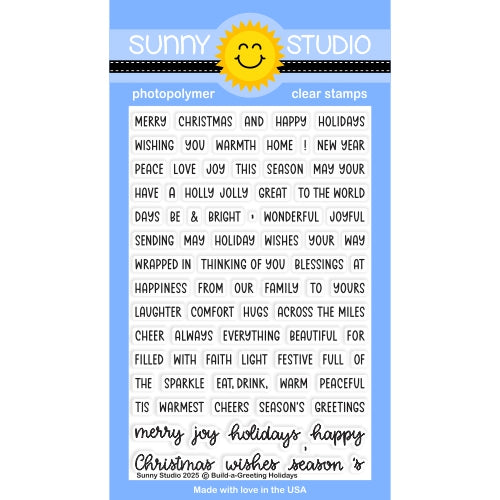
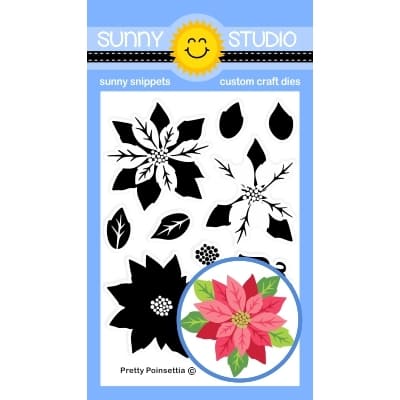
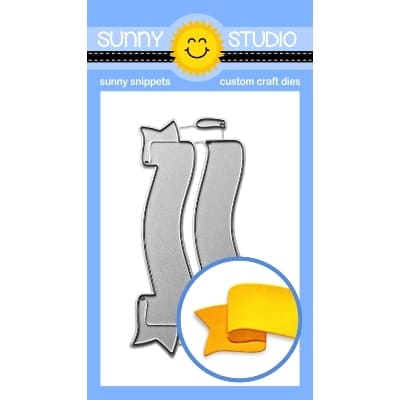
I created a garland over the archway using the flower from the Pretty Poinsettia Stamps with some Glossy Accents added to the center and the leafy vines from the Winter Greenery Dies. Lastly, I heat embossed a customized greeting from our new Build-a-Greeting Holidays Stamps, which I stamped onto a red banner using the Brilliant Banner 1 Dies.

Sunny Studio Red & Aqua Card using Retro Ornaments, Pretty Poinsettia Clear Stamps, Stitched Arch & Winter Greenery Craft Die


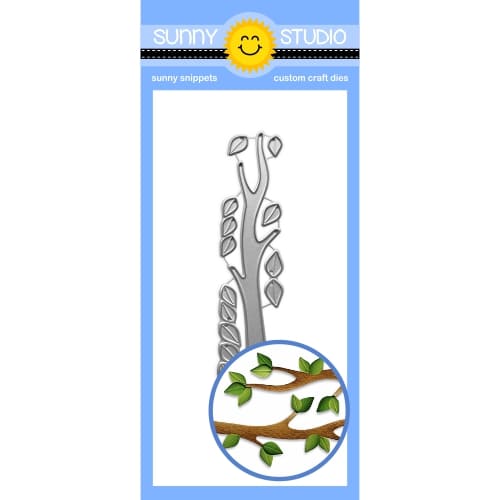
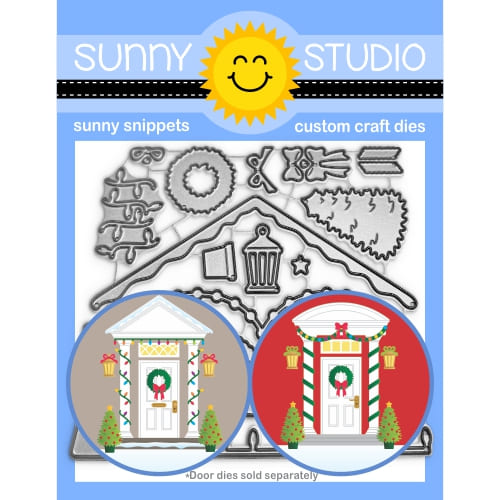
For my second card, I started by inking my background with a light hand of Picked Raspberry Ink, blended with a light amount of Seedless Preserves near the top, which gradually became darker near the top. I then stamped small snowflakes with lilac ink in the background using the various snowflakes from the Deck the Halls Stamps. I then added a Tree Branch Die, topped with snow, which I created by slightly altering the snow border from the Distinctive Door Holiday Add-on Dies. Once the tree branch was in place, I sprinkled in some larger white snowflake die-cuts using the Snowflake Circle Frame Dies

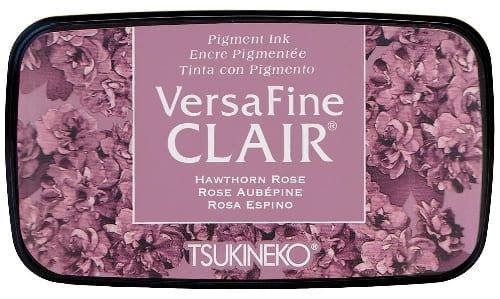
I then added three baby blue, silver, and white ornaments to hang from the branch. I used a paper piercer to poke holes to run silver thread with a needle through, taping them down on the back of my panel, before adhering the entire background piece to my card base. Lastly, I stamped my "Happy Holidays" sentiment on the bottom of my card using the Holiday Greetings Stamps and VersaFine Clair Hawthorn Ink.

Sunny Studio Lilac Christmas Card using Retro Ornaments & Holiday Greetings Stamps, Tree Branch, & Snowflake Circle Frame Die

For my last card using the Retro Ornaments Stamps, I tried to capture a 1950s vintage feel with glittery flocked glass baubles in shades of aqua and pink. Pluto's Christmas Tree is one of my holiday favorites, so I'm always trying to find ways to recreate the sparkle and glow from the scene where Chip and Dale are inside the Christmas tree. I added the garland frame around my card using the two fir tree branch images from the Classy Christmas Stamps. I then stamped my "Merry Christmas" greeting in the center using the sentiment that comes with the Retro Christmas Stamps.

Sunny Studio Vintage-Inspired Glitter Holiday Card using Retro Ornaments & Classy Christmas Clear Stamps & Metal Craft Dies

I stamped my first few atomic stars from the Retro Ornaments set using only VersaMark Ink with the Judikins Iridescent Sparkle Embossing Powder, however, I quickly realized that the stars were almost invisible at certain angles without a colored ink beneith them so I did my best to trace those first attempts with a Copic Marker (since my card was pretty far along at that point), and then I switched to stamping them first with a dye ink and then immediately going over them a second time with the VersaMark before heat embossing. It made the stars so much crisper and gorgeous, so I hope my trial and error can help you avoid similar pitfalls in your cardmaking.

Sunny Studio Vintage-Inspired Glitter Holiday Card using Retro Ornaments & Classy Christmas Clear Stamps & Metal Craft Dies

That wraps up my projects for today. Thanks so much for hanging out with me. I hope I've inspired you to spread a little happiness by sending out a card to someone you love. ðŸ’›

Don't forget to check out the Retro Ornaments Stamps, Classy Christmas Stamps, Pretty Poinsettia Stamps, and Snowflake Circle Frame Dies in our online shop, which are all currently on sale!

Also, please check out all the card ideas using these sets on each of their product pages. I always upload tons of card ideas following the product image, so there are lots of ideas to scroll through, organized by set.

Supplies Used: 

Classy Christmas Stamps
Shop at:
Sunny Studio
Classy Christmas Dies
Shop at:
Sunny Studio
Retro Ornaments Stamps
Shop at:
Sunny Studio
Retro Ornaments Dies
Shop at:
Sunny Studio
Deck The Halls Stamps
Shop at:
Sunny Studio
Build-a-Greeting Holiday
Shop at:
Sunny Studio
Snowflake Circle Frame
Shop at:
Sunny Studio
Stitched Arch Dies
Stitched Arch Dies
Shop at:
Sunny Studio
Pretty Poinsettia Stamps
Shop at:
Sunny Studio
Pretty Poinsettia Dies
Shop at:
Sunny Studio
Holiday Greetings Stamps
Shop at:
Sunny Studio
Holiday Greetings Dies
Shop at:
Sunny Studio
Tree Branch Die
Tree Branch Die
Shop at:
Sunny Studio
Distinctive Door Holiday Add-on
Shop at:
Sunny Studio
Winter Greenery DIes
Winter Greenery Dies
Shop at:
Sunny Studio
Brilliant Banner 1 Dies
Shop at:
Sunny Studio
PinkFresh Studio Blending Brushes
Shop at:
Sunny Studio
Tsukineko Jumbo Dauber
Shop at:
Sunny Studio
Verafine Clair Ink- Hawthorn Rose
Shop at:
Sunny Studio
Zig Chisel Tip Glue Pen
Shop at:
Sunny Studio
Hero Arts Sparkle Embossing Powder
Shop at:
Sunny Studio
Hero Arts White Detail
Shop at:
Sunny Studio
Judikins Iridescent Sparkle Powder
Shop at:
Sunny Studio
Liquid Platinum Embossing Powder
Shop at:
Sunny Studio
Versafine Onyx Black Ink
Shop at:
Sunny Studio
Hero Arts Unicorn Pigment Ink
Shop at:
Sunny Studio
VersaMark Watermark Ink
Shop at:
Sunny Studio
PinkFresh Fairy Dust Ink
Shop at:
Sunny Studio
PinkFresh Heartbeat Ink
Shop at:
Sunny Studio
PinkFresh Over The Hills Ink
Shop at:
Sunny Studio
PinkFresh Garden Stroll Ink
Shop at:
Sunny Studio
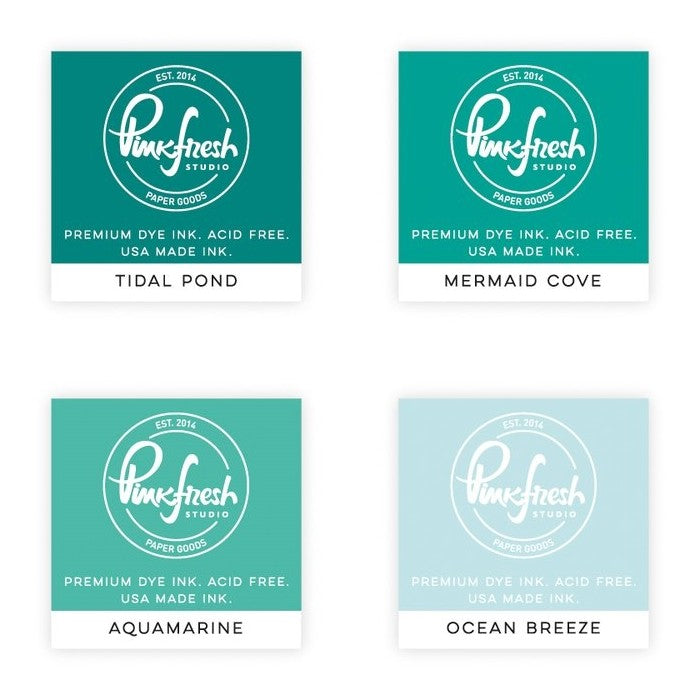
PinkFresh Island Oasis Ink
Shop at:
Sunny Studio
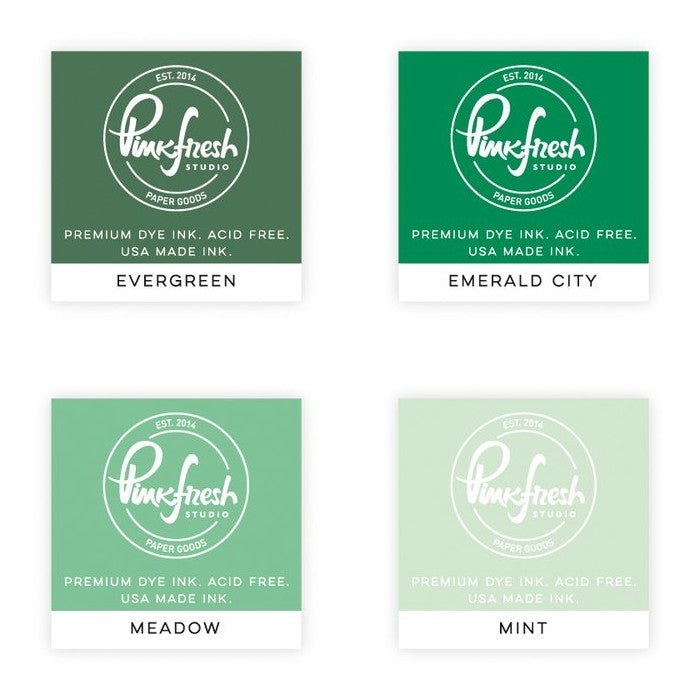
PinkFresh Morning Sky Ink
Shop at:
Sunny Studio

Wednesday, November 5, 2025

Holiday Hugs Card with Tina

Hello crafters, it’s Tina and for this sweet holiday card I am featuring one of my all time favorites, the Holiday Hugs stamp and die set! I love that the cute bear can hold several accessories for any occasion.

Sunny Studio Stamps: Holiday Hugs Winter Themed Christmas Card by Tina Henkens (featuring Frilly Frame Dies, Rounded Rectangle Dies, Holiday Greetings)

I grabbed a white card base from my stash and started to create a border using a combination of the Frilly Frames Stripes die (outer die) and a smaller Rounded Rectangle Window die. This gives you a lovely scalloped border, wide enough to frame the cute bear and leave some room for a large sentiment.

Next, I cut a rectangle from a teal polka dot paper (Dots & Stripes Pastels) with my scissors. It doesn’t have to be precise since the edges get covered with the frame. I stamped my cute bear and a Christmas stocking (Holiday Hugs stamp). All the coloring was done with my Copics in a festive red and green combo. While I had my Misti out, I also created the sentiment in a red ink from my stash (Holiday Greetings).

Sunny Studio Stamps: Holiday Hugs Winter Themed Christmas Card by Tina Henkens (featuring Frilly Frame Dies, Rounded Rectangle Dies, Holiday Greetings)

To assemble the card I glued the pattern paper to the back of the frame and adhered this piece to the card base with liquid glue. Next, I added the bear with foam tape and tucked the stocking in his little paws. The sentiment was turned into a chipboard piece by adding two layers of white to the back of the red one.

For adding snowflakes to my Christmas cards, I love using the Snowflake Circle Frame to create a bunch of them at once! Each snowflake was adorned with an Iridescent Clear Jewel in the center.

Thank you for joining me and happy crafting!

Sunny Studio Supplies Used:

Dots & Stripes Pastels 6x6 Paper
Shop at:
Sunny Studio
Frilly Frames Stripes Die
Shop at:
Sunny Studio
Snowflake Circle Frame
Shop at:
Sunny Studio
Holiday Greetings Stamps
Shop at:
Sunny Studio
Holiday Greetings Dies
Shop at:
Sunny Studio
Holiday Hugs Stamps
Holiday Hugs Stamps
Shop at:
Sunny Studio
Holiday Hugs Dies
Holiday Hugs Dies
Shop at:
Sunny Studio
Rounded Rectangle Window Dies
Shop at:
Sunny Studio