Hello and welcome! This is Mendi here today, popping in to share a couple of cards featuring the beautiful leaf images from the Autumn Greenery Dies.
 For my first card showcasing the Autumn Greenery Dies, I die-cut the two oak leaves and acorn from white cardstock and colored them in warm fall hues of distress inks. I paired them with the larger acorn from the Basic Mini Shape 5 Dies and the Tree Branch Die, cut from woodgrain textured cardstock. For the bottom portion of my card, I added a trio of layered pumpkins also cut from white cardstock using our Pumpkin Patch Dies, inking them with Carved Pumpkin, Spice Marmalade & Rusty Hinge distress inks. I mounted them all onto a pierced background using our Dotted Diamond Portrait Die. For my greeting, I used a sentiment from the Bountiful Autumn Stamps, and fussy cut the word "thankful" with my scissors. Lastly, I added highlights and shine to the acorns and pumpkins with a white gel pen.
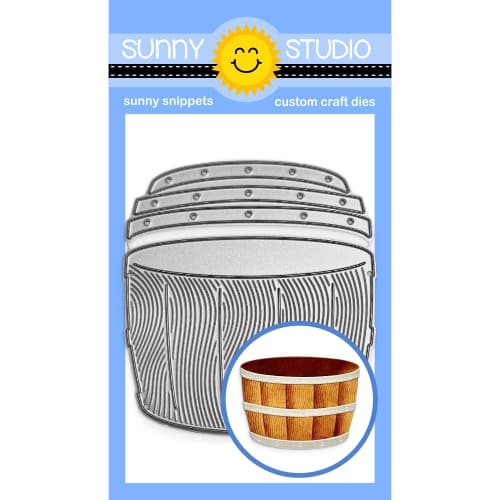
For my second card using the Autumn Greenery Dies, I used the Maple leaf from the set as filler inside my Wood Barrel to embellish around the two birdhouses from our Build-a-Birdhouse Dies. Again, I started by die-cutting the leaves from white cardstock and inking them with shades of orange, red, and deep maroon to add interest. I thought a pretty teal blue and aqua would offset the red and orange leaves nicely, so I cut my birdhouses and birds from ivory, red, and teal cardstock. I cut the base of my barrel from kraft cardstock and the metal bands from metallic silver cardstock. The Wood Barrell Die was designed to allow you to slip strips of scratch paper between the slats to ink up one side of the slat to add shadows and dimension. Every time I play with them, I fall in love with them all over again!
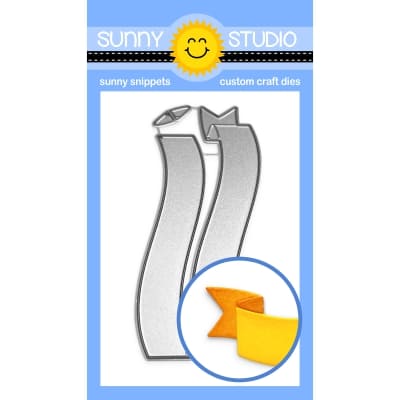
To frame my little scene, I used the outer zig-zag edge of the Frilly Frames Chevron Dies, layered over a teal diagonal grid print from the Gingham Jewel Tones Paper pack. I completed my card by stamping a greeting from the Little Birdie Stamps onto the Brilliant Banner 3 Dies, which I had cut from a pale aqua color cardstock and then inked up in an ombre from light to dark to match the paper and other elements. This card felt a bit up in the air when I was in the midst of trying to choose a color scheme. However, I am utterly smitten with how all the elements came together in the end. This would be a fun card design to reimagine for all four seasons.
That wraps up my projects for today. Thanks so much for hanging out with me. I hope I've inspired you to spread a little happiness by sending out a card to someone you love. 💛

Supplies Used:


