Showing posts with label Winter Wreaths. Show all posts

Monday, November 2, 2026

Winter Wreaths Card with Tina M

Hi Crafty Friends! Tina M here! Today I have a sweet Christmas card to share with you, using the colors white, red and turquoise, featuring the Winter Wreaths and the Roly Poly Penguins sets!

Sunny Studio Stamps: Winter Wreaths & Roly Poly Penguins Christmas Card by Tina Magnusson (featuring Rounded Rectangle Mat Dies, Woodgrain Embossing Folder, Holiday Greetings)

I started off by trimming a piece of the red/white checkered paper from the Joyful Holiday Paper pack to 4,25 x 5,5 inches and adhered it to my A2-size card base.

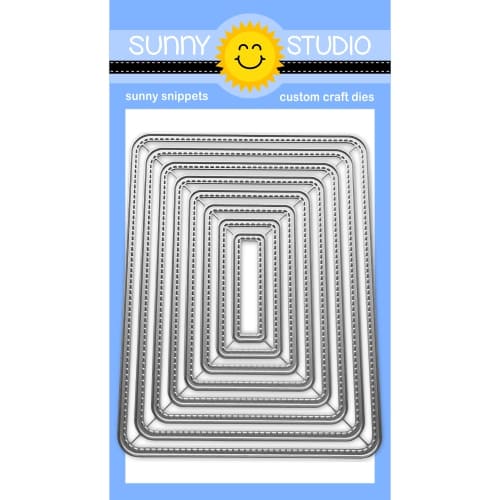
Next, from a piece of white cardstock, I die-cut the second-largest Rounded Rectangle Mat Die. I placed it in the Woodgrain Embossing Folder and ran it through my die-cutting machine again to create a beautiful woodgrain texture, then adhered it to the red/white checkered paper using double-sided tape.

I then stamped the wreath, the bow, poinsettias and berries from the Winter Wreaths Stamps set using turquoise and different shades of red ink and Merry Christmas from the Holiday Greetings Stamps set.

Sunny Studio Stamps: Winter Wreaths & Roly Poly Penguins Christmas Card by Tina Magnusson (featuring Rounded Rectangle Mat Dies, Woodgrain Embossing Folder, Holiday Greetings)

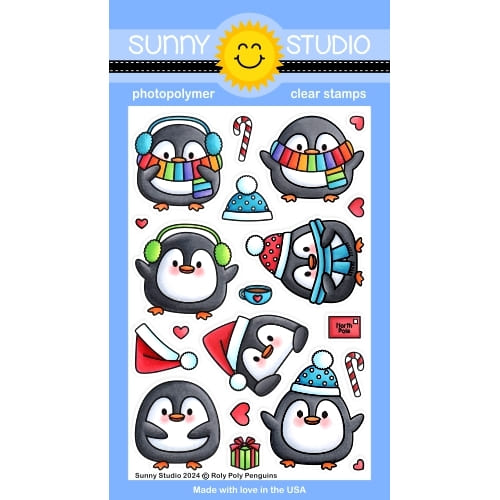
I stamped one of the penguins from the Roly Poly Penguins Stamps set using Memento Desert Sand ink on alcohol-ink-friendly card stock to create a no-line coloring image. I then colored the penguin with Copic markers, see list below:

Penguin: N0/1/3/4/5/6, R01/02, YR21/24/27,
Santa's hat: W0/1/3, R21/22/24/27

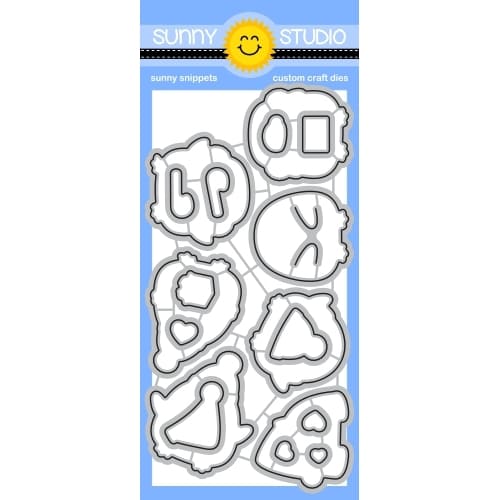
Next, I die-cut the ink-blended and colored pieces using the coordinating Winter Wreaths Dies set, the Roly Poly Penguins Dies set, and the Holiday Greetings Dies set. I glued the penguin to the center of the wreath using liquid glue, added foam dots to the back of the die-cut pieces, arranged my scene, and adhered them to the woodgrain panel.

Thank you for stopping by today! Wishing you a happy and colorful day!

Sunny Studio Supplies Used:

Woodgrain Embossing
Woodgrain Embossing
Shop at:
Sunny Studio
Holiday Greetings Stamps
Shop at:
Sunny Studio
Holiday Greetings Dies
Shop at:
Sunny Studio
Winter Wreaths Stamps
Shop at:
Sunny Studio
Winter Wreaths Dies
Winter Wreaths Dies
Shop at:
Sunny Studio
Joyful Holiday Paper
Shop at:
Sunny Studio
Roly Poly Penguin Stamps
Shop at:
Sunny Studio
Roly Poly Penguin Dies
Shop at:
Sunny Studio
Rounded Rectangle Mat Dies
Shop at:
Sunny Studio

Friday, October 30, 2026

Winter Wreaths Card with Janneke

Hello crafty friends, Janneke here Today I’m sharing a festive infinity shaker card featuring a cute little penguin!

Sunny Studio Stamps: Winter Wreaths & Roly Poly Penguins Holiday Card by Janneke Peters (featuring Stitched Square Dies, Scalloped Square Dies)

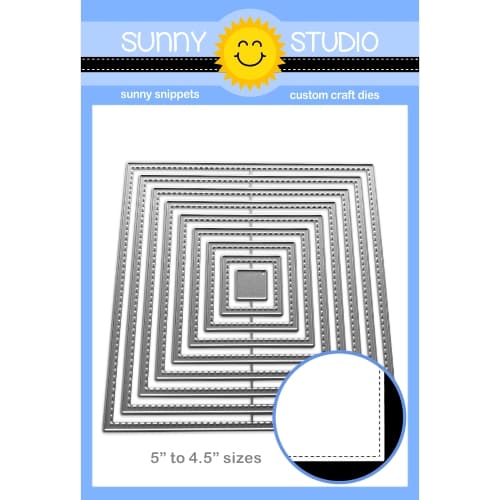
I started by die-cutting the white card base with the Scalloped Square 1 Large Dies. Next, I cut a square from light salmon cardstock using the Stitched Square Dies. I blended the edges with a slightly darker salmon ink and added some golden paint splatters for extra sparkle.

Sunny Studio Stamps: Winter Wreaths & Roly Poly Penguins Holiday Card by Janneke Peters (featuring Stitched Square Dies, Scalloped Square Dies)

To create the infinity shaker, I cut a piece from a plastic sheet protector and wrapped it around the square, leaving one side open. Before sealing it, I added lots of golden stars.

Time for some stamping! I stamped the beautiful green wreath from the Winter Wreaths Stamp Set and added a pretty salmon-colored bow using two shades of salmon ink. For the center, I stamped an adorable penguin from the Roly Poly Penguins Stamp Set.

Sunny Studio Stamps: Winter Wreaths & Roly Poly Penguins Holiday Card by Janneke Peters (featuring Stitched Square Dies, Scalloped Square Dies)

After die-cutting all the images with their coordinating dies, I colored the penguin with my Ohuhu markers and glued everything onto the card.

Card done, ready to send joy! Thanks for joining me, and see you next week.

Sunny Studio Supplies Used:

Winter Wreaths Stamps
Shop at:
Sunny Studio
Winter Wreaths Dies
Winter Wreaths Dies
Shop at:
Sunny Studio
Stitched Square Dies
Shop at:
Sunny Studio
Scalloped Square 1 Large Die
Shop at:
Sunny Studio
Roly Poly Penguin Stamps
Shop at:
Sunny Studio
Roly Poly Penguin Dies
Shop at:
Sunny Studio

Saturday, October 17, 2026

Winter Wreaths Card with Jarle

Hi friends! It's Jarle here, and I am excited to share my weekly project for Sunny Studio Stamps. This week, I used the beautiful Winter Wreaths stamp set. That detail on that wreath is just AMAZING! You have to check it out in the photos below. 

Sunny Studio Stamps: Winter Wreaths Holiday Card by Jarle Franceus (featuring Rustic Winter, Build-A-Greeting Holidays)

I started with a piece of teal cardstock (Teal Topaz from Spellbinders), 4 x 5.25 inches. I blended the edges with Distress Oxides in Peacock Feathers, Chipped Sapphire, and a little bit of Black Soot. I splattered some Copic White and set the panel aside to dry. 

Sunny Studio Stamps: Winter Wreaths Holiday Card by Jarle Franceus (featuring Rustic Winter, Build-A-Greeting Holidays)

After that, I stamped everything with the Winter Wreaths stamp set. I chose a green (with a hint of teal) for the wreath itself. I did the ribbon and poinsettias in shades of red ink. I die-cut everything with the coordinating dies. I also die-cut the 3 deer from the Rustic Winter die set with black cardstock (and a little bird from red cardstock). 

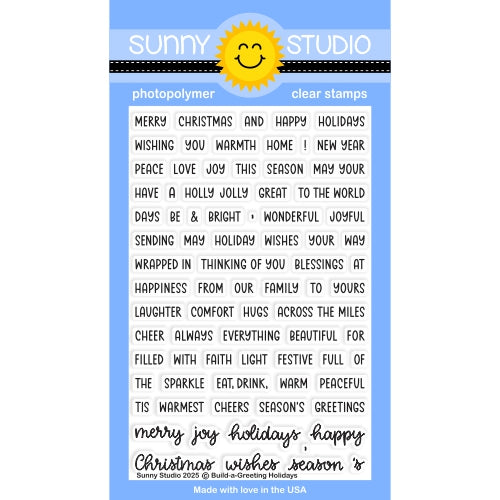
For the sentiment, I went with my trusty Build A Greeting Holidays stamp set. I gold embossed 'wishing you a beautiful season' on a strip of red cardstock. I love this stamp set because you can make SO MANY different sentiments with it. I also really like its simple style. 

Sunny Studio Stamps: Winter Wreaths Holiday Card by Jarle Franceus (featuring Rustic Winter, Build-A-Greeting Holidays)

I popped up the Winter Wreath on the ink-blended panel and added the ribbon with foam squares and the poinsettias with liquid glue. The deer and the sentiment are also popped up. To add a little bit of extra something, I adhered a few jewels from the Gold Jewels and the Magic Rainbow Jewels. I glued down my whole panel on an A2-sized red card base. 

I think the wreath really stands out on this card. The pops of green and red on a darker ink-blended cardstock are gorgeous. Have a beautiful day! 

Sunny Studio Supplies Used:

Rustic Winter Dies
Rustic Winter Dies
Shop at:
Sunny Studio
Winter Wreaths Stamps
Shop at:
Sunny Studio
Winter Wreaths Dies
Winter Wreaths Dies
Shop at:
Sunny Studio
Build-a-Greeting Holidays
Shop at:
Sunny Studio

Monday, October 20, 2025

Moroccan Circle Embossing Folder Christmas Cards with Mendi

Hello and welcome! This is Mendi here today, popping in to share some Christmas cards featuring our Moroccan Circle Embossing Folder.

Sunny Studio Holiday Christmas Cards using Winter Wreaths Stamps, Pristine Poinsettia Dies, Moroccan Circles Embossing Folder

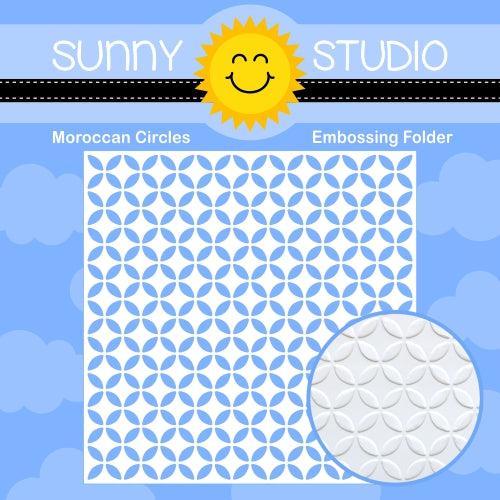
For my cards today, I was having fun experimenting with Tim Holtz Distress Embossing Glazes. I started by inking up a 6x6 white cardstock panel with Peacock Feathers Distress Inks before running the panel through my die-cutting machine with the Moroccan Circle Embossing Folder. I then pressed my Versamark Ink Pad directly to the surface, trying to coat the entire panel, before sprinkling it with Evergreen Bough distress embossing glaze. When I created the panel, I wasn't sure how I was going to use it, and I wanted to be able to crop it around any mistakes I might make. I love how the speckled glossy embossed background invokes the feeling of real handmade Moroccan tiles!

Sunny Studio Holiday Christmas Card using Pristine Poinsettia & Winter Greenery Craft Dies, Moroccan Circles Embossing Folder

I thought red would look so good against the teal green background, so I embellished my card with three layered Pristine Poinsettia Dies. Each flower is comprised of three stacked layers, twisted to show 9 petals in all. I used a paper piercer to poke a hole down the center and inserted a small red brad to hold the layers together tightly, before using a craft hammer to completely flatten the head of the brad. This gave me a smooth surface to adhere groupings of Red Zicron Jewels adhered with Multi Matte Medium, which dries clear. Our Winter Greenery Dies cut from a couple different shades of green cardstock were used as filler around the poinsettia flowers. I completed my card by heat embossing the "Enjoy the Beauty of the Season" sentiment from our Inside Greetings Christmas Stamps on a black pennant cut with the Notebook Photo Corners Dies.

Sunny Studio Holiday Christmas Card using Pristine Poinsettia & Winter Greenery Craft Dies, Moroccan Circles Embossing Folder

For my second card, I started with the leftover embossed strip cut off the first card using the Moroccan Circle Embossing Folder. I decided to experiment some more by adding a second layer of Versamark Ink and another coat of Evergreen Bough Distress Embossing Glaze. This second pass filled in some low spots and made the surface even more glossy and smooth. The additional layer also deepened the rich green color of the glaze over the original peacock feathers inked cardstock. On my second pass there were a few low spots I couldn't see that I had missed with the Versamark Ink pad, so going back with the VersaMark Pen was the perfect way to touch things up and make those misses almost entirely invisible. I really struggled to get good crisp photos of this beauty of the glaze since my camera wanted to focus on the wreath, but it's stunning in person!

Sunny Studio Distress Glaze Holiday Christmas Card using Winter Wreaths Clear Stamps & Moroccan Circles 6x6 Embossing Folder

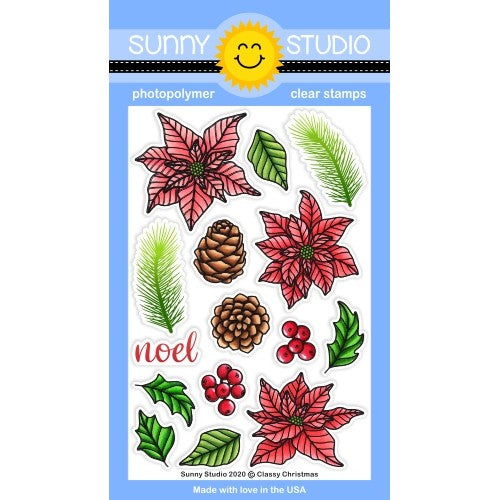
I used our Winter Wreaths Stamps for the focal point of my card, embellishing it with the bow, mini layered poinsettias, berries, and extra bough image. I chose to stamp my wreath and evergreen sprigs onto green cardstock to help the die-cut images fill out and blend with the stamped images for a tone-on-tone look. I heat-embossed a simple "noel" greeting in the center of my wreath from the Classy Christmas Stamps and added a scalloped lace border from the Ribbon & Lace Border Dies. Lastly, I added some more mini Red Zicron Jewels to the center of each poinsettia for an extra touch of holiday shine.

Sunny Studio Distress Glaze Holiday Christmas Card using Winter Wreaths Clear Stamps & Moroccan Circles 6x6 Embossing Folder

That wraps up my projects for today. Thanks so much for hanging out with me. I hope I've inspired you to spread a little happiness by sending out a card to someone you love. ðŸ’›

Don't forget to check out the Prestine Poinsettia Dies, Winter Wreath Stamps, and Moroccan Circles Embossing Folder in our online shop, which are all currently on sale!

Also, please check out all the card ideas using these sets on each of their product pages. I always make sure to upload tons of card ideas following the product image so there are lots of ideas to scroll through there organized by set.

Supplies Used: 

Pristine Poinsettia Dies
Shop at:
Sunny Studio
Winter Greenery DIes
Shop at:
Sunny Studio
Winter Wreaths Stamps
Shop at:
Sunny Studio
Winter Wreaths Dies
Winter Wreaths Dies
Shop at:
Sunny Studio
Classy Christmas Stamps
Shop at:
Sunny Studio
Inside Greetings-Christmas
Shop at:
Sunny Studio
Ribbon & Lace Dies
Ribbon & Lace Dies
Shop at:
Sunny Studio
Notebook Photo Corners Dies
Shop at:
Sunny Studio
Moroccan Circles Embossing
Shop at:
Sunny Studio
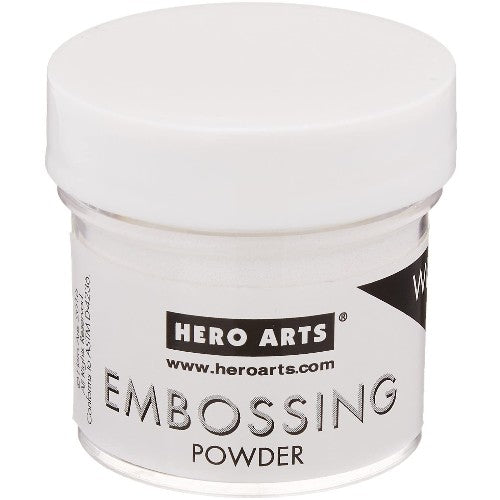
Hero Arts White Detail
Shop at:
Sunny Studio
VersaMark Watermark Pen
Shop at:
Sunny Studio
VersaMark Watermark Ink
Shop at:
Sunny Studio
Red Zircon Jewels
Red Zircon Jewels
Shop at:
Sunny Studio
Multi Medium Matte
Multi Medium Matte
Shop at:
Sunny Studio

Friday, November 3, 2023

Woolen Mitten Die Focused Card with Tina

Hello crafty friends, Tina here featuring the gorgeous Woolen Mitten Die set! I am a huge fan of shaped cards and I love that this mitten is big enough to add lots of details to it. Such as the festive wreath I am creating today.

Sunny Studio Stamps: Woolen Mitten Holiday Card by Tina Henkens (featuring Winter Wreaths, Winter Greenery, Ribbon & Lace Border Dies)

I am kicking off this project by creating a white mitten card base by folding a sheet of white card stock in two and using the mitten die, making sure the top part stayed intact. Next, I cut another mitten from a beautiful snowflake paper (Joyful Holiday) and added some dimension by inking the edges with a blending brush and Distress Oxide Uncharted Mariner.

I did the same for the cuff of the mitten which I created with a polka dot paper (Joyful Holiday). A small white border (Ribbon & Lace Border dies) was added as extra embellishment. After gluing all the elements of the mitten to my shaped card base, I was ready to work on my wreath.

Sunny Studio Stamps: Woolen Mitten Holiday Card by Tina Henkens (featuring Winter Wreaths, Winter Greenery, Ribbon & Lace Border Dies)

The smallest wreath die from Winter Wreaths was the perfect size for my base. This immediately gives you the perfect circle shape to add the branches from Winter Greenery Dies. I stacked two layers of branches in the same teal blue color as my base. I also cut three extra branches from shiny white cardstock to add some contrast to the blue mitten.

I used the smallest Poinsettia leaf die from the Woolen Mitten set and cut it from red, pink, and white cardstock. This creates the most adorable little flowers with a small white gem from the White Jewels as a center. I added the flowers to the wreath with some foam tape and glued the whole piece onto the mitten shape. Finally, I stamped a sentiment from Feeling Frosty onto a small white strip using Versafine Onyx Black ink and added it to the cuff of the mitten.

I am sure you will love this beautiful mitten die as much as I do!

Sunny Studio Supplies Used:

Feeling Frosty Stamps
Shop at:
Sunny Studio
Winter Greenery DIes
Shop at:
Sunny Studio
Winter Wreaths Stamps
Shop at:
Sunny Studio
Winter Wreaths Dies
Winter Wreaths Dies
Shop at:
Sunny Studio
Joyful Holiday Paper
Shop at:
Sunny Studio
Ribbon & Lace Dies
Ribbon & Lace Dies
Shop at:
Sunny Studio
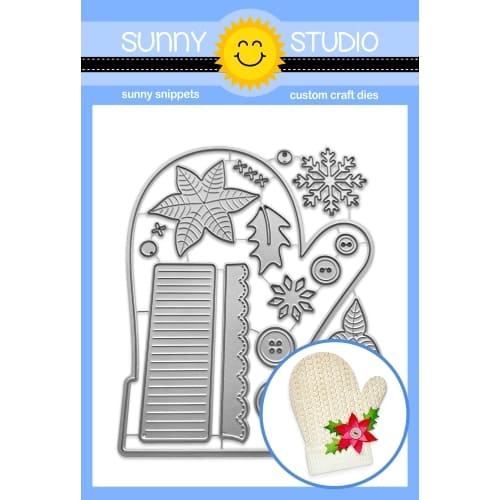
Woolen Mitten Dies
Woolen Mitten Dies
Shop at:
Sunny Studio