Hello and welcome! This is Mendi here today, popping in to share some VW bus-inspired cards for summer using our Beach Bus Stamps.
For my first card, I paired the bus and surfboard from the Beach Bus Stamps with the ocean, palm trees, umbrella, and clouds from the Ocean View Stamps, and the seals and punny greeting from the Sealiously Sweet Stamps. I used the car and surfboard to hide the beach chair in the ocean scene and trimmed off the beach umbrella so I could position it higher. I then used the string from our Bold Balloons Stamps to string the flip flops from the Sealiously Sweet set between the palm trees and umbrella as a sort of banner or clothesline.
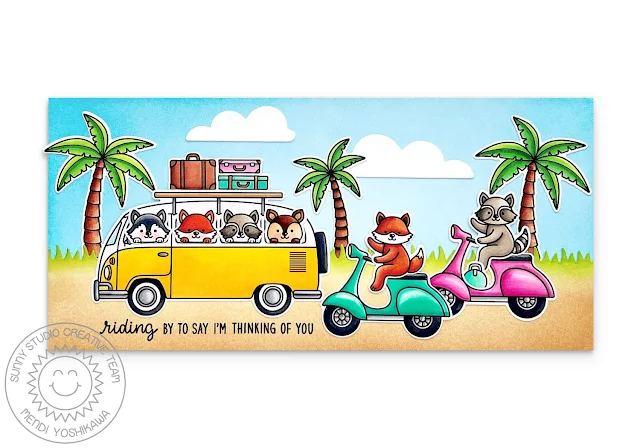
For my second card, I paired the bus and luggage from the Beach Bus Stamps with the critters on scooters from our Critters on the Go Stamps and the peeking woodland critters from our Truckloads of Love Stamps. To set the scene behind them, I used the grass border from the Picket Fence Dies, which I positioned to cut twice in my die-cutting machine to span the longer length of my 8.5" wide slimline card. I then inked up the grassy portion with Twisted Citron distress ink and the dirt road portion with Antique Linen distress ink. My sky was inked with a light hand of Salty Ocean distress ink, and I added the palm trees from our Tropical Scenes Stamps and Sending Sunshine Stamps. Lastly, I tucked in the clouds from our Tropical Trees Backdrop Dies and stamped a punny greeting from the Critters on the Go set.
That wraps up my projects for this morning. I hope I've inspired you in your own cardmaking and that you spread a little happiness by sending out a card to a loved one today. 😊
Don't forget to check out our Sealiously Sweet Stamps and Critters on the Go Stamps in our online shop, which are currently on sale!
Also, please check out all the card ideas using the set the product page. I always make sure to upload tons of card ideas following the product image. 💛
Supplies Used:
 Bold Balloons Stamps Shop at: Sunny Studio |
 Picket Fence Border Dies Shop at: Sunny Studio |
 Memento Tuxedo Black Ink Pad Shop at: Sunny Studio |
 Versafine Onyx Black Ink Shop at: Sunny Studio |
 Sending Sunshine Stamps Shop at: Sunny Studio |
 Sending Sunshine Dies Shop at: Sunny Studio |
 Sealiously Sweet Stamps Shop at: Sunny Studio |
 Sealiously Sweet Dies Shop at: Sunny Studio |
 Tropical Scenes Stamps Shop at: Sunny Studio |
 Tropical Scenes Dies Shop at: Sunny Studio |
 Critters on the Go Stamps Shop at: Sunny Studio |
 Critters on the Go Dies Shop at: Sunny Studio |
 Ocean View Stamps Shop at: Sunny Studio |
 Ocean View Dies Shop at: Sunny Studio |
 Tropical Trees Backdrop Shop at: Sunny Studio |
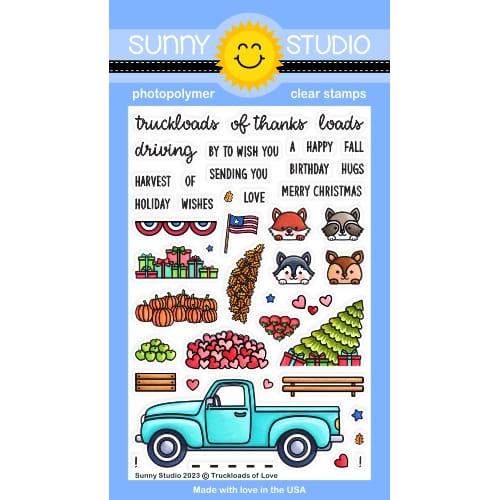 Truckloads of Love Stamps Shop at: Sunny Studio |
 Truckloads of Love Dies Shop at: Sunny Studio |
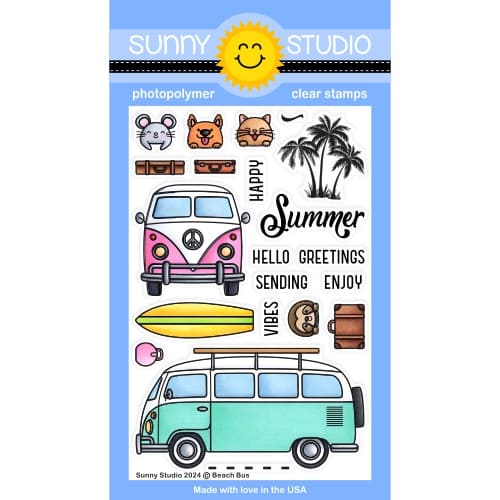 Beach Bus Stamps Shop at: Sunny Studio |
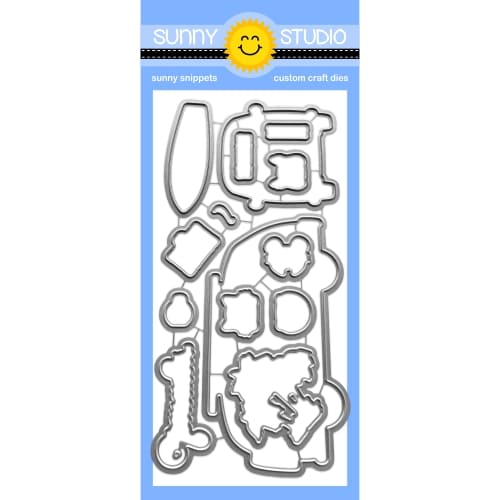 Beach Bus Dies Shop at: Sunny Studio |
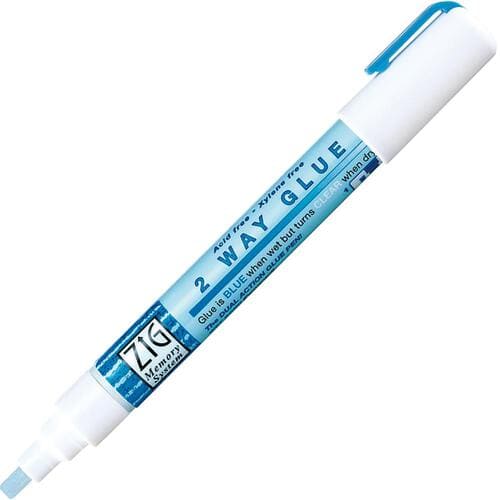 Zig Chisel Tip Glue Pen Shop at: Sunny Studio |
 Tsukineko Jumbo Dauber Shop at: Sunny Studio |
 PinkFresh Studio Blending Brushes Shop at: Sunny Studio |


