Hello and welcome! This is Mendi here today, popping in to share some bug-themed cards for Summer using our Garden Critters Stamps.
I thought it would be fun to challenge myself to make all four of my cards today using the same core group of five Sunny Studio supplies and a single design template or "sketch" to speed up the cardmaking process. By doing this I was able to focus on making each card feel unique with the individual stamp images featured and the patterned papers I used. I was shocked to realize I was able to complete 4 cute cards in the amount of time that I would usually only get one or two cards done!
I will also note, that for each new release, I always stamp every square inch of my favorite Copic Marker paper with as many images from a new stamp set that I can squeeze onto a 8.5" x 11" sheet so I can have a bunch of die-cut images ready to go for any cards I create promoting the new sets. For all my cards I'm sharing this summer, I am also challenging myself to use up as many leftover images as possible that I have already stamped and die-cut, but that never made it onto a card. It always makes me feel so good putting them to use and trying to use up every last piece. Not only does it give these scraps of paper new life to make someone happy, but it is also helping me clear off my desk with the huge bin of stamped images I have sitting here, where I have them grouped in baggies and sorted by stamp set.
Card No.1: My first card combines the ladybugs, grasshoppers, and caterpillar from our Garden Critters Stamps. These images nicely complement each other with a complementary red and green color scheme. These colors aren't just for Christmas, and I love how good they look together for a fresh summer card! To frame my scene I layered our Rounded Rectangle Mat Dies with the scalloped frame from our Mini Mat & Tag 2 Dies. Our super cute Spring Fling Paper pack features happy prints in a rainbow of pastel colors, so many of the prints weren't going to work with my red ladybugs, but this grass print from the set was a perfect match!
Card No. 4: I will admit, I meant to adhere this little scene to the card no.3 background with the "You make my heart flutter" sentiment, but I absentmindedly glued it down tight to the wrong card while watching tv at 2am. This particular card background was supposed to be reserved for my first card. I was so mad at myself, realizing the ladybugs weren't going to work with the pastel chevron striped background I had left, but then I realized this particular combo didn't look bad together, so after my mini internal tantrum, I decided to shift things around like musical chairs and to create a fourth card. With that in mind, I ended up with two cards with the grass background (because my first card wasn't going to work with any of the other prints from the set). Still, I was pleased that I was able to make it work, without too much heartache, other than using up another sheet of my favorite grass paper--It's one of those prints that I save every square inch of because it works so well for scene-building cards.
That wraps up my projects for this morning. I hope I've inspired you in your own cardmaking and that you spread a little happiness by sending out a card to a loved one today.💛
Supplies Used:
 Memento Tuxedo Black Ink Pad Shop at: Sunny Studio |
 Tsukineko Jumbo Dauber Shop at: Sunny Studio |
 Versafine Onyx Black Ink Shop at: Sunny Studio |
 Spring Fling Paper Shop at: Sunny Studio |
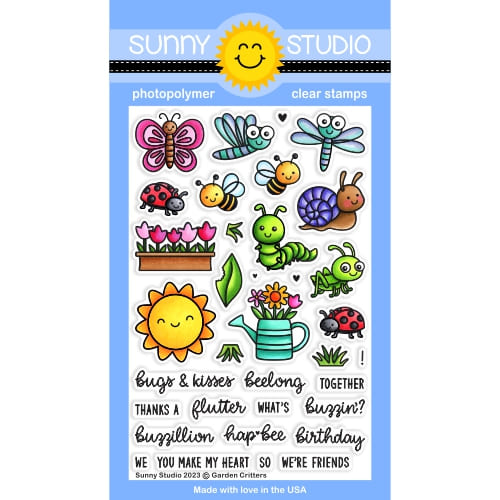 Garden Critters Stamps Shop at: Sunny Studio |
 Garden Critters Dies Shop at: Sunny Studio |
 Rounded Rectangle Mat Dies Shop at: Sunny Studio |
 Mini Mat & Tag 2 Dies Shop at: Sunny Studio |
 Just Bee-cause Stamps Shop at: Sunny Studio |
 Just Bee-cause Dies Shop at: Sunny Studio |


