Showing posts with label Bunnyville. Show all posts

Friday, March 7, 2025

Guest Designer Spotlight: Cards with Sara Zoppi

Hi crafty friends, Sara Zoppi here! Today I am happy to be here, guesting again for Sunny Studio Stamps! Today, I have two hoppy inspirations to show you, featuring some of the recently released products and some of the previously released ones. So, let's dive into the first card!

Bunnies are always so fun, and they're the typical critters for spring as we approach Easter. Anyway, I tried to use them differently, because they're perfect with flowers too!

Sunny Studio Stamps: Bunnyville Spring Card with Sara Zoppi

For my first card, I decided to pair the two bunnies included in the Balloon Number Stamps, but, instead of hanging some balloon stripes, I hand-drew some flowers in their hand. I also added two of the bunnies included in the previous released Bunnyville Stamps (which perfectly match dimensions and design) to create a garden scene: one is hanging out of a watering can, surrounded by colored flowers which I totally hand drew. 

Sunny Studio Stamps: Bunnyville Spring Card with Sara Zoppi

I kept the scene simple, and here are the Copic colors I used:

- Grey bunnies: W4 – W3 – E41 – E40 – E11 | RV34 – R20
- Brown bunnies: E23 – E55 – E42 – E30 – E50 – E11 | RV34 – R20
- Watering can: BG18 – BG57 – BG53
- Flowers: R14 – YR68 – R22 – R21 – Y38
- Greenery: G43 – G94 – G20

Sunny Studio Stamps: Bunnyville Spring Card with Sara Zoppi

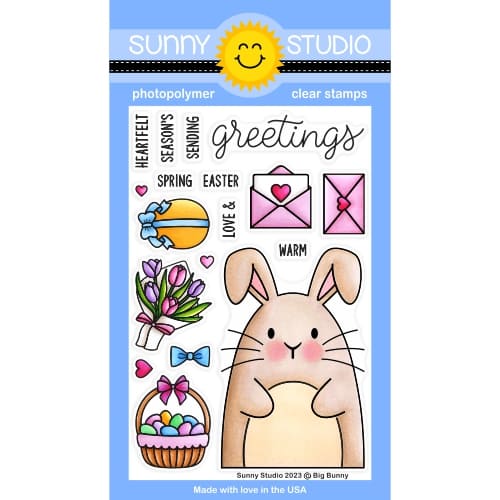
As you might see, there are also small details in black. I used a fine black liner pen to add them, and I thought they worked well with the simple design. I then moved to the sentiment, from the Big Bunny Stamps, which I white heat-embossed on black cardstock. I also die-cut it using coordinating dies (I cut it twice to get some depth) and glued it down in the top right corner. I directly stamped the word spring which comes from the same "Big Bunny" stamp. To complete the card, I trimmed the scene to 5" x 3.75", added a slightly larger green sparkly cardstock, and then a 5.75"x 4.5" grey patterned paper. And here's the finished look!

Sunny Studio Stamps: Big Bunny Mother's Day Card with Sara Zoppi (featuring Balloon Alphabet, Majestic Meadow)

For my second inspiration, I went for a shaker card. When I saw all the small bunnies included in the new release from the Tulip Path Background Stamps, I thought it would have been perfect to match them with the Big Bunny Stamps (which I love, as well as the Big Panda and the giant bear from Holiday Hugs). I created a mum card. 

I first stamped the bunnies in light brown and colored them all using Copics (E23 – E43 – E42 – E41 – E40 – RV34 – R20). I also stamped the bouquet of tulips with a darker copic friendly brown ink and I colored it too (R46 – R14; RV09 – RV55; YR68 – YR65; Y38 – Y35 – Y32; G43).

Sunny Studio Stamps: Big Bunny Mother's Day Card with Sara Zoppi (featuring Balloon Alphabet, Majestic Meadow)

I die-cut everything with coordinating dies and the big bunny arms to hang the bouquet. I defined all the eyes with a black fineliner: I think this gives a great touch when stamping with different colors, especially light colors.

I then moved to the rest of the card: I used the recently released Balloon Alphabet Stamps to stamp the MUM letters with coordinating inks. I tried to avoid inking the balloon curling ribbon and I used coordinating pencils to give some depth. I white heat embossed the first part of the sentiment, which comes from Punny Fruit Greetings Stamps, on some brown cardstock, and then I moved into the background.

Sunny Studio Stamps: Big Bunny Mother's Day Card with Sara Zoppi (featuring Balloon Alphabet, Majestic Meadow)

I used the new Majestic Meadow Stamps to stamp my background, but I preferred to keep it simple and stamp it only with light brown. I trimmed a white frame from cardstock sized to 4" x 5.25" and I used foam tape and clear acetate to attach the three bunnies and the sentiment. I added some Iridescent Pastel Confetti and attached everything to my stamped background. And here's the finished result!

Thanks for stopping by! I really hope you like my projects and you will be inspired to create something!

Sunny Studio Supplies Used:

Bunnyville Stamps
Bunnyville Stamps
Shop at:
Sunny Studio
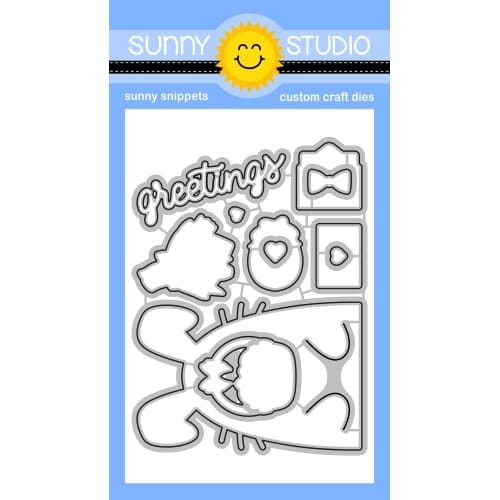
Bunnyville Dies
Bunnyville Dies
Shop at:
Sunny Studio
Big Bunny Stamps
Big Bunny Stamps
Shop at:
Sunny Studio
Big Bunny Dies
Big Bunny Dies
Shop at:
Sunny Studio
Punny Fruit Greetings
Shop at:
Sunny Studio
Majestic Meadow Stamps
Shop at:
Sunny Studio
Majestic Meadow Dies
Shop at:
Sunny Studio
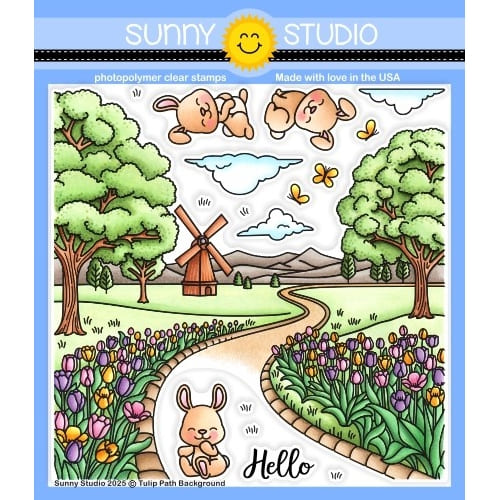
Tulip Path Background Stamps
Shop at:
Sunny Studio
Tulip Path Background Dies
Shop at:
Sunny Studio
Balloon Alphabet Stamps
Shop at:
Sunny Studio
Balloon Alphabet Dies
Shop at:
Sunny Studio
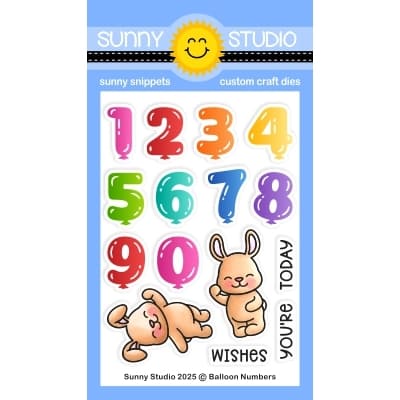
Balloon Numbers Stamps
Shop at:
Sunny Studio
Balloon Numbers Dies
Shop at:
Sunny Studio

Monday, February 3, 2025

Majestic Meadow Card with Leanne

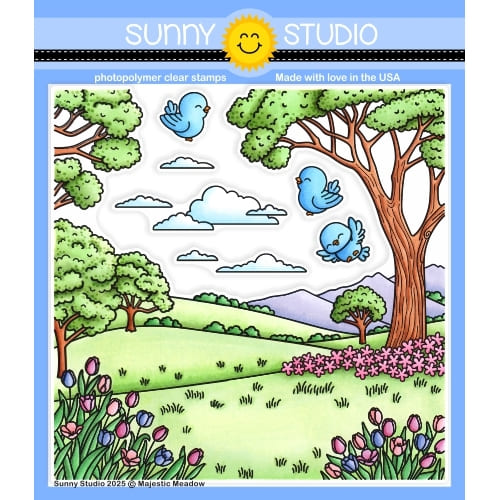
Hi there! Leanne here today. I'm sharing a colorful spring scene card. This scene came together nicely with some images from the new Majestic Meadow stamp set. This stamp set creates an entire scene which you can use as is or use the coordinating Majestic Meadow dies to cut out specific parts of the scene which what I have done. 

Sunny Studio Stamps: Majestic Meadow Spring Themed Card by Leanne West (featuring Bunnyville, Mini Grass Border DIes, Chloe Alphabet Dies)

I have used the tulips, the big tree, and the bird images from the set to create an A2 sized scene. First I ink blended a blue sky onto my card base. Next I Copic colored the images I wanted to use. I also used a bunny and butterfly images from the Bunnyville stamp set. I used the coordinating dies to cut out my colored images. 

Copic colors used: RV10, RV04, YR02, YR14, YG11, YG17, Y11, Y15, R00, R20, B21, B23, E41, E43, W01, W04, E51

Sunny Studio Stamps: Majestic Meadow Spring Themed Card by Leanne West (featuring Bunnyville, Mini Grass Border DIes, Chloe Alphabet Dies)

I added a die cut Mini Grass Border to the bottom edge of the card front. Then I tucked the tulips under the grass. I added the tree to the right corner and trimmed off the extra. Next I adhered the bunny, birds, and butterflies to the scene with thin foam squares. Lastly I added the greeting in the open sky space. I used the Chloe Alphabet dies for the "hello"

Sunny Studio Supplies Used: 

Chloe Alphabet Dies
Chloe Alphabet Dies
Shop at:
Sunny Studio
Bunnyville Stamps
Bunnyville Stamps
Shop at:
Sunny Studio
Bunnyville Dies
Bunnyville Dies
Shop at:
Sunny Studio
Little Birdie Stamps
Shop at:
Sunny Studio
Mini Grass Border Dies
Shop at:
Sunny Studio
Majestic Meadow Stamps
Shop at:
Sunny Studio
Majestic Meadow Dies
Shop at:
Sunny Studio

Saturday, May 18, 2024

Sunny Saturday Share: Customer Cards


Hey everyone, how are you all doing this weekend? I'm so excited to be popping in today with a Sunny Saturday Share. There have been so many amazing cards popping up on Instagram that have made my jaw drop so I couldn't wait to share them with all of you! 


Sunny Studio Stamps: Tropical Birds Customer Card by Kristina Werner


Sunny Studio Stamps: Big Panda Customer Card by Teri Anderson

Bunnyville cards by Maria

Sunny Studio Stamps: Bunnyville Customer Card by Maria


Sunny Studio Stamps: Passionate Penguins Customer Card by Anna Moreno


Sunny Studio Stamps: Wedded Bliss Customer Card by Lynn


Sunny Studio Stamps: Passionate Penguins Customer Altered Ruler by Nicole Kayaalp

Thank you for sharing all these fabulous ideas with us! I hope you will continue to share your gorgeous projects with us--It always makes my day to see them. Please tag us on instagram @sunnystudiostamps or share your projects with us in our flickr group. Sadly we are no longer able to view all the posts using our hashtag on Instagram so it's super important for you to also tag us @sunnystudiostamps so we can find them and they don't get missed.


Sunny Studio Supplies Used:

Bunnyville Stamps
Bunnyville Stamps
Shop at:
Sunny Studio
Bunnyville Dies
Bunnyville Dies
Shop at:
Sunny Studio
Passionate Penguins Stamps
Shop at:
Sunny Studio
Passionate Penguins Dies
Shop at:
Sunny Studio
Wedded Bliss Stamps
Wedded Bliss Stamps
Shop at:
Sunny Studio
Wedded Bliss Dies
Wedded Bliss Dies
Shop at:
Sunny Studio
Big Panda Stamps
Big Panda Stamps
Shop at:
Sunny Studio
Big Panda Dies
Big Panda Dies
Shop at:
Sunny Studio
Tropical Birds Stamps
Shop at:
Sunny Studio
Tropical Birds Dies
Tropical Birds Dies
Shop at:
Sunny Studio

Thursday, May 16, 2024

Summer Jar Mug Card with Marine

Hello crafty friends, Marine here with you today, I'm thrilled to be sharing with you this lovely card featuring the jar from the Summer Jar Mug die set from the Summer 2024 release. I have so many ideas of cards to make with this new die set, and the first that came to my mind was this ladybug themed card with ladybug fairies, because I like to use them for all the seasons and for any theme. If you missed them, here are the previous Garden Fairy cards I made: Bee FairiesHalloween FairiesNight FairiesHoliday Fairies.

Sunny Studio Stamps: Summer Jar Mug Die Focused Shaker Card by Marine Simon (featuring Garden Fairy, Garden Critters, Picket Fence Border Dies)

I started off by cutting a 5,5 x 4,25 inches Strathmore bristol smooth panel that I entirely covered with saltwater taffy oxide inks, with a little bit of festive berries oxide ink on the edges. To create a ladybug pattern, I used a bubble stencil from my stash along with black soot oxide ink to make black dots all over my panel. I splattered water on my piece of paper and dried it using a paper towel, mixed some festive berries oxide ink with water and added more splatters on my panel using a small brush, and then did the same with black soot oxide ink and with copic opaque white ink.

Next I cut another 5,5 x 4,25 inches bristol panel, cut two grass borders out of it using a Picket Fence Border die, and colored both of them using shabby shutters and mowed lawn oxide inks. I mixed some rustic wilderness oxide ink with water, and used my small brush again to make splatters on the grass borders, and did the same with copic opaque white ink.

I stamped all my images on 80lb Neenah solar white cardstock using an alcohol marker friendly black ink, cut them using the coordinating dies, and colored everything using my Spectrum Noir Illustrator markers and Graph'it brush markers. 

Sunny Studio Stamps: Summer Jar Mug Die Focused Shaker Card by Marine Simon (featuring Garden Fairy, Garden Critters, Picket Fence Border Dies)

Here is a detailed list of the stamp sets I used: • Garden Fairy - two fairies • Garden Critters - ladybugs and leaves • Special Day - heart • Love Birds - flowers • Little Birdie - branches • Bunnyville - grass, butterflies, tulips • Outback Critters - small branch • Seasonal Trees - log

Next I worked on my shaker Summer Jar Mug, and started off by cutting the different pieces: one holographic jar frame for the front, one whole acetate jar, one whole pearlescent vellum jar for the back, and two white jar frames to create dimension inside the jar. I first attached some images directly on the pearlescent jar using liquid glue, making sure to leave enough space on the edges to attach the jar later on. I attached the acetate jar at the back of the holographic jar frame using liquid glue. Next I stuck both white jar frames to the acetate using liquid glue again. Poured some iridescent confetti inside the jar, and finally glued the pearlescent jar to close my shaker jar.

Sunny Studio Stamps: Summer Jar Mug Die Focused Shaker Card by Marine Simon (featuring Garden Fairy, Garden Critters, Picket Fence Border Dies)

I attached everything on my ladybug panel, starting with the grass borders using 1mm foam squares. Next I stuck the jar using liquid glue at the bottom and 1mm foam squares at the top. And then I attached all the images using 1mm and 2mm foam squares, leaving enough space on the top left hand corner for my white heat embossed "You make my heart flutter" greeting from Garden Critters.

Finally I added highlights and details to the images using a white gel pen, applied white blizzard nuvo drops to the fairies wings to make them shine, and glued a tiny red clay heart next to my greeting for a last touch of cuteness. 

And that's it! I hope you like this new card, I had so much fun making it, and I can't wait to share more cards with the amazing Summer Jar Mug. See you next week!

Sunny Studio Supplies Used:

Picket Fence Border Dies
Shop at:
Sunny Studio
Seasonal Trees Stamps
Shop at:
Sunny Studio
Seaonal Trees Dies
Seaonal Trees Dies
Shop at:
Sunny Studio
Garden Fairy Stamps
Garden Fairy Stamps
Shop at:
Sunny Studio
Garden Fairy Dies
Garden Fairy Dies
Shop at:
Sunny Studio
Bunnyville Stamps
Bunnyville Stamps
Shop at:
Sunny Studio
Bunnyville Dies
Bunnyville Dies
Shop at:
Sunny Studio
Little Birdie Stamps
Shop at:
Sunny Studio
Little Birdie Dies
Little Birdie Dies
Shop at:
Sunny Studio
Garden Critters Stamps
Shop at:
Sunny Studio
Garden Critters Dies
Shop at:
Sunny Studio
Special Day Stamps
Special Day Stamps
Shop at:
Sunny Studio
Special Day Dies
Special Day Dies
Shop at:
Sunny Studio
Love Birds Stamps
Love Birds Stamps
Shop at:
Sunny Studio
Love Birds Dies
Love Birds Dies
Shop at:
Sunny Studio
Summer Jar Mug Dies
Summer Jar Mug Dies
Shop at:
Sunny Studio