Showing posts with label Foxy Friends. Show all posts

Wednesday, February 5, 2025

Foxy Friends Card with Tina

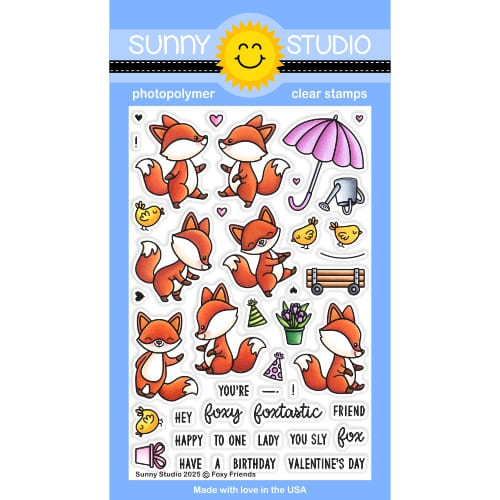
Hello crafters, it’s Tina and today I am sharing a Valentine’s card with a couple of adorable cuties from Foxy Friends stamp and die set. There are a bunch of sweet images in this set which made it hard to select just two! I will definitely make more projects with the other critters!

Sunny Studio Stamps: Foxy Friends Valentine's Day Card by Tina Henkens (featuring Bursting Hearts Dies, Fancy Frame Dies, Scalloped Circle Mat Dies)

After creating a white card base, I cut a scalloped border from a white panel with the outer die from Fancy Frames Rectangle dies.

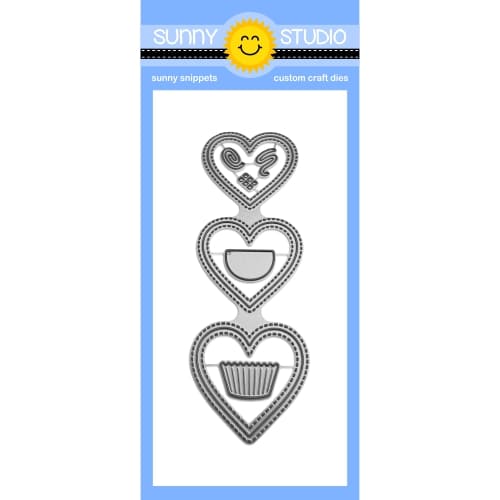
You can never have enough hearts on a ‘love themed’ card and that is where the Bursting Hearts die comes in handy! I used this die in a previous project where I wanted to add white hearts to my design, so I still had the background panel set aside. I always love when you get different uses from one product! To make all the heart shapes really pop I glued a red striped panel (Striped Silly pad) to the back of the white background.

Next, I glued this piece to the card base and added the white border. For my focal point, I die cut a white circle which was just a bit larger than the second of the Scalloped Circle Mats 3. Additionally, I created a vellum circle with the later die.

Sunny Studio Stamps: Foxy Friends Valentine's Day Card by Tina Henkens (featuring Bursting Hearts Dies, Fancy Frame Dies, Scalloped Circle Mat Dies)

Using some ‘glue sheets for vellum’, I was able to add the vellum to the white circle without visible traces of glue. Next, I mounted the circles to the heart panel with foam tape.

I selected a cute pair of foxes, an umbrella (Foxy Friends stamp and die set), a letter   (Bighearted Bears) and a tiny bow (Heart Bouquet Stamps). For my color scheme, I went with brown, teal and red Copic markers. Of course, I had to add white details with a gel pen! My sentiment was pulled from the Foxy Friends stamp and I used a red ink from my stash.

To complete the design, I placed the images and sentiment banner in position. As a final embellishment, two red jewels (Bright Jewel mix) were glued on each side of the sentiment.

Thank you for joining me and happy crafting!

Sunny Studio Supplies Used:

Fancy Frames- Rectangles
Shop at:
Sunny Studio
Striped Silly 6x6 Paper
Shop at:
Sunny Studio
Scalloped Circle Mat 3 Dies
Shop at:
Sunny Studio
Bursting Heart Die
Bursting Heart Die
Shop at:
Sunny Studio
Heart Bouquet Stamps
Shop at:
Sunny Studio
Heart Bouquet Dies
Heart Bouquet Dies
Shop at:
Sunny Studio
Bighearted Bears Stamps
Shop at:
Sunny Studio
Bighearted Bears Dies
Shop at:
Sunny Studio
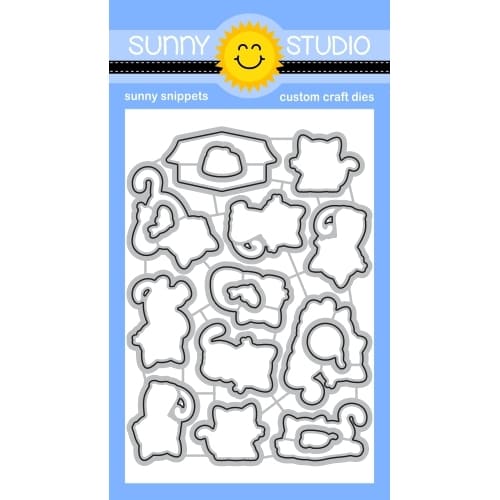
Foxy Friends Stamps
Foxy Friends Stamps
Shop at:
Sunny Studio
Foxy Friends Dies
Foxy Friends Dies
Shop at:
Sunny Studio

Tuesday, February 4, 2025

Balloon Alpahbet Focused Card with Amanda

Hello crafty friends, Amanda here. Welcome back to the Sunny Studio Stamps Blog! I made one FOXY card to share with you today!

Sunny Studio Stamps: Balloon Alphabet Focused Birthday Card by Amanda Fitterer (featuring Foxy Friends, Rounded Rectangle Mat Dies, Background Basics 2)

Let’s start with how I created the layers!  I’ve used an A2 white card base (5.5”x8.5” scored at 4.25”). The next layer is a sheet of the Gingham Pastels Paper trimmed to 4.25”x5.5”. The brown cardstock is just a scrap I had laying around that I trimmed to 2” x 4.25”. Then, I took a scrap piece of pink paper and trimmed it to 1.25” x 4.25”. The polka dots come from the new Background Basics 2 Stamps, which I stamped with Catherine Pooler Clay Mask Ink.

The white rounded rectangle layer was created using the 3rd largest die from the Rounded Rectangle Mat Dies. On this panel, I ink blended Catherine Pooler’s Clay Mask in the center and splattered some pink and white paint on it. I propped this layer up using foam tape.

Next, let’s move onto the adorable foxes and balloons! The foxes, birds, accessories and sentiment are stamped from the Foxy Friends Stamps and colored with Copic markers. Here are the Copic markers I used to color them in!

Foxes: Orange Areas:  YR000, YR20, YR21, YR24, YR27
Light Areas: E50, E30, E31 Nose: W8
All pink areas: R000, 20, R22, R43
Birds: E30, E31, E33, E35

Sunny Studio Stamps: Balloon Alphabet Focused Birthday Card by Amanda Fitterer (featuring Foxy Friends, Rounded Rectangle Mat Dies, Background Basics 2)

I cut out all stamped images (except the sentiment) using the Foxy Friends Dies. For the sentiment, I trimmed it with a paper trimmer and then used scissors to create the banner edges. I put 3D foam squares behind all my images in preparation for assembling the card.

For the balloons, I used the new Balloon Alphabet Stamps. I stamped them with Catherine Pooler Cotton Candy Ink and then used a tiny blending brush to ink them again with Clay Mask - only on the outer edges of each balloon. I cut them out using the Balloon Alphabet Dies.

I placed all the balloons on a foam pad and used a needle to poke 2 holes around the bottom of each one. Then, I stitched some white thread through each balloon and wrapped it around my middle fox’s hand. I placed foam squares behind each balloon and placed them on the card. Then, I placed all of my other images on the card. I trimmed the excess thread from each balloon and my fox’s hand.

What a fun card to make! I love those Balloon Alphabet Stamps, don’t you?! There’s also Balloon Numbers available! Thanks so much for coming by the blog today and I’ll see you back here soon! 

Sunny Studio Supplies Used:

Gingham Pastels 6x6 Paper
Shop at:
Sunny Studio
Background Basics 2 Stamps
Shop at:
Sunny Studio
Balloon Alphabet Stamps
Shop at:
Sunny Studio
Balloon Alphabet Dies
Shop at:
Sunny Studio
Foxy Friends Stamps
Foxy Friends Stamps
Shop at:
Sunny Studio
Foxy Friends Dies
Foxy Friends Dies
Shop at:
Sunny Studio
Rounded Rectangle Mat Dies
Shop at:
Sunny Studio

Friday, January 31, 2025

Background Basics 2 Card with Nicky

Hello! This is Nicky with you today on the Sunny Studios blog and I have a sweet little Valentine's card to share with you, featuring Background Basics 2so please read on for all the details and relevant links.

Sunny Studio Stamps: Background Basics 2 Valentine's Day Card by Nicky Meeks (featuring Foxy Friends, Brilliant Banner 4 Dies, Stitched Rectangle Dies, Rounded Rectangle Mat Dies)

I took an A2 panel of white cardstock and used the Background Basics 2 stamp to stamp the design with a minty coloured ink. I die cut the panel using the Stitched Rectangle Die then glued it to a slightly larger panel of minty coloured cardstock  and then cut an opening through both layers using the Rounded Rectangle Mat Die. I backed the patterned frame with dimensional foam tape and applied it to a white panel of cardstock where I had ink blended the sky and used Copic markers in various shades of green to light blue to make some tufted grass to ground my characters. I applied this to an A2 white card base and set it to one side.

Sunny Studio Stamps: Background Basics 2 Valentine's Day Card by Nicky Meeks (featuring Foxy Friends, Brilliant Banner 4 Dies, Stitched Rectangle Dies, Rounded Rectangle Mat Dies)

I stamped the Foxy Friends images and coloured them with the following Copic markers:
Foxes - E99, E13, E11, C3, C1, C0
Blush Pink (Cheeks and Umbrella) - R22, R21, R20, R00
White - C3, C1, C0

Images were die cut with the coordinating dies and applied to the background with foam tape and I included 3 little die cut hearts from the coordinating die.

Sunny Studio Stamps: Background Basics 2 Valentine's Day Card by Nicky Meeks (featuring Foxy Friends, Brilliant Banner 4 Dies, Stitched Rectangle Dies, Rounded Rectangle Mat Dies)

To complete my card I made a polka dot design on the umbrella and highlighted other points and I also die cut the Brilliant Banner 4 Die from white cardstock, I shaded the different parts with some ink blending and glued them together and then I stamped the sentiment in black ink.

Card complete! Have some fun crafting your own Valentine cards and I'll see you back here next Friday with something new.

Sunny Studio Supplies Used:
 

Stitched Rectangle Dies
Shop at:
Sunny Studio
Brilliant Banner 4 Dies
Shop at:
Sunny Studio
Background Basics 2 Stamps
Shop at:
Sunny Studio
Foxy Friends Stamps
Foxy Friends Stamps
Shop at:
Sunny Studio
Foxy Friends Dies
Foxy Friends Dies
Shop at:
Sunny Studio
Rounded Rectangle Mat Dies
Shop at:
Sunny Studio

Tuesday, January 21, 2025

Foxy Friends Card with Amanda

Hey there, crafty friends, Amanda here! I’m so glad you stopped by the Sunny Studio Stamps blog today! Have you been going crazy over this New Release like I have been!? The cuteness is out of this world! Today, I get to share this adorable Foxy Friends A2 card I made using some of the new goodies!

Sunny Studio Stamps: Foxy Friends Card by Amanda Fitterer (featuring Tulip Path Background, Rounded Rectangle Mat Dies)

The first step to creating this card is to cut out the new Rounded Rectangle Mat Dies! I love that it comes with so many size choices! I chose the largest die and cut two of them with white cardstock. 

Do you love coloring as much as I do? The Tulip Path Background Stamps are SO much fun to color! This background has so much depth to it and I love the clouds that come with it!  I stamped the background on one of my rounded rectangles. Then, I colored it with Copic markers (see below for Copic markers used). Then, I die cut the background out using the Tulip Path Background Dies!  

Next, I ink blended my other rounded rectangle with Catherine Pooler’s Oh Boy! blue ink. Then, I glued my 2 rectangles together to create my background panel. I stamped some clouds and glued them to my background as well.

Sunny Studio Stamps: Foxy Friends Card by Amanda Fitterer (featuring Tulip Path Background, Rounded Rectangle Mat Dies)

Next, I stamped my images from the Foxy Friends Stamps. I colored them with Copic markers, and then I die cut them out with the coordinating Foxy Friends Dies. My images are all propped up with 3D foam squares to add more dimension to the project. I glued my rounded rectangle panel to an A2 sized card base.

Here are the Copic markers I used for this card:

Butterflies: B0000, B01, B02
Wagon: R32, R35, R39, N5, N7, N9, N10, Y23, Y26, Y28
Watering Can: C0, C1, C2, C3, C4, C5, C6
Foxes: E50, E51, E53, YR0000, YR20, YR21, YR24, YR27, E08, R22, R30

Background Scene: 
Road: W2, W4, W5, W6, W7
Windmill: T1, T3, T4, T6, R32, R35, R39
Flowers: RV06, RV09, RV10, G03, G09, G28
Grass: YG0000, YG00, YG01, YG03, YG25, YG67
Mountains/Clouds: C0, C2, C4
Trees: G21, G24, G28, G29, E444, E47, E49, G14, G16


That’s all from me today, guys! I hope you enjoyed this cute little foxy scene!  See you next time! 

Sunny Studio Supplies Used:

Tulip Path Background Stamps
Shop at:
Sunny Studio
Tulip Path Background Dies
Shop at:
Sunny Studio
Foxy Friends Stamps
Foxy Friends Stamps
Shop at:
Sunny Studio
Foxy Friends Dies
Foxy Friends Dies
Shop at:
Sunny Studio
Rounded Rectangle Mat Dies
Shop at:
Sunny Studio

Sunday, January 19, 2025

Majestic Meadow Card with Hanh

Hello Crafty Friends! This is Hanh on the Sunny Studio Stamps blog today. I am so excited to share a birthday card featuring the new Majestic Meadows Stamps from the Spring Release. This is an amazing background stamp that is just perfect for scene building. It created a quick backdrop for my little birthday party today. I love that it is large enough for you to create a large square, a portrait A2 or a landscape A2 sized card. And there's also an awesome coordinating die that can diecut part of the landscape and all of extra images.

Sunny Studio Stamps: Majestic Meadow Birthday Card by Hanh Nguyen (featuring Foxy Friends, Little Birdie, Fancy Frame Dies, Stitched Rectangle Dies)

I stamped the background image from the new Majestic Meadows Stamps onto a piece of Neenah Solar White 110 lb cardstock with Memento Rich Cocoa ink. Then I stamped one of the birds from the Majestic Meadows Stamps, the foxes, flowers, wagon and party elements from the new Foxy Friends Stamps and a couple of birds from the Little Birdie Stamps sets onto a piece of Neenah Solar White 110 lb cardstock with Memento Tuxedo Black ink. I used the coordinating Majestic Meadows DiesFoxy Friends Dies and Little Birdie Dies to die cut them out. I colored them with Copic markers and accented with a white gel pen.

Sunny Studio Stamps: Majestic Meadow Birthday Card by Hanh Nguyen (featuring Foxy Friends, Little Birdie, Fancy Frame Dies, Stitched Rectangle Dies)

COPIC COLORS:
Foxes: YR21/23/24/27 E09, W00/0/1/3, W7, R00/30
Birds: B0000/000/00/02, Y38 YR04, Y38 YR04, R30
Sky: B0000
Green: YG01/03/17
Blue Hats/Gift: B000/00/02
Pink: RV21/23
White: C1
Wagon: E21/23/25, C1, W7
Trees: YG01/03/17, E21/23/25/29

Sunny Studio Stamps: Majestic Meadow Birthday Card by Hanh Nguyen (featuring Foxy Friends, Little Birdie, Fancy Frame Dies, Stitched Rectangle Dies)

I used the larger die from the Stitched Rectangle Dies set to die cut out the panel. I adhered the  panel onto the front of a top folding white card base (4.25" x 5.5"). Next, I diecut a scalloped frame using the larger die from the Fancy Frames Rectangle Dies set and white cardstock. I adhered the scalloped frame to the panel and card base using foam tape. 

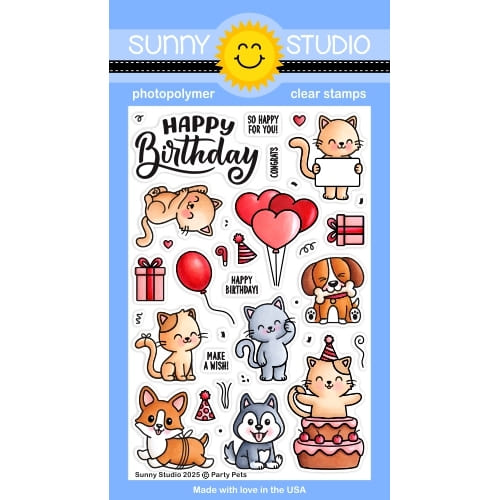
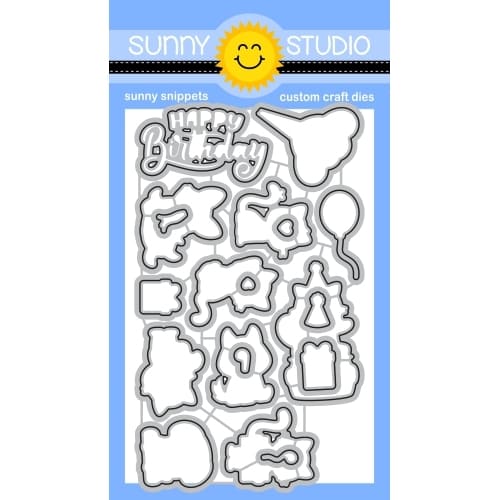
For the sentiment, I stamped one of the sentiments from the new Party Pets Stamps onto a piece of white cardstock with Versafine Onyx Black ink. I diecut out the sentiment with the coordinating Party Pets Dies

Sunny Studio Stamps: Majestic Meadow Birthday Card by Hanh Nguyen (featuring Foxy Friends, Little Birdie, Fancy Frame Dies, Stitched Rectangle Dies)

I adhered the flower pots and wagon directly onto the panel. Then I adhered the sentiment and the remainder of the colored images onto the card front with some foam tape for a bit of dimension and interest.

I appreciate you taking the time to stop by and visit today. I hope you liked my card. For more info, ideas and to check out the entire new Spring Release, be sure to visit the Sunny Studio Stamps Shop. Please also visit my INSTAGRAM feed for more inspirations.

Have a wonderful and crafty day!

Sunny Studio Supplies Used:

Stitched Rectangle Dies
Shop at:
Sunny Studio
Fancy Frames- Rectangles
Shop at:
Sunny Studio
Little Birdie Stamps
Shop at:
Sunny Studio
Little Birdie Dies
Little Birdie Dies
Shop at:
Sunny Studio
Majestic Meadow Stamps
Shop at:
Sunny Studio
Majestic Meadow Dies
Shop at:
Sunny Studio
Foxy Friends Stamps
Foxy Friends Stamps
Shop at:
Sunny Studio
Foxy Friends Dies
Foxy Friends Dies
Shop at:
Sunny Studio
Party Pets Stamps
Party Pets Stamps
Shop at:
Sunny Studio
Party Pets Dies
Party Pets Dies
Shop at:
Sunny Studio