Showing posts with label Winter Greenery. Show all posts

Wednesday, October 29, 2025

Sweater Vest Die Focused Card with Tina

Hi there crafty friends, Tina here and you know I love the holiday season! But there was still one thing on my wish list, you guessed it … a cute Christmas vest! Today I made just that with the versatile Sweater Vest dies. This set offers a bunch of design options and I went for a more girly look in the classic red, teal and pink colors.

Sunny Studio Stamps: Sweater Vest Die Focused Holiday Card by Tina Henkens (featuring Winter Greenery Dies, Roly Poly Penguins)

The base vest was cut from two red papers (one gingham, the other snowflakes, Joyful Holiday pack). I went with a V-neck, extra white trim and a pink collar. The same white and pink accents were repeated along the border. I used liquid glue to assemble the vest.

My focal point is a mini wreath which I made with the small branches from the Winter Greenery dies. I cut a bunch of these from teal, pink and light blue papers. To get that wreath shape, I cut a circle frame using two dies from the Nesting Circles Infinity set. Now all you have to do is glue the branches to this base, alternating between the three colors while you layer them.

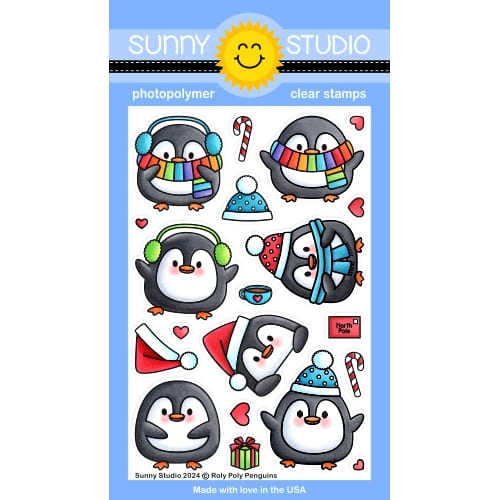
Of course I had to add a cute critter, and the Roly Poly Penguins were the perfect size for this wreath. I used my Copics for the coloring and added white highlights with my gel pen.

Sunny Studio Stamps: Sweater Vest Die Focused Holiday Card by Tina Henkens (featuring Winter Greenery Dies, Roly Poly Penguins)

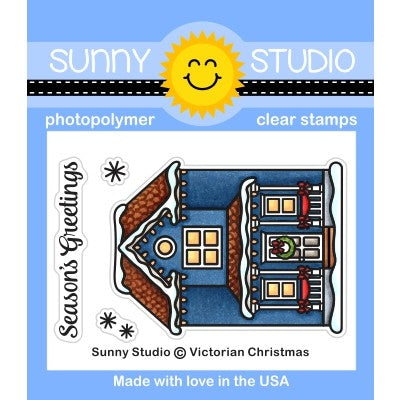
Before adhering the wreath to the vest, I wanted to tone done the red of the background by adding a circle of vellum (cut with the largest of the Nesting Circles Infinity dies I had used before). I glued the vellum to the back of the wreath and glued the whole piece to the gingham vest. Next, I selected a sentiment from the Victorian Christmas set and stamped it with Versafine Onyx Black ink onto a small white banner. Finally, I used foam tape to mount the penguin and sentiment strip to the vest. To add some festive Christmas bling, I opted to glue several Pink Spinel Jewels to the buttons and border. 

I am looking forward to see all the beautiful designs you will create with this amazing die set! Thank you for joining me and happy crafting!

Sunny Studio Supplies Used:

Sweater Vest Dies
Sweater Vest Dies
Shop at:
Sunny Studio
Victorian Christmas Stamps
Shop at:
Sunny Studio
Winter Greenery Dies
Shop at:
Sunny Studio
Joyful Holiday Paper
Shop at:
Sunny Studio
Roly Poly Penguin Stamps
Shop at:
Sunny Studio
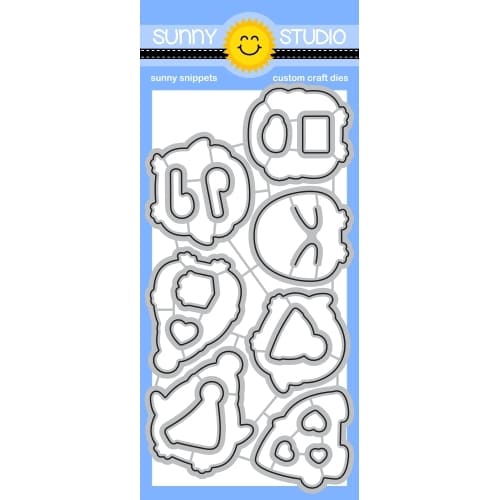
Roly Poly Penguin Dies
Shop at:
Sunny Studio

Monday, October 20, 2025

Moroccan Circle Embossing Folder Christmas Cards with Mendi

Hello and welcome! This is Mendi here today, popping in to share some Christmas cards featuring our Moroccan Circle Embossing Folder.

Sunny Studio Holiday Christmas Cards using Winter Wreaths Stamps, Pristine Poinsettia Dies, Moroccan Circles Embossing Folder

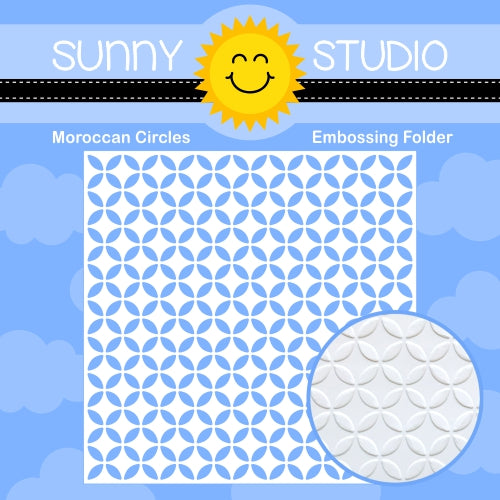
For my cards today, I was having fun experimenting with Tim Holtz Distress Embossing Glazes. I started by inking up a 6x6 white cardstock panel with Peacock Feathers Distress Inks before running the panel through my die-cutting machine with the Moroccan Circle Embossing Folder. I then pressed my Versamark Ink Pad directly to the surface, trying to coat the entire panel, before sprinkling it with Evergreen Bough distress embossing glaze. When I created the panel, I wasn't sure how I was going to use it, and I wanted to be able to crop it around any mistakes I might make. I love how the speckled glossy embossed background invokes the feeling of real handmade Moroccan tiles!

Sunny Studio Holiday Christmas Card using Pristine Poinsettia & Winter Greenery Craft Dies, Moroccan Circles Embossing Folder

I thought red would look so good against the teal green background, so I embellished my card with three layered Pristine Poinsettia Dies. Each flower is comprised of three stacked layers, twisted to show 9 petals in all. I used a paper piercer to poke a hole down the center and inserted a small red brad to hold the layers together tightly, before using a craft hammer to completely flatten the head of the brad. This gave me a smooth surface to adhere groupings of Red Zicron Jewels adhered with Multi Matte Medium, which dries clear. Our Winter Greenery Dies cut from a couple different shades of green cardstock were used as filler around the poinsettia flowers. I completed my card by heat embossing the "Enjoy the Beauty of the Season" sentiment from our Inside Greetings Christmas Stamps on a black pennant cut with the Notebook Photo Corners Dies.

Sunny Studio Holiday Christmas Card using Pristine Poinsettia & Winter Greenery Craft Dies, Moroccan Circles Embossing Folder

For my second card, I started with the leftover embossed strip cut off the first card using the Moroccan Circle Embossing Folder. I decided to experiment some more by adding a second layer of Versamark Ink and another coat of Evergreen Bough Distress Embossing Glaze. This second pass filled in some low spots and made the surface even more glossy and smooth. The additional layer also deepened the rich green color of the glaze over the original peacock feathers inked cardstock. On my second pass there were a few low spots I couldn't see that I had missed with the Versamark Ink pad, so going back with the VersaMark Pen was the perfect way to touch things up and make those misses almost entirely invisible. I really struggled to get good crisp photos of this beauty of the glaze since my camera wanted to focus on the wreath, but it's stunning in person!

Sunny Studio Distress Glaze Holiday Christmas Card using Winter Wreaths Clear Stamps & Moroccan Circles 6x6 Embossing Folder

I used our Winter Wreaths Stamps for the focal point of my card, embellishing it with the bow, mini layered poinsettias, berries, and extra bough image. I chose to stamp my wreath and evergreen sprigs onto green cardstock to help the die-cut images fill out and blend with the stamped images for a tone-on-tone look. I heat-embossed a simple "noel" greeting in the center of my wreath from the Classy Christmas Stamps and added a scalloped lace border from the Ribbon & Lace Border Dies. Lastly, I added some more mini Red Zicron Jewels to the center of each poinsettia for an extra touch of holiday shine.

Sunny Studio Distress Glaze Holiday Christmas Card using Winter Wreaths Clear Stamps & Moroccan Circles 6x6 Embossing Folder

That wraps up my projects for today. Thanks so much for hanging out with me. I hope I've inspired you to spread a little happiness by sending out a card to someone you love. ðŸ’›

Don't forget to check out the Prestine Poinsettia DiesWinter Wreath Stamps, and Moroccan Circles Embossing Folder in our online shop, which are all currently on sale!

Also, please check out all the card ideas using these sets on each of their product pages. I always make sure to upload tons of card ideas following the product image so there are lots of ideas to scroll through there organized by set.

Supplies Used: 

Pristine Poinsettia Dies
Shop at:
Sunny Studio
Winter Greenery DIes
Shop at:
Sunny Studio
Winter Wreaths Stamps
Shop at:
Sunny Studio
Winter Wreaths Dies
Winter Wreaths Dies
Shop at:
Sunny Studio
Classy Christmas Stamps
Shop at:
Sunny Studio
Inside Greetings-Christmas
Shop at:
Sunny Studio
Ribbon & Lace Dies
Ribbon & Lace Dies
Shop at:
Sunny Studio
Notebook Photo Corners Dies
Shop at:
Sunny Studio
Moroccan Circles Embossing
Shop at:
Sunny Studio
Hero Arts White Detail
Shop at:
Sunny Studio
VersaMark Watermark Pen
Shop at:
Sunny Studio
VersaMark Watermark Ink
Shop at:
Sunny Studio
Red Zircon Jewels
Red Zircon Jewels
Shop at:
Sunny Studio
Multi Medium Matte
Multi Medium Matte
Shop at:
Sunny Studio

Tuesday, December 3, 2024

Winter Greenery Card with Alma

Hello everyone, Alma here. Today I’m showing you a card filled with lots of die-cut elements. 

Sunny Studio Stamps: Winter Greenery & Wood Barrel Die Focused Holiday Card by Alma (featuring Dotted Diamond Dies, Greetings Word Dies)

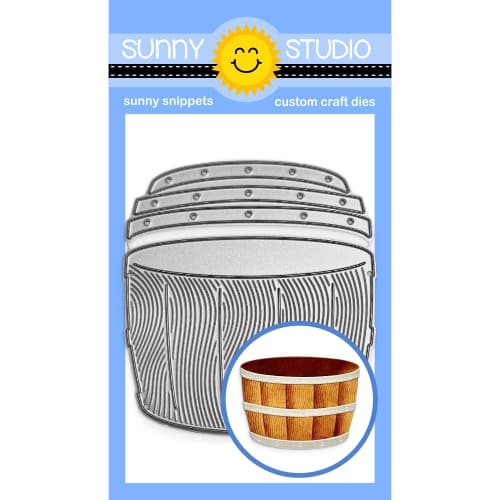
At the center of my card is the Wood Barrel Die, which I colored using Distress Oxide Inks. I filled the Wood Barrel with die cuts from the Winter Greenery Dies, also colored with Distress Oxide Inks.

Sunny Studio Stamps: Winter Greenery & Wood Barrel Die Focused Holiday Card by Alma (featuring Dotted Diamond Dies, Greetings Word Dies)

For my sentiment, I used the word "Holiday" from the Holiday Hugs Stamps set and die-cut the word "greetings" using the Greetings Word Die. For the background, I used the Dotted Diamond Portrait Die.

And just like that, my holiday greeting card is complete! 

Sunny Studio Supplies Used:

Greetings Word Die
Greetings Word Die
Shop at:
Sunny Studio
Winter Greenery DIes
Shop at:
Sunny Studio
Dotted Diamond Portrait
Shop at:
Sunny Studio
Holiday Hugs Stamps
Holiday Hugs Stamps
Shop at:
Sunny Studio
Wood Barrel Dies
Wood Barrel Dies
Shop at:
Sunny Studio

Wednesday, May 22, 2024

Designer's Choice: Special Day Card with Tina

Hi crafty friends, Tina here and for this designer’s choice I created a special ‘easel’ birthday card mixing several sets.

Sunny Studio Stamps: Special Day Birthday Card by Tina Henkens (featuring Scalloped Square Dies, Stitched Square Dies, Everyday Greetings, Ribbon & Lace Border Dies, Winter Greenery)

Starting off with a white square card base and adding several layers using the fun Scalloped Square 1 Dies Small (in white card stock and vellum) and Stitched Square Dies (in teal glitter paper and white card stock). The smallest white square is also dry embossed with the Quilted Hearts Folder.  

I glued all the layers together and before adhering them to the card base, I scored the front of this base horizontally in half. That way, I can add the squares only to the bottom part of the base to create the ‘easel mechanism’.

On the inside of the base I adhered a ‘stopper’ consisting of a rectangle of white card stock on which I stamped the ‘Happy Birthday’ from Everyday Greetings with Versafine Onyx Black ink and a scalloped white banner strip made by using one of the Ribbon & Lace BordersWhen you ‘fold’ the front of the card base, the stopper will make sure your easel card is standing up perfectly.

Sunny Studio Stamps: Special Day Birthday Card by Tina Henkens (featuring Scalloped Square Dies, Stitched Square Dies, Everyday Greetings, Ribbon & Lace Border Dies, Winter Greenery)

A special birthday deserves a wonderful and festive cake! I selected a two-tiered one decorated with beautiful flowers (Special Day) and colored the image with my Copics in teal, pink and yellow tones. The blue ’70 candles’ make this cake even more amazing! I love how you can provide that extra accent with the numbers.

The cake was mounted to the embossed panel with foam tape for dimension. As extra decoration, I added white leaves from the Winter Greenery Die set and a few Crystal Clear Jewels scattered around the focal point.

I hope you like this card design and give it a try! Thank you for visiting the blog and happy crafting!

Sunny Studio Supplies Used:

Quilted Hearts Embossing
Shop at:
Sunny Studio
Everyday Greetings Stamps
Shop at:
Sunny Studio
Winter Greenery DIes
Shop at:
Sunny Studio
Ribbon & Lace Dies
Ribbon & Lace Dies
Shop at:
Sunny Studio
Special Day Stamps
Special Day Stamps
Shop at:
Sunny Studio
Special Day Dies
Special Day Dies
Shop at:
Sunny Studio
Stitched Square Dies
Shop at:
Sunny Studio
Scalloped Square 1 Small Die
Shop at:
Sunny Studio

Wednesday, March 6, 2024

Spring Garden Die Focused Card with Tina

Hello crafters, it’s Tina and today I am featuring the fun Spring Garden dies! This set includes a variety of cute flowers and all the tools a gardener would need. I decided to go for a pastel Easter card, combining the dies with two adorable bunnies from Bunnyville. They are sized perfectly to fit inside the watering can and flowerpot!

Sunny Studio Stamps: Spring Garden Die Focused Easter Card by Tina Henkens (featuring Bunnyville, Stitched Arch Dies, Frilly Frame Dies, Mini Grass Dies, Picket Fence Dies, Happy Thoughts, Winter Greenery Dies)

I started with a white card base and a purple flower frame made from a sheet of the Flirty Flowers papers. After cutting a panel with the outer die from the Frilly Frames Eyelet Lace die, I used the largest of the Stitched Arched dies.

We are creating a little flower garden scene, so I also made two grassy borders with one of the Mini Grass Border dies and inked them with Distress Oxide Lucky Clover. Next, I pulled out the Picket Fence die. I love how the white of the fence gives extra dimension to the grass portion of this card. I kept my background fairly neutral with some soft yellow clouds (Distress Oxide Squeezed Lemonade and a cloud stencil from my stash). The two bunnies from Bunnyville where colored in grey tones with Copic Markers, and I added some details with a white gel pen.

Sunny Studio Stamps: Spring Garden Die Focused Easter Card by Tina Henkens (featuring Bunnyville, Stitched Arch Dies, Frilly Frame Dies, Mini Grass Dies, Picket Fence Dies, Happy Thoughts, Winter Greenery Dies)

Then it was time for a bunch of die cutting, I used a sheet of white Neenah paper and did my ink blending in happy Spring colors (Distress Oxide Squeezed lemonade, Kitsch Flamingo, Wilted Violet, Lucky Clover).

After assembling the garden tools and flowers with some liquid glue, I arranged all the elements on the card panel. Next, I decided where I would stamp my sentiment from Happy Thoughts in Versafine Onyx Black ink. After gluing the cloud panel to the card base, I added the grass borders and the fence. Next, I popped up the flower frame with foam tape. Then I added all my garden elements and bunnies. To create a garland for the top of the arch I used flowers from the Spring Garden dies and some purple leaves made with one of the Winter Greenery dies.

A few Crystal Clear Jewels were added for some fun bling. Thank you for joining me and happy crafting!

Sunny Studio Supplies Used:

Picket Fence Border Dies
Shop at:
Sunny Studio
Happy Thoughts Stamps
Shop at:
Sunny Studio
Flirty Flowers 6x6 Paper
Shop at:
Sunny Studio
Frilly Frames-Eyelet Lace
Shop at:
Sunny Studio
Stitched Arch Dies
Stitched Arch Dies
Shop at:
Sunny Studio
Winter Greenery DIes
Shop at:
Sunny Studio
Bunnyville Stamps
Bunnyville Stamps
Shop at:
Sunny Studio
Bunnyville Dies
Bunnyville Dies
Shop at:
Sunny Studio
Spring Garden Dies
Spring Garden Dies
Shop at:
Sunny Studio
Mini Grass Border Dies
Shop at:
Sunny Studio