Showing posts with label Sweet Script. Show all posts

Saturday, August 3, 2024

Guest Designer Spotlight: Cards with Kavya

Hi, it's Kavya here with you today! I've created two cards using a variety of products from the latest release, combined with some of my favorite items from my stash. I love Sunny Studio Stamps because their thoughtfully designed stamps make it easy to mix and match with older releases, adding great versatility. This release did not disappoint!

Sunny Studio Stamps: Summer Jar Mug Summer Themed Cards by Kavya (featuring Tropical Paradise, Sweet Word Die, Juicy Watermelon dies)

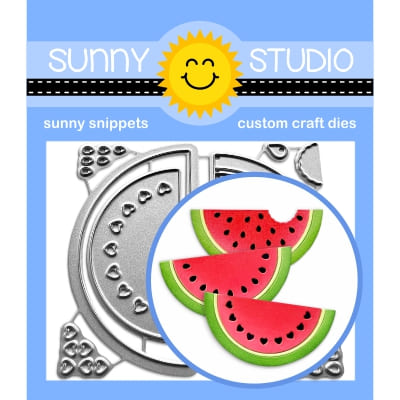
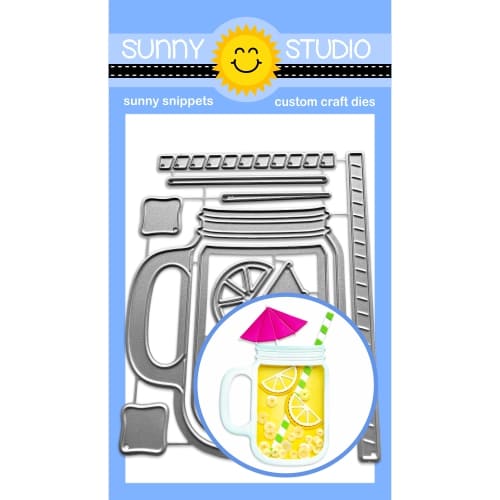
My first card uses the new Summer Jar Mug and Juicy Watermelon dies. I started off by using some green striped paper from Striped Silly paper pack. I ink blended the center with some coordinating dye ink to make it darker and create a focal point. Then, I diecut the jars and watermelon out of cardstock. To make them look realistic, I added a bunch of details using white gel pen and copic markers. 

Sunny Studio Stamps: Summer Jar Mug Summer Themed Cards by Kavya (featuring Tropical Paradise, Sweet Word Die, Juicy Watermelon dies)

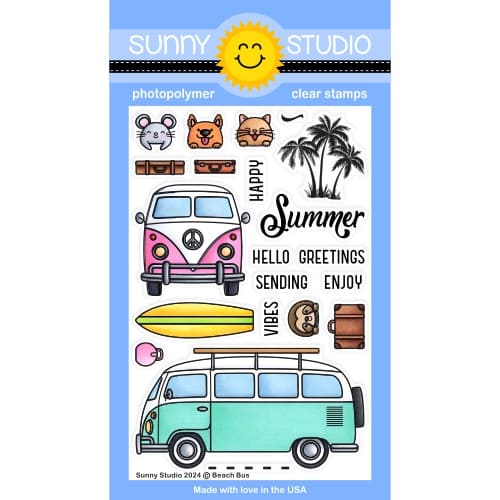
To continue with the tropical theme, I stamped and colored a bunch of images from Tropical Paradise stamp set. I finished off the card with sentiments from Sweet Word die and Beach Bus stamp set.

Sunny Studio Stamps: Beach Bus Summer Themed Cards by Kavya (featuring Ocean View, Beach Babies)

My next card reminds me of a fun beach vacation I took a few weeks ago! I started off by ink blending my scene using orange and yellow dye inks. For the sand, I used some tan cardstock. I ink blended the cardstock with coordinating dye ink to add some dimension. For the beach, I used Ocean View stamp set. 

Sunny Studio Stamps: Beach Bus Summer Themed Cards by Kavya (featuring Ocean View, Beach Babies)

Then I colored a bunch of images from Beach Bus and Beach Babies stamp sets. Adhered all the elements on my background and finished off my card with a sentiment from Beach Bus! 

That's it folks! I hope these projects inspire you :) Happy crafting!

Sunny Studio Supplies Used:

Sweet Word Die
Sweet Word Die
Shop at:
Sunny Studio
Tropical Paradise Dies
Shop at:
Sunny Studio
Tropical Paradise Stamps
Shop at:
Sunny Studio
Beach Babies Stamps
Beach Babies Stamps
Shop at:
Sunny Studio
Beach Babies Dies
Beach Babies Dies
Shop at:
Sunny Studio
Striped Silly 6x6 Paper
Shop at:
Sunny Studio
Ocean View Stamps
Ocean View Stamps
Shop at:
Sunny Studio
Ocean View Dies
Ocean View Dies
Shop at:
Sunny Studio
Beach Bus Stamps
Beach Bus Stamps
Shop at:
Sunny Studio
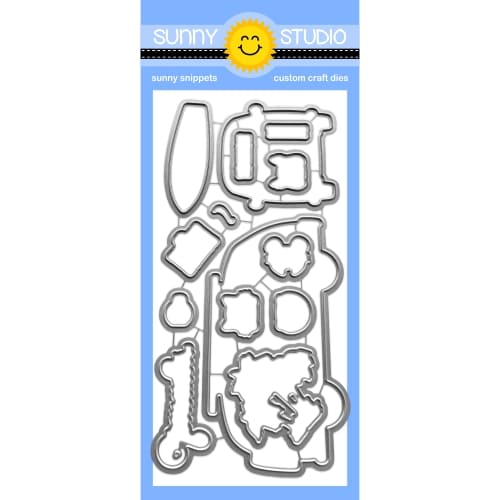
Beach Bus Dies
Beach Bus Dies
Shop at:
Sunny Studio
Juicy Watermelon Dies
Shop at:
Sunny Studio
Summer Jar Mug Dies
Summer Jar Mug Dies
Shop at:
Sunny Studio

Monday, July 22, 2024

Summer Jar Mug Die Focused Card with Leanne

Hello everyone! Leanne here to share a friendship card featuring the Summer Jar Mug. I have made the jar mug into a shaker for this card and I've colored plus filled it to look like a refreshing cup full of pink lemonade. 

Sunny Studio Stamps: Summer Jar Mug Die Focused Card by Leanne West  (featuring Punny Fruit Greetings, Sweet Word Die, Strawberry Patch Dies, Scalloped Oval Mat Dies)

Here's a list of the Sunny Studio products you'll need to create this A2 card design: 

Summer Jar Mug dies - for the mug, straw, and tiny lemon slice die cuts 
Scalloped Oval Mat 3 dies - for the scalloped oval mat
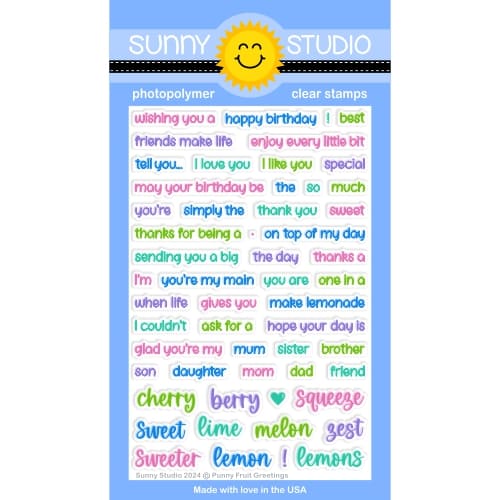
Punny Fruit Greetings -  for the stamped words "friends make life" 
Sweet Word die -  for the die cut word "sweet"
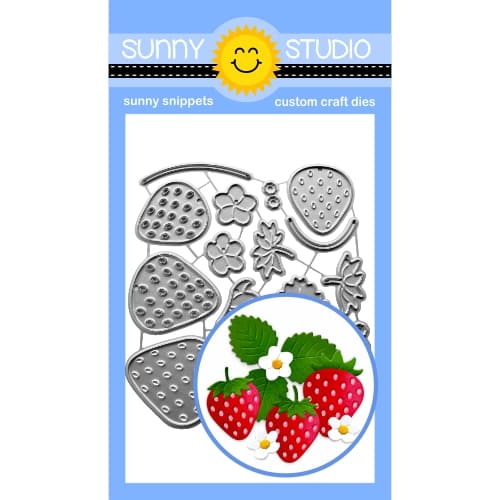
Strawberry Patch dies - for the tiny flower die cut
Classic Gingham Paper - for the gingham background mat

The Sweet Word die is retired but if you don't have it you can use alphabet dies to spell out the word. The Hayley Upper Case or Chloe Alphabet dies would work great! 

Sunny Studio Stamps: Summer Jar Mug Die Focused Card by Leanne West  (featuring Punny Fruit Greetings, Sweet Word Die, Strawberry Patch Dies, Scalloped Oval Mat Dies)

To make this jar mug into a fun shaker, I have adhered several layers of the jar mug frame together. I die cut one solid mug shape for the back and 5 layers of the open mug frame to make it thick enough to allow for the shaker bits to move around freely. I filled the shaker well with tiny pink balls and iridescent confetti bits. I then adhered clear acetate and one final mug frame piece over top. The back solid piece and top frame piece were lightly colored with pink ink prior to assembly to enhance the pink lemonade look. 

When adhering the jar mug frame layers together to build up the shaker well, be sure to include the straw in between two layers toward the back. I forgot to do this and after I had my shaker completely assembled, I had to cut a small slit in the back to slide the straw inside the mug. 

Sunny Studio Supplies Used:

Sweet Word Die
Sweet Word Die
Shop at:
Sunny Studio
Classic Gingham 6x6 Paper
Shop at:
Sunny Studio
Scalloped Oval Mat 3 Dies
Shop at:
Sunny Studio
Punny Fruit Greetings
Shop at:
Sunny Studio
Strawberry Patch Dies
Shop at:
Sunny Studio
Summer Jar Mug Dies
Summer Jar Mug Dies
Shop at:
Sunny Studio

Sunday, September 3, 2023

Dotted Diamond Background Die Focused Card with Tammy

Hello friends! Tammy here sharing this festive card, featuring the new Dotted Diamond Portrait Die. This is such a fun and versatile die, adding the perfect texture to any project!

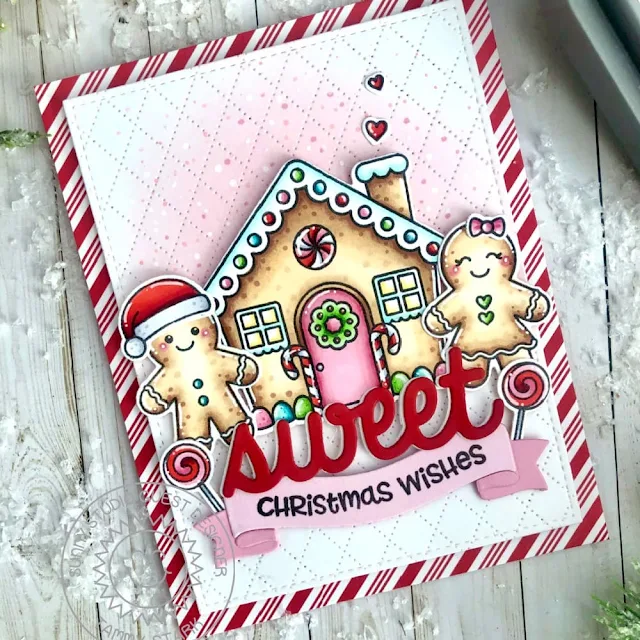
Sunny Studio Stamps: Dotted Diamond Background Die Focused Christmas Card by Tammy Stark (featuring Jolly Gingerbread, Brilliant Banner Dies)

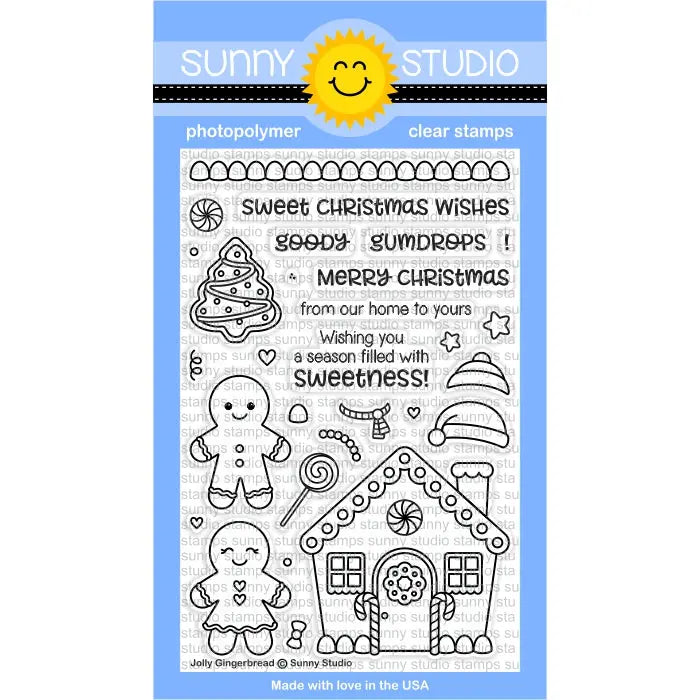
To begin, I stamped the images from the Jolly Gingerbread Stamps, colored with Copic markers, and die cut with the Jolly Gingerbread Dies. Next, I die-cut white cardstock using the largest rectangle from the Stitched Rectangle Dies. I then placed the Dotted Diamond Portrait Die face down on top of the stitched rectangle and ran it through my die-cut machine. 

I lightly blended Spun Sugar Distress Oxide ink onto the top portion of the rectangle, then splattered it with water. I also splattered some Festive Berries Distress Oxide ink, thinned it with water, and then white acrylic paint to create some texture and interest to the background. 

Sunny Studio Stamps: Dotted Diamond Background Die Focused Christmas Card by Tammy Stark (featuring Jolly Gingerbread, Brilliant Banner Dies)

I arranged the stamped images onto the inked background and attached them with foam tape for interest. I then stamped the sentiment onto a pink banner, die cut using the Brilliant Banner 1 Die. I attached the banner to the bottom of my card using foam tape, then added the red 'SWEET' sentiment die cut using the Sweet Word Die. Lastly, I attached my dotted diamond layer to a piece of candy cane striped paper, from the All is Bright 6X6 Paper pad to complete my card. 

Thanks so much for stopping by!

Sunny Studio Supplies Used:

Sweet Word Die
Sweet Word Die
Shop at:
Sunny Studio
Stitched Rectangle Dies
Shop at:
Sunny Studio
Jolly Gingerbread Stamps
Shop at:
Sunny Studio
Jolly Gingerbread Dies
Shop at:
Sunny Studio
All Is Bright Paper
All Is Bright Paper
Shop at:
Sunny Studio
Brilliant Banner 1 Dies
Shop at:
Sunny Studio
Dotted Diamond Portrait
Shop at:
Sunny Studio

Sunday, July 30, 2023

Scrumptious Cupcakes Cards with Cathy

Hey friends! Cathy here today and I've got a deliciously sweet CAS card for you featuring the Scrumptious Cupcakes Stamps!

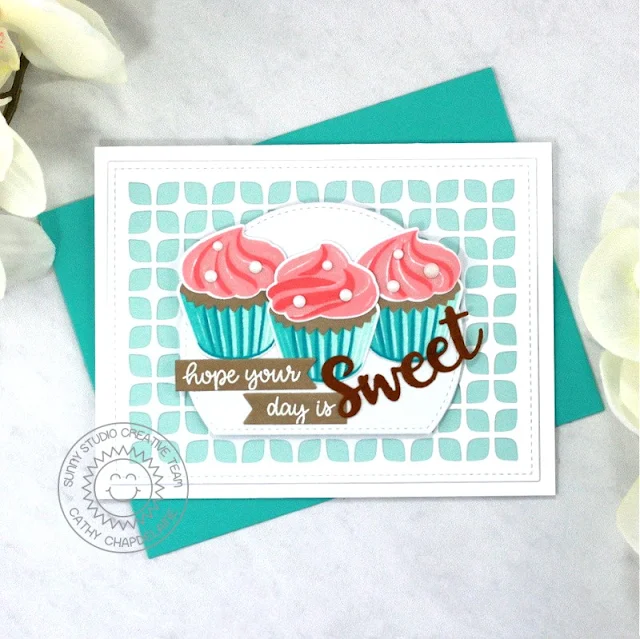
Sunny Studio Stamps: Scrumptious Cupcakes Card by Cathy Chapdelaine (featuring Frilly Frame Dies, Stitched Semi-Circle Dies)

This is an A2 card and I started by die-cutting a piece of white cardstock using the Frilly Frames Retro Petals Die. I cut a piece of aqua cardstock 3 1/2" x 5" and adhered the white frame over it on the card front.

Next, I die-cut a piece of white cardstock using the second largest Stitched Semi-Circle Die and adhered it to the center of the card front using foam dimensional tape. I stamped the cupcakes from the Scrumptious Cupcakes Stamps and die-cut them using the coordinating dies. I added Pure White Jewels to the frosting as little candy pieces.

Sunny Studio Stamps: Scrumptious Cupcakes Card by Cathy Chapdelaine (featuring Frilly Frame Dies, Stitched Semi-Circle Dies)

To finish, I die-cut 2 pieces of kraft cardstock using a die from the Notebook Photo Corners Dies. I heat embossed the "hope your day is" sentiment with white embossing powder using stamps from the Savanna Safari Stamps and cut along one edge of each piece close to the sentiment. I die-cut the "Sweet" sentiment from dark brown cardstock using the Hayley Uppercase and Hayley Lowercase Dies.

Sunny Studio Stamps: Scrumptious Cupcakes Card by Cathy Chapdelaine (featuring Ribbon & Lace Border Dies, Hayley Alphabet Dies)

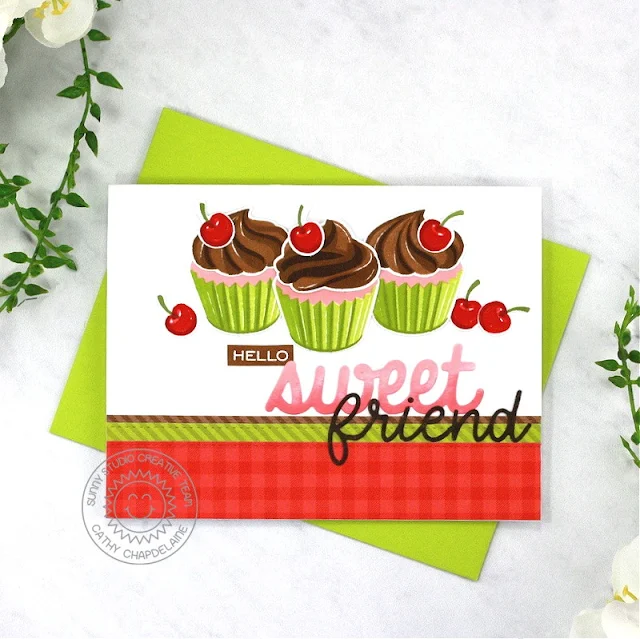
For my second A2 card and I adhered all the elements directly to the card front. First, I added 3 papers to the bottom. I die-cut 6" long strips of the brown and green papers from the Dots & Stripes Jewel Tones Paper using the ribbon die from the Ribbon & Lace Border Dies. I overlapped and adhered the green strip on the brown and adhered them 1 1/4" from the bottom edge. I trimmed them on the left and right edges of the card. I then cut a piece of red paper from the Joyful Holiday Paper 1" x 6", die-cut one edge using a die from the Ribbon & Lace Border Dies and adhered it even with the bottom edge of the card. I trimmed the excess from the left and right edges.

Sunny Studio Stamps: Scrumptious Cupcakes Card by Cathy Chapdelaine (featuring Ribbon & Lace Border Dies, Hayley Alphabet Dies)

Next, I die-cut a piece of white cardstock using the Sweet Word Die and inked it with Spun Sugar and Kitsch Flamingo Distress inks. I adhered it above the brown paper and slightly off center. I die-cut the "friend" sentiment from white cardstock using the Loopy Letters Dies, inked the letters with Ground Espresso Distress ink and adhered them along the top of the red paper as shown. I heat embossed the "HELLO" sentiment from the Radiant Plumeria Stamps with white embossing powder on brown cardstock, fussy cut around it and adhered it above and to the left of the sweet sentiment.

To finish, I stamped the cupcakes and cherries from the Scrumptious Cupcakes Stamps and die-cut them using the coordinating dies. I just love the detail in these sweet stamps!

I hope you enjoyed and thanks for stopping by! For more inspiration, please visit my blog www.inkredibleadventures.com and you can also find me on Instagram as @cathy.chapdelaine.

Sunny Studio Supplies Used:

Sweet Word Die
Sweet Word Die
Shop at:
Sunny Studio
Dots & Stripes Jewel Tones 6x6 Paper
Shop at:
Sunny Studio
Loopy Letters Dies
Loopy Letters Dies
Shop at:
Sunny Studio
Frilly Frames Retro Petals Dies
Shop at:
Sunny Studio
Radiant Plumeria Stamps
Shop at:
Sunny Studio
Savanna Safari Stamps
Shop at:
Sunny Studio
Stitched Semi-Circle Dies
Shop at:
Sunny Studio
Joyful Holiday Paper
Shop at:
Sunny Studio
Hayley Lowercase Alphabet Dies
Shop at:
Sunny Studio
Hayley Uppercase Alphabet Dies
Shop at:
Sunny Studio
Ribbon & Lace Dies
Ribbon & Lace Dies
Shop at:
Sunny Studio
Notebook Photo Corners Dies
Shop at:
Sunny Studio
Scrumptious Cupcakes Stamps
Shop at:
Sunny Studio
Scrumptious Cupcakes Dies
Shop at:
Sunny Studio