Hello, and welcome to day 4 of our Spring Sneak Peek Week! All this week I am sharing cards showcasing our newest collection, which will be available for purchase this Friday!
Card No.1: Today, I am sharing ideas featuring our adorable Woolly Friends Stamps and Dies, which include five adorable sheep, a versatile new picket fence border, an Easter basket, and a variety of cute sentiments. For my first card, I used two of the sheep together with the basket of eggs and stacked two of the fence borders to create a continuous border that would bleed off the edge of my 5.5" wide card. For the background, I added a border of trees using the Country Scenes Stamps, and stamped one of the punny greetings onto a shortened pennant strip from the Notebook Photo Corners Dies and a floral patterned paper from the Flirty Flowers Paper pack.
Card No. 2: For my second card, I created a vertical birthday card using Woolly Friends Stamps. For my background this time, I added the hollow tree and fence border from our Fall Scenes Stamps, but colored the leaves for spring in fresh green tones — I love that I can get extra life out of these stamps for other seasons just by coloring them differently. I added the new fence border to the foreground and framed the scene using our Stitched Rectangle Dies, which I shortened ever so slightly to match the width of the fence stamped image by running them through my die-cutting machine a second time. I then mounted the entire scene onto a piece of green gingham paper from the Gingham Pastels Paper pack.
Card No.3: I have one last Spring scene-style card today featuring the sheep & Easter basket from the Woolly Friends Stamps, which I paired with our 6x6 Majestic Meadow Stamps. These wonderful, large background stamps take all the work out of dreaming up the perfect backdrop or card design, and I love them! All I had left to do was add my greeting, which I made by combining the words from the Woolly Friends Stamps, spelling out the word "Easter with our new Sydney Alphabet Dies, and using the word "ewe" that comes with the Woolly Friends Dies.
Card No. 4: Switching gears a bit, I have a clean & simple card with a more graphic feel, using the Woolly Friends Stamps. I started by cutting four Zig Zag Circle Dies cut from a pastel rainbow of polka-dot prints from the Dots & Stripes Pastels Paper pack. I then framed them with a simple Stitched Square Die cut from white cardstock and matted with a 5" square cut from a rainbow stripe patterned paper from the Spring Sunburst Paper pack. Lastly, I stamped a punny greeting from the set onto a Brilliant Banner 1 Die, which had been cut from yellow prints from the same Dots & Stripes Paper Pack and Gingham Pastels Paper packs.
Card No.5: For my last card of the day, I couldn't resist using the fence and sheep from the set to create a "counting sheep" night scene card with the Woolly Friends Stamps. I kept my design fairly simple, just adding a Radiating Circle Die inked with Mermaid Lagoon, Prize Ribbon, & Chipped Sapphire before heat embossing it with the phrase "I love you to the moon and back" from our Lovey Dovey Stamps. Lastly, to finish my scene, I added the moon (mirrored) and stars from our Scaredy Cat Stamps, and some white star dots in the distance with a while gel pen.
That wraps up today's sneak peek. I'm so happy you joined me today! I'd love to give a $40 gift code to one lucky winner, who will be randomly selected from the comments on this blog post, as well as our Facebook and Instagram posts. Our daily contests will run through Saturday, January 10th, at Midnight PST, with winners announced here on our blog on Sunday, January 11th.
Here's a closer look at our new Woolly Friends Stamps, Woolly Friends Dies, and Sydney Alphabet Dies used today, which will be available for purchase on Friday, January 9th.
Other Supplies Used:
 Spring Sunburst 6x6 Paper Shop at: Sunny Studio |
 Dots & Stripes Pastels 6x6 Paper Shop at: Sunny Studio |
 Gingham Pastels 6x6 Paper Shop at: Sunny Studio |
 Flirty Flowers 6x6 Paper Shop at: Sunny Studio |
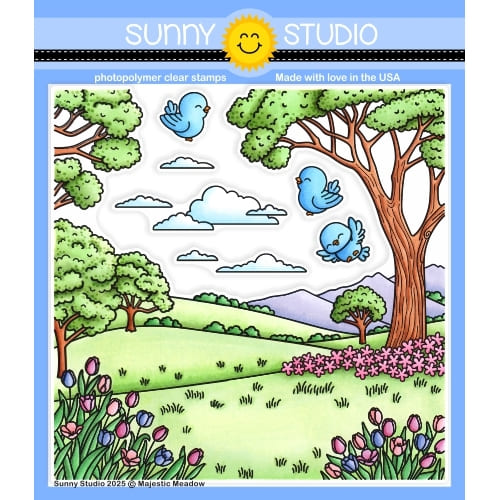 Majestic Meadow Stamps Shop at: Sunny Studio |
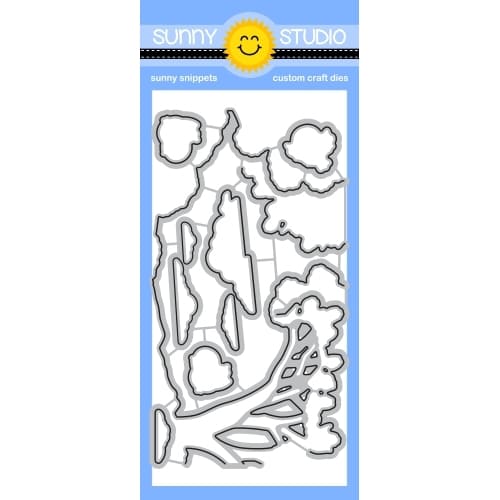 Majestic Meadow Dies Shop at: Sunny Studio |
 Country Scenes Stamps Shop at: Sunny Studio |
 Country Scenes Dies Shop at: Sunny Studio |
 Lovey Dovey Stamps Shop at: Sunny Studio |
 Lovey Dovey Dies Shop at: Sunny Studio |
 Fall Scenes Stamps Shop at: Sunny Studio |
 Fall Scenes Dies Shop at: Sunny Studio |
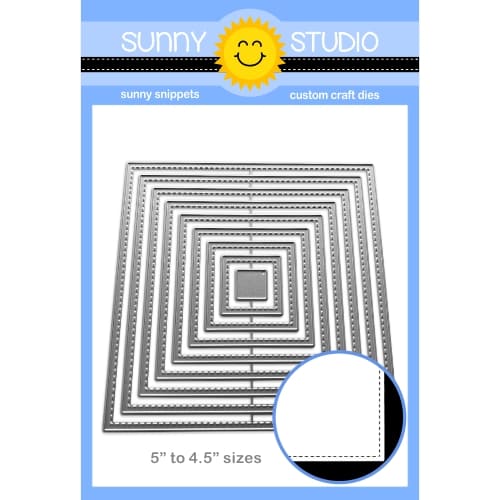 Stitched Square Dies Shop at: Sunny Studio |
 Stitched Rectangle Dies Shop at: Sunny Studio |
 Notebook Photo Corners Dies Shop at: Sunny Studio |
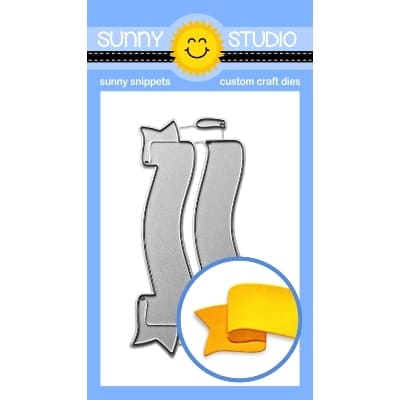 Brilliant Banner 1 Dies Shop at: Sunny Studio |
 Scaredy Cat Stamps Shop at: Sunny Studio |
 Scaredy Cat Dies Shop at: Sunny Studio |
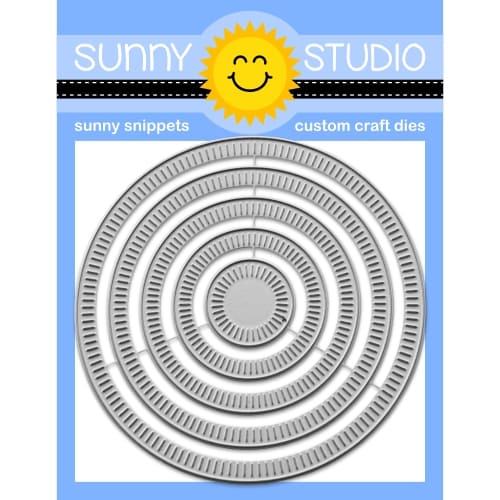 Radiating Circle Dies Shop at: Sunny Studio |
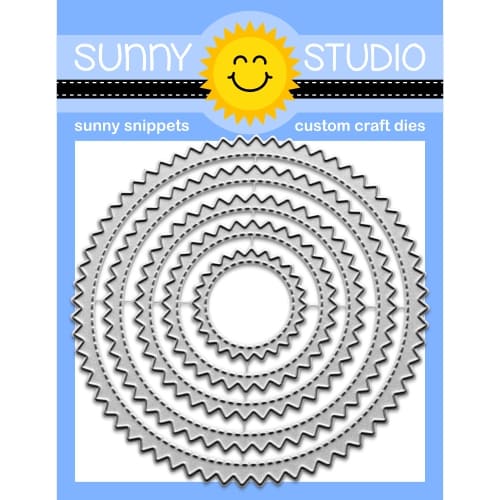 Zig Zag Circle Dies Shop at: Sunny Studio |
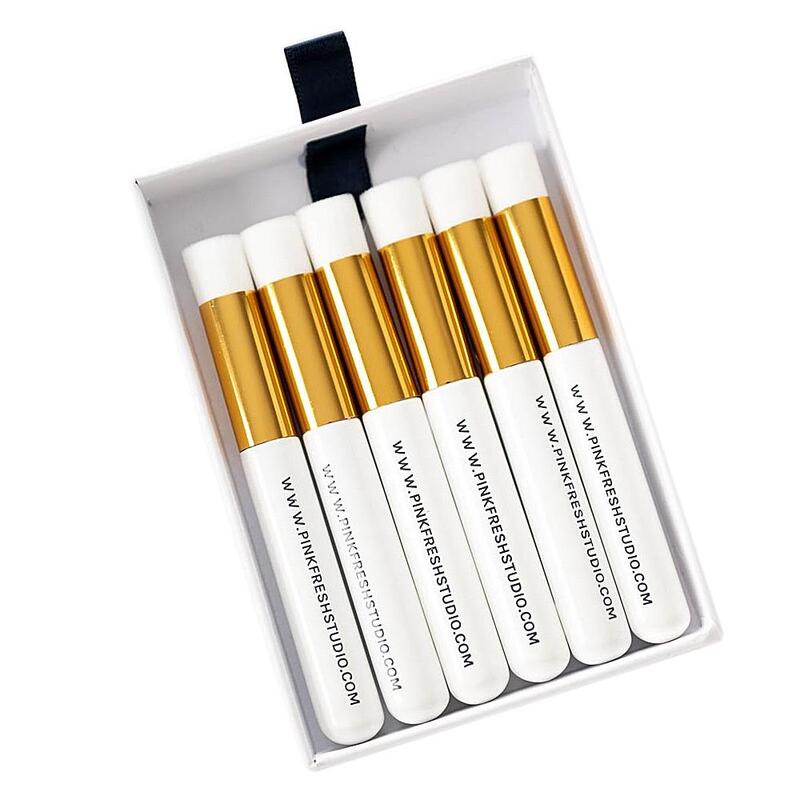 PinkFresh Studio Blending Brushes Shop at: Sunny Studio |
 PinkFresh Studio Blending Brushes Shop at: Sunny Studio |
 Hero Arts White Detail Shop at: Sunny Studio |
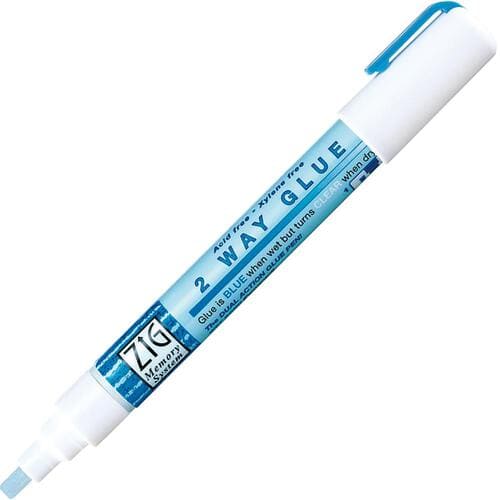 Zig Chisel Tip Glue Pen Shop at: Sunny Studio |
 VersaMark Watermark Ink Shop at: Sunny Studio |
 Versafine Onyx Black Ink Shop at: Sunny Studio |


