Showing posts with label Little Birdie. Show all posts

Thursday, March 20, 2025

Majestic Meadow Card with Marine

Hello crafty friends, Marine here with you today! I'm so happy to be back on the blog with this adorable Snow White inspired card showcasing the Majestic Meadow in the background, and a mix & match of images to create a lovely fairytale themed scene.

Sunny Studio Stamps: Majestic Meadow Card by Marine Simon (featuring Enchanted, Little Birdie, Frilly Frame Dies)

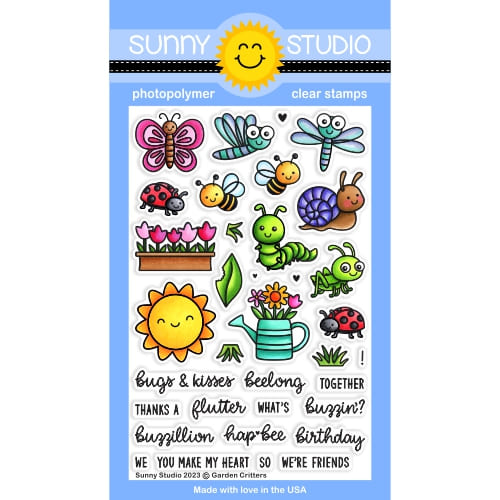
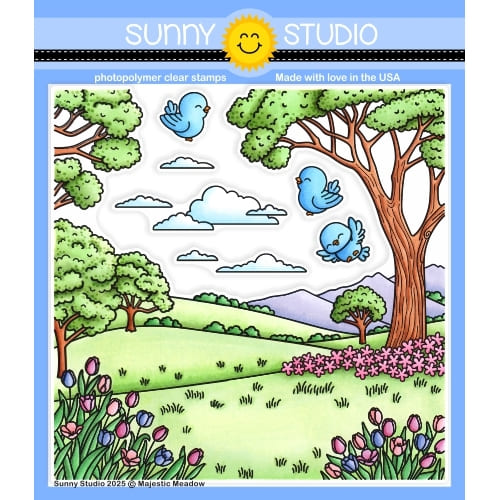
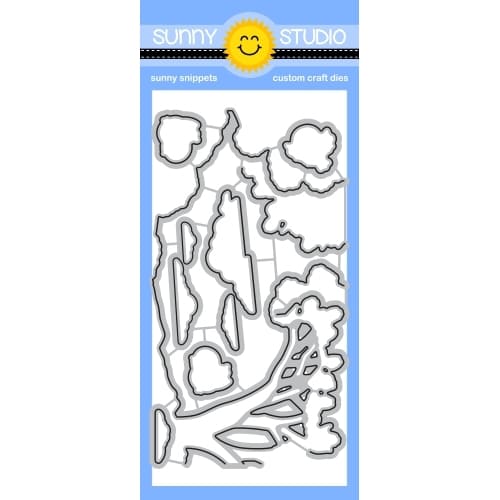
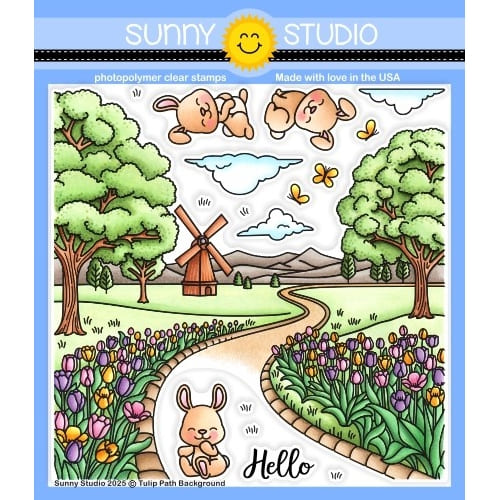
I started off by stamping the images on 110lb Neenah solar white cardstock using an alcohol marker friendly black ink, I cut them using the matching dies, and colored everything using my Ohuhu markers and Graph'it brush markers. As always, here is a detailed list of the stamp sets I used: • Majestic Meadow - background, birds, clouds • Enchanted - princess, castle • Little Birdie - birdhouse, birds • Garden Critter - grass • Balloon Rides - small trees • Tulip Path Background - butterflies.

Sunny Studio Stamps: Majestic Meadow Card by Marine Simon (featuring Enchanted, Little Birdie, Frilly Frame Dies)

Next I cut several panels to build the card base. I cut a 5,5 x 4,25 inches Gingham Jewel Tones brown panel, and attached that panel to a card base using liquid glue. I cut a scalloped panel out of white cardstock using the main Frilly Frames Hexagon die, and stuck it to the gingham panel using 1mm foam tape. I cut a 4,75 x 3,5 inches panel out of a Summer Splash cloudy paper, mixed some copic opaque white with water and used a slim brush to add splatters to my panel, did the same with salty ocean oxide ink, and once my cloudy panel was dry, I attached it to the scalloped panel using liquid glue.

Sunny Studio Stamps: Majestic Meadow Card by Marine Simon (featuring Enchanted, Little Birdie, Frilly Frame Dies)

I added highlights and details to the images with a white gel pen, and then attached them all to my card using 1mm and 2mm foam squares. For my greeting, I white heat embossed "Hoping your day is magical" from Garden Fairy on dark brown cardstock and cut it into a fishtail banner that I stuck below the scene using foam squares again. And to totally finish my card, I added white blizzard nuvo to the butterflies wings to bring even more cuteness and magic to the scene.

And that's it! I hope that you like this super sweet card, I like to mix new images with older ones, it's always a fun exercise! Thanks so much for stopping by, and see you next time!

Sunny Studio Supplies Used:

Gingham Jewel Tones 6x6 Paper
Shop at:
Sunny Studio
Summer Splash 6x6 Paper
Shop at:
Sunny Studio
Frilly Frames Hexagon Dies
Shop at:
Sunny Studio
Enchanted Stamps
Enchanted Stamps
Shop at:
Sunny Studio
Enchanted Dies
Enchanted Dies
Shop at:
Sunny Studio
Garden Fairy Stamps
Garden Fairy Stamps
Shop at:
Sunny Studio
Little Birdie Stamps
Shop at:
Sunny Studio
Little Birdie Dies
Little Birdie Dies
Shop at:
Sunny Studio
Garden Critters Stamps
Shop at:
Sunny Studio
Garden Critters Dies
Shop at:
Sunny Studio
Majestic Meadow Stamps
Shop at:
Sunny Studio
Majestic Meadow Dies
Shop at:
Sunny Studio
Tulip Path Background Stamps
Shop at:
Sunny Studio
Tulip Path Background Dies
Shop at:
Sunny Studio
Balloon Rides Stamps
Shop at:
Sunny Studio
Balloon Rides Dies
Balloon Rides Dies
Shop at:
Sunny Studio

Thursday, March 6, 2025

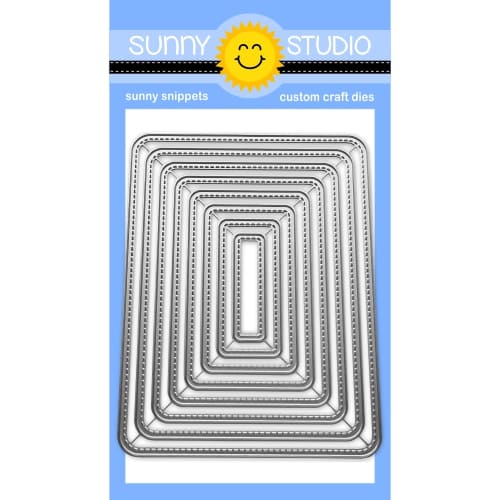
Balloon Alphabet Card with Marine

Hello crafty friends, Marine here, I'm happy to be back with this rainbow themed friendship card featuring a mix & match of images from different sets. Since St Patrick's Day is round the corner, I wanted to create a lucky card with rainbow colors, and the Balloon Alphabet was the perfect fit to make the sentiment.

Sunny Studio Stamps: Balloon Alphabet Focused Friendship Card by Marine Simon (featuring Garden Fairy, Little Birdie, Rounded Rectangle Mat Dies)

I started off by cutting a large Rounded Rectangle Mat panel out of Strathmore bristol smooth cardstock to create a colorful cloudy rainbow sky using a cloud stencil from my stash along with oxide inks: spun sugar + worn lipstick, dried marigold + spiced marmalade, squeezed lemonade + mustard seed, shabby shutters + mowed lawn, and tumbled glass + broken china. I splattered water all over my panel and dried it with a paper towel. Next I mixed copic opaque white ink with water and used a slim brush to add more splatters to my panel, and then I did the same with black soot oxide ink for contrast and with fossilized amber distress spritz for gold sparkles. Once my panel was dry, I attached it to a 5,5 x 4,25 inches Polka Dot Parade blue paper using 1mm foam tape, and then to a white card base using liquid glue.

Sunny Studio Stamps: Balloon Alphabet Focused Friendship Card by Marine Simon (featuring Garden Fairy, Little Birdie, Rounded Rectangle Mat Dies)

Next I stamped my images on 110lb Neenah solar white cardstock using an alcohol marker friendly black ink. I cut them all using the coordinating dies, and colored everything using my Ohuhu markers and my Graph'it brush markers. Here is a detailed list of the stamp sets I used: • Garden Fairy - fairies • Little Birdie - birds, birdhouses, branches • Chubby Bunny + Chickie Baby - flowers • Tulip Path Background - butterflies.

Sunny Studio Stamps: Balloon Alphabet Focused Friendship Card by Marine Simon (featuring Garden Fairy, Little Birdie, Rounded Rectangle Mat Dies)

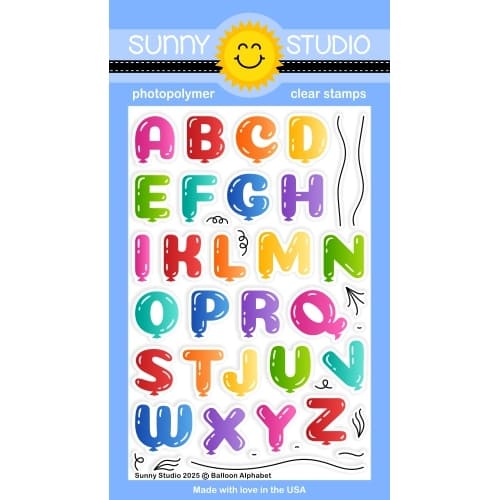
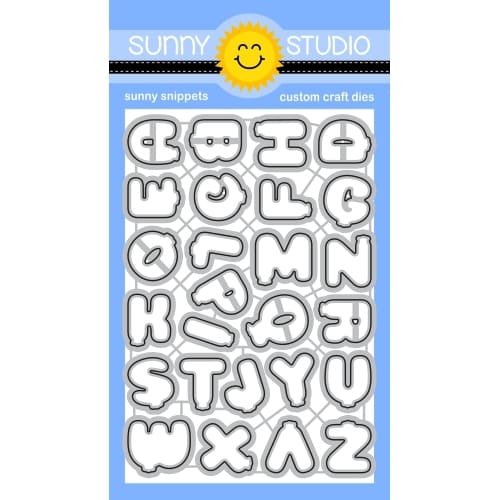
For my greeting, I stamped the word "Lucky" on 110lb Neenah solar white cardstock using the Balloon Alphabet along with Lawn Fawn premium dye inks, from left to right: peachy keen, carrot, sunflower, cilantro and kiddie pool. For this particular project, I wanted those letters to be real letters and not balloons, so before stamping them, I masked the balloon details with washi tape, and after die cutting the letters, I just trimmed off the excess of paper below each letter with scissors. I love the white highlights on the letters and the rounded shape is super cute! I stuck everything, images and the word "Lucky", on my rainbow panel using 1mm and 2mm foam squares, and stamped "To have you as my friend" from Clucky Chickens right below "Lucky" to complete my greeting.

To finish my card, I added highlights and details to the images using a white gel pen, and applied white blizzard nuvo drops to the fairies wings to make them super shiny. And that's it! I really love how everything coordinates so nicely, the greeting, the birdhouses and the cloudy sky, it's lovely! 

I hope that you like it too. Thanks so much for stopping by, and see you next week!

Sunny Studio Supplies Used:

Chubby Bunny Stamps
Chubby Bunny Stamps
Shop at:
Sunny Studio
Chubby Bunny Dies
Chubby Bunny Dies
Shop at:
Sunny Studio
Chickie Baby Stamps
Chickie Baby Stamps
Shop at:
Sunny Studio
Chickie Baby Dies
Chickie Baby Dies
Shop at:
Sunny Studio
Garden Fairy Stamps
Garden Fairy Stamps
Shop at:
Sunny Studio
Garden Fairy Dies
Garden Fairy Dies
Shop at:
Sunny Studio
Little Birdie Stamps
Shop at:
Sunny Studio
Little Birdie Dies
Little Birdie Dies
Shop at:
Sunny Studio
Clucky Chickens Stamps
Shop at:
Sunny Studio
Tulip Path Background Stamps
Shop at:
Sunny Studio
Tulip Path Background Dies
Shop at:
Sunny Studio
Balloon Alphabet Stamps
Shop at:
Sunny Studio
Balloon Alphabet Dies
Shop at:
Sunny Studio
Rounded Rectangle Mat Dies
Shop at:
Sunny Studio
Polka-dot Parade 6x6 Paper
Shop at:
Sunny Studio

Sunday, February 16, 2025

Background Basics 2 Card with Hanh

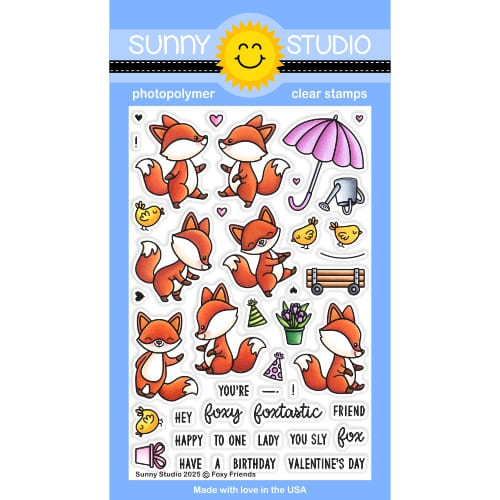
Hello Crafty Friends! This is Hanh on the Sunny Studio Stamps blog today with a fun birthday card to share with you showcasing the Background Basics 2 StampsFoxy Friends and Little Birdie sets. I love that this Background Basics 2 Stamps allows you to create a patterned paper to match any scheme. 

Sunny Studio Stamps: Background Basics 2 Birthday Card with Hanh Nguyen (Featuring Little Birdie, Brilliant Banner Dies, Inside Greetings Belated Birthday, Foxy Friends, Rounded Rectangle Mat Dies)

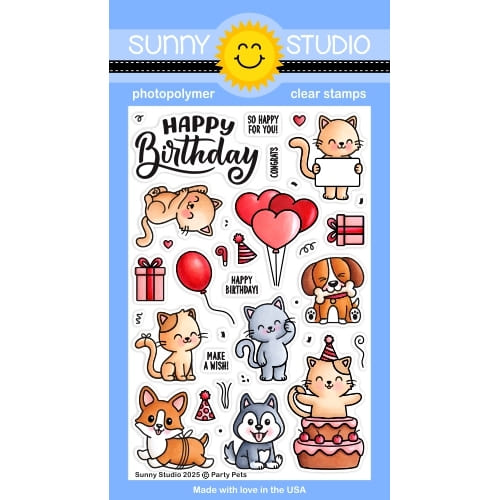
I stamped the foxes from the Foxy Friends stamps, birds from the Little Birdie stamps and the balloon from the Party Pets Stamps set onto a piece of Neenah Solar White 110 lb cardstock with Memento Tuxedo Black ink and used the coordinating Foxy Friends DiesLittle Birdie Dies and Party Pets Dies to die cut them out. I colored them with Copic markers and highlighted them with a white gel pen.

COPIC COLORS:
Fox: YR21/23/24/27 E09, W00/1/3, W7, R00/30
Birds: Y11/13/15 YR27, Y38, R20
Pink: RV21/23/25
Yellow: Y11/13/15
Green: YG03/17

Sunny Studio Stamps: Background Basics 2 Birthday Card with Hanh Nguyen (Featuring Little Birdie, Brilliant Banner Dies, Inside Greetings Belated Birthday, Foxy Friends, Rounded Rectangle Mat Dies)

For the background, I masked off the top portion of a piece of Neenah Solar White cardstock and lightly ink blended the grass with Mowed Lawn DIstress Oxide ink. The second largest die from the Rounded Rectangle Mat Dies was used to trim out the panel. A white gel pen was used to add some dots and interest to the grass.

For the sentiment, I used the Brilliant Banner 1 Die to die cut a banner out of the same Neenah Solar White cardstock. I didn't have a perfectly matched piece of pink cardstock so I colored with banner with the same pink Copic markers that I used for the colored images (RV21/23/25). I stamped one of the sentiments from the new Inside Greetings Belated Birthday Stamps set with Memento Tuxedo Black ink onto the banner. I assembled the banner die and adhered the banner to the panel with foam tape.

Sunny Studio Stamps: Background Basics 2 Birthday Card with Hanh Nguyen (Featuring Little Birdie, Brilliant Banner Dies, Inside Greetings Belated Birthday, Foxy Friends, Rounded Rectangle Mat Dies)

I used Kitsch Flamingo Distress Oxide ink to stamp the Background Basics 2 Stamps onto another piece of white cardstock (4.25" x 5.5"). Once the panel was dried, I trimmed a total of 1/8" off from each dimension of the panel. Once again, to create a matching cardstock, I used a Copic marker (RV25) to color the edge of a piece of white cardstock (4.25" x 5.5"). I adhered the two pink panels together. 

Sunny Studio Stamps: Background Basics 2 Birthday Card with Hanh Nguyen (Featuring Little Birdie, Brilliant Banner Dies, Inside Greetings Belated Birthday, Foxy Friends, Rounded Rectangle Mat Dies)

I adhered colored images to the grassy panel with foam tape. A piece of craft foam was adhered to the back of the grassy panel before it was adhered to the two pink panels. Finally, I adhered the finished panel to an A2 white cardbase (4.25" x 5.5"I).

I appreciate you taking the time to stop by and visit today. I hope you liked my card. For more info, ideas and to check out the entire new Spring Release, be sure to visit the Sunny Studio Stamps Shop. Please also visit my INSTAGRAM feed for more inspirations.

Have a wonderful and crafty day!

Sunny Studio Supplies Used:

Little Birdie Stamps
Shop at:
Sunny Studio
Little Birdie Dies
Little Birdie Dies
Shop at:
Sunny Studio
Brilliant Banner 1 Dies
Shop at:
Sunny Studio
Background Basics 2 Stamps
Shop at:
Sunny Studio
Inside Greetings Belated Birthday
Shop at:
Sunny Studio
Foxy Friends Stamps
Foxy Friends Stamps
Shop at:
Sunny Studio
Foxy Friends Dies
Foxy Friends Dies
Shop at:
Sunny Studio
Party Pets Stamps
Party Pets Stamps
Shop at:
Sunny Studio
Party Pets Dies
Party Pets Dies
Shop at:
Sunny Studio
Rounded Rectangle Mat Dies
Shop at:
Sunny Studio