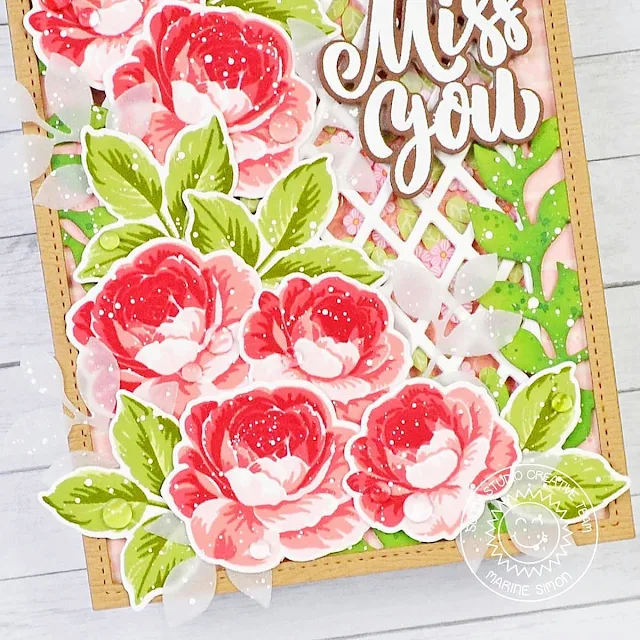
Showing posts with label Spring Greenery Dies. Show all posts

Tuesday, July 2, 2024

Limitless Labels Die Focused Card with Isha

Hello everyone! Isha back here with a rainbow theme card featuring the Limitless Labels 1 dies. This card was fun to create and I am happy with the result :)

Sunny Studio Stamps: Limitless Labels Die Focused Card by Isha Gupta (featuring Cherry Blossoms, Spring Greenery Dies)

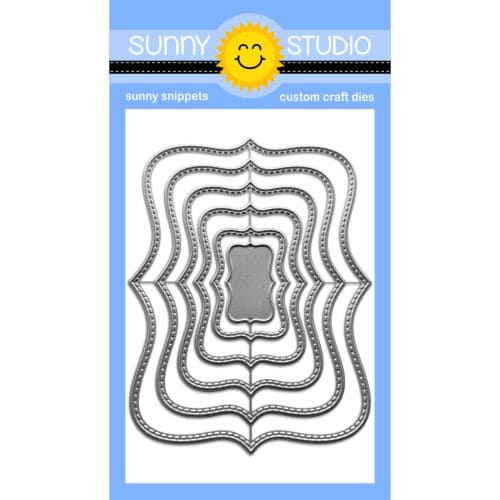
I didn't snip the dies and used them to cut all the frames. Once the frames were die-cut, I sponged distress inks (wilted violet, picked raspberry, tumbled glass, salvaged patina, mustard seed, ripe persimmon) in rainbow order. Splatter some white paint. 

Sunny Studio Stamps: Limitless Labels Die Focused Card by Isha Gupta (featuring Cherry Blossoms, Spring Greenery Dies)

Next, I stamped the images from the Cherry Blossoms stamp set using watermark ink onto vellum, sprinkle white opaque embossing powder by WOW! and heat set. Die-cut the images using the coordinating dies. Die-cut the leaves using the Spring Greenery dies from white cardstock. Adhere the images to the layered labels. Adhere the labels to a white card using 3d foam.

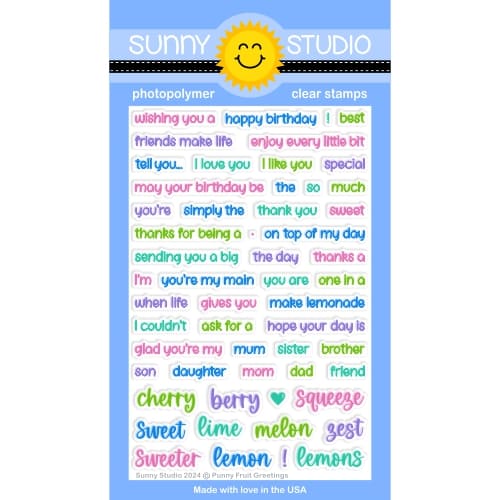
Stamp the sentiment from the Punny Fruit Greetings onto black card, sprinkle white embossing powder and heat set. Cut a stripe of it and adhere to the card.

Have a nice day and thank you for dropping by!

Sunny Studio Supplies Used:

Cherry Blossoms Stamps
Shop at:
Sunny Studio
Cherry Blossoms Dies
Shop at:
Sunny Studio
Spring Greenery Dies
Shop at:
Sunny Studio
Punny Fruit Greetings
Shop at:
Sunny Studio
Limitless Labels 1 Dies
Shop at:
Sunny Studio

Tuesday, April 9, 2024

Designer's Choice: Captivating Cameliias Card with Isha

Hello everyone! Isha here with a floral card as this week is designer's choice as the theme. I decided to use various products and create this card.

Sunny Studio Stamps: Captivating Cameliias Thank You Card by Isha Gupta (featuring Frilly Frame Dies, Fancy Frame Dies, Big Bold Greetings, Spring Greenery)

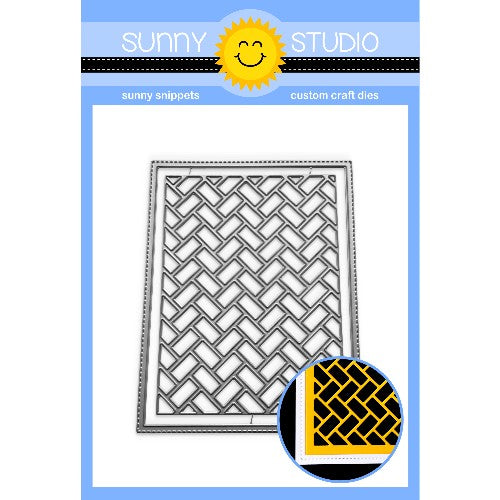
To start, I took a white cardbase. Sponged some picked raspberry and wilted violet distress ink towards the right. I then die-cut a piece of white card with Frilly Frame Herringbone die. I then die-cut another piece using Fancy Frames Rectangle die and adhere the inside frame to the white herringbone piece. Adhere this to the cardbase using 3d foam.

Sunny Studio Stamps: Captivating Cameliias Thank You Card by Isha Gupta (featuring Frilly Frame Dies, Fancy Frame Dies, Big Bold Greetings, Spring Greenery)

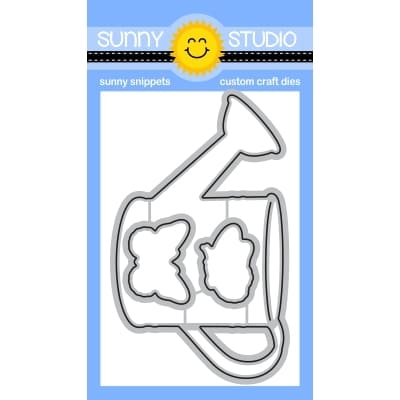
Stamp the sentiment from the Big Bold Greetings, die-cut using the coordinating dies. Stamp the layering florals using the Captivating Camellias stamp set and die-cut using the coordinating dies. Adhere to the card. Die-cut the leaves from white card using the Spring Greenery dies. Sponge them with cracked pistachio and peacock feathers distress inks. Adhere to the card. To finish, I stamped and embossed butterflies from the Watering Can stamps onto vellum using white embossing powder, die-cut using the coordinating dies and adhere to the card.

Thank you for dropping by and have a nice day!

Sunny Studio Supplies Used:

Fancy Frames- Rectangles
Shop at:
Sunny Studio
Frilly Frames Herringbone
Shop at:
Sunny Studio
Captivating Camellias Stamps
Shop at:
Sunny Studio
Captivating Camellias Dies
Shop at:
Sunny Studio
Spring Greenery Dies
Shop at:
Sunny Studio
Watering Can Stamps
Watering Can Stamps
Shop at:
Sunny Studio
Watering Can Dies
Watering Can Dies
Shop at:
Sunny Studio
Big Bold Greetings Stamps
Shop at:
Sunny Studio
Big Bold Greetings Dies
Shop at:
Sunny Studio

Thursday, March 7, 2024

Wicker Basket Die Focused Card with Marine

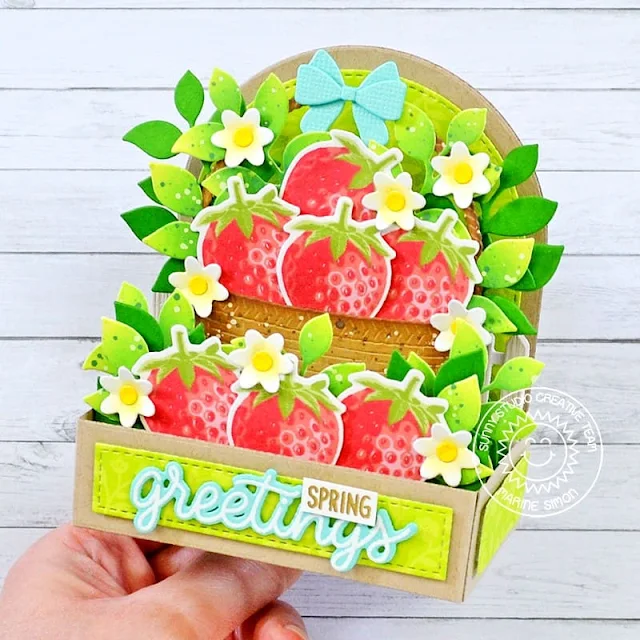
Hello crafty friends, Marine here, I'm so happy to be back on the blog with this 3D spring card showcasing some yummy strawberries from Berry Bliss and the beautiful Wicker Basket. When I first saw this new die, I knew I'd pair it with flowers or fruits, and my pick was strawberries because they always remind me of my grandfather's garden during spring and summer.

Sunny Studio Stamps: Wicker Basket & Berry Bliss Spring Themed Card by Marine Simon (featuring Spring Greenery Dies, Picket Fence Dies)

I started off by building my 3D card base. I cut the main pieces out of kraft cardstock, the grass insert pieces out of green cardstock, and the decorative pieces out of a Spring Fever pattern paper. I assembled everything, and then moved on to stamping the strawberries from Berry Bliss.

I used Lawn Fawn premium dye inks: Ballet Slippers for the 1st layer, Peachy Keen for the 2nd, and Guava for the 3rd one. And for the stems I used Altenew crisp dye inks: Frayed Burlap for the 1st layer, and Forest Glades for the 2nd one. Next I used my heat gun to dry the inks and make sure the layers stay crisp and detailed, and then I used the coordinating die to cut all my strawberries.

Sunny Studio Stamps: Wicker Basket & Berry Bliss Spring Themed Card by Marine Simon (featuring Spring Greenery Dies, Picket Fence Dies)

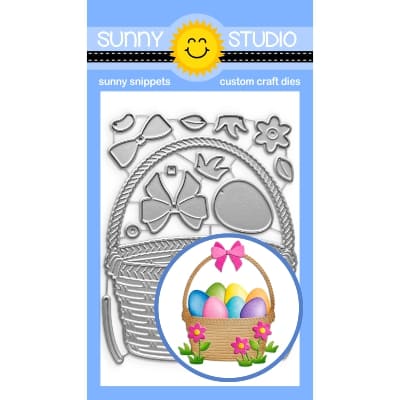
Next I did some die cutting, and first cut a Picket Fence out of white woodgrain cardstock. I cut the basket from Wicker Basket out of kraft cardstock, added some vintage photo oxide inks and texture to make it less flat. I also cut the flowers and the bow from the same die set. I also cut several Spring Greenery leaves that I colored using shabby shutters and mowed lawn oxide inks, added texture, and cut more greenery out of green cardstock.

Sunny Studio Stamps: Wicker Basket & Berry Bliss Spring Themed Card by Marine Simon (featuring Spring Greenery Dies, Picket Fence Dies)

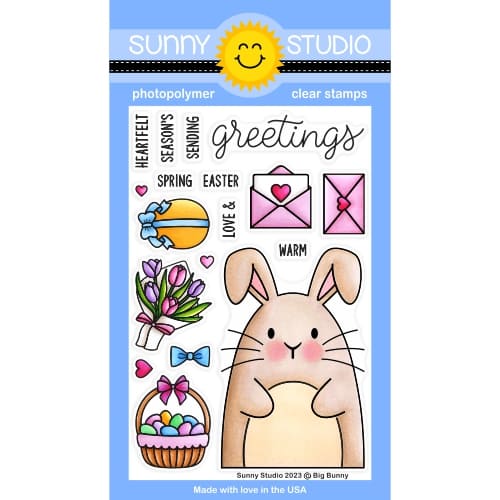
I attached four strawberries inside the Wicker Basket, put the bow on the handle, added lots of greenery and flowers, and then attached everything inside the card using 3mm glue dots. For my greeting, I embossed "Spring" from Big Bunny in gold on white cardstock and trimmed it into a slim banner, and I embossed "Greetings" from the same set in white on aqua cardstock, cut it using the matching die, and then attached both pieces on the front of my card using 1mm foam squares. 

And that's it! I hope you like this early taste of spring! Thanks so much for stopping by, and see you next time!

Sunny Studio Supplies Used:

Picket Fence Border Dies
Shop at:
Sunny Studio
Berry Bliss Stamps
Berry Bliss Stamps
Shop at:
Sunny Studio
Berry Bliss Dies
Berry Bliss Dies
Shop at:
Sunny Studio
Spring Greenery Dies
Shop at:
Sunny Studio
Spring Fever Paper
Spring Fever Paper
Shop at:
Sunny Studio
Big Bunny Stamps
Big Bunny Stamps
Shop at:
Sunny Studio
Wicker Basket Dies
Wicker Basket Dies
Shop at:
Sunny Studio

Saturday, February 24, 2024

Beautiful Bluebells Card with Cathy

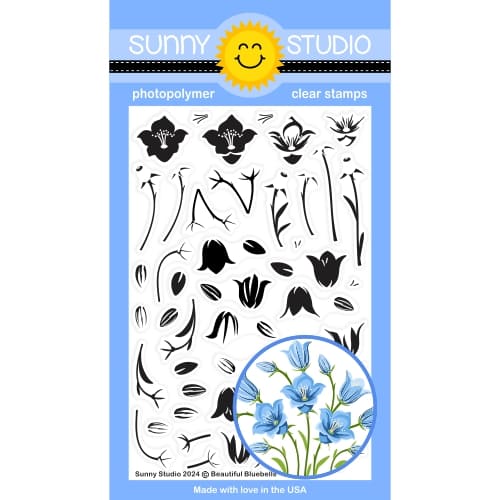
Hey friends! Cathy here today sharing a thank you card featuring the Beautiful Bluebells Stamps. The gorgeous details in these stamps can’t be overstated!

Sunny Studio Stamps: Beautiful Bluebells Thank You Card by Cathy Chapdelaine (featuring Big Bold Greetings, Stitched Semi-Circle Dies, Spring Greenery Dies, Frilly Frame Dies)

I kept the design of this A2 card fairly simple to showcase these beautiful flowers. I started by die-cutting a paper from the Spring Fever Paper using the frame portion of the Frilly Frames Quatrefoil Dies and adhering it to a white card front. Next, I die-cut 2 pieces of white cardstock using the largest Stitched Rectangles Die. I die-cut one of them using the quatrefoil portion of the Frilly Frames Quatrefoil Dies and adhered it to the solid stitched rectangle. I then adhered the combined piece to the card front.

To provide a base for the flowers, I die-cut a piece of white cardstock using the second largest Stitched Semi-Circle Dies and inked it lightly just short of the edges with Milled Lavender and Shaded Lilac Distress inks. I adhered it 3/4" from the top of the card.

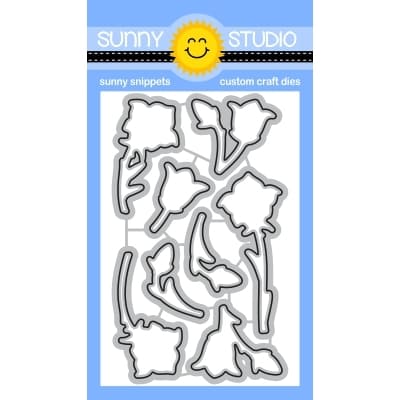
I stamped the bluebells in various shades of purple ink and a dusty blue ink (Simon Says Stamp Lilac, Amethyst and Orchid, Memento Elderberry and Hero Arts Dusty Blue. Stems in Simon Says Stamp Celery and Limelicious) and die-cut them using the coordinating dies. I adhered them to the Stitched Semi-Circle die-cut beginning with the tallest flowers at the top and working down to the base of the semi-circle. (I reserved one bud to adhere overlapping the leaf)

Sunny Studio Stamps: Beautiful Bluebells Thank You Card by Cathy Chapdelaine (featuring Big Bold Greetings, Stitched Semi-Circle Dies, Spring Greenery Dies, Frilly Frame Dies)

Next, I die-cut a piece of white cardstock using a Spring Greenery Die and inked it with Twisted Citron/Mowed Lawn Distress inks. I adhered this below the bouquet and then overlapped/adhered one last flower bud.

To finish, I stamped the sentiment from the Big Bold Greetings Stamps using Simon Says Stamp Orchid ink and die-cut it using the coordinating dies. I adhered it with foam dimensional tape.

I just love how this turned out and I hope you enjoyed! Thanks for stopping by today! For more inspiration, please visit my blog www.inkredibleadventures.com and you can also find me on Instagram as @cathy.chapdelaine.

Sunny Studio Supplies Used:

Stitched Rectangle Dies
Shop at:
Sunny Studio
Stitched Semi-Circle Dies
Shop at:
Sunny Studio
Frilly Frames Quatrefoil
Shop at:
Sunny Studio
Spring Greenery Dies
Shop at:
Sunny Studio
Big Bold Greetings Stamps
Shop at:
Sunny Studio
Big Bold Greetings Dies
Shop at:
Sunny Studio
Spring Fever Paper
Spring Fever Paper
Shop at:
Sunny Studio
Beautiful Bluebells Stamps
Shop at:
Sunny Studio
Beautiful Bluebells Dies
Shop at:
Sunny Studio

Tuesday, November 7, 2023

Pretty Poinsettia Card with Isha

Hello everyone! Isha, here today with a bright and festive Christmas card featuring the Pretty Poinsettia stamps and dies. These stamps give a beautiful effect and it is so easy to align all the layers. We can stamp multiple images at the same time and then mass produce these cards.

Sunny Studio Stamps: Pretty Poinsettia Christmas Card by Isha Gupta (featuring Dotted Diamond Dies, Spring Greenery Dies)

I started by taking a white card layer and used the Dotted Diamond Portrait die for a lovely texture. Add some teal splatters using salvaged patina distress ink. 

Sunny Studio Stamps: Pretty Poinsettia Christmas Card by Isha Gupta (featuring Dotted Diamond Dies, Spring Greenery Dies)

Stamp the images and die-cut using coordinating dies:

Poinsettia - Pretty Poinsettia stamps and dies
Fir leaves - Classy Christmas stamps and dies
Sentiment - Christmas Critters
Fern leaves from silver card  - Spring Greenery dies

Create the cluster, add the sentiment. Adhere this layer to a pink cardbase.

Thank you for dropping by and have a nice day!

Sunny Studio Supplies Used:

Christmas Critters Stamps
Shop at:
Sunny Studio
Classy Christmas Stamps
Shop at:
Sunny Studio
Classy Christmas Dies
Shop at:
Sunny Studio
Spring Greenery Dies
Shop at:
Sunny Studio
Dotted Diamond Portrait
Shop at:
Sunny Studio
Pretty Poinsettia Stamps
Shop at:
Sunny Studio
Pretty Poinsettia Dies
Shop at:
Sunny Studio

Thursday, October 26, 2023

Pristine Poinsettia Die Focused Card with Marine

Hello crafty friends, Marine here, back again today with more poinsettias and those three bright and cheerful mini cards using the Pristine Poinsettia die set. Love this set so much! Last year I used that same set to make a cold and frosty holiday card, and this time I went for more traditional colors.

Sunny Studio Stamps: Pristine Poinsettia Christmas Cards by Marine Simon (featuring Mini Mat & Tag Dies, Winter Greenery Dies, Spring Greenery Dies, Dotted Diamond Dies)

I started off by creating and assembling three almost identical card bases following the same process:

1. Cut three Stitched Rectangles out of white cardstock

2. Cut three All Is Bright panels using Mini Mat & Tag 1 + Mini Mat & Tag 2 + Mini Mat & Tag 4 dies

Sunny Studio Stamps: Pristine Poinsettia Christmas Cards by Marine Simon (featuring Mini Mat & Tag Dies, Winter Greenery Dies, Spring Greenery Dies, Dotted Diamond Dies)

3. Cut two Dotted Diamond Landscape panels, and cut three small Stitched Rectangles out of those two panels. Color those three textured panels using spun sugar and worn lipstick distress inks. Add splatters using festive berries mixed water, and white ink mixed with water

4. Layer and attach the panels on top of each other, and then on card bases

Sunny Studio Stamps: Pristine Poinsettia Christmas Cards by Marine Simon (featuring Mini Mat & Tag Dies, Winter Greenery Dies, Spring Greenery Dies, Dotted Diamond Dies)

Next I cut all the flower, greenery and berry pieces using dies from Pristine PoinsettiaWinter Greenery and Spring Greenery. I cut the flower elements out of three different shades of red cardstock, and cut the greenery elements out of brown, aqua, green, white, vellum and gold cardstock.

I first started by layering and attaching the Pristine Poinsettia pieces together using liquid glue. Next I stuck a flower on each card base, and then added greenery around each one of them. I added berries here and there, and glued a clear droplet on each to bring more shine and dimension.

Sunny Studio Stamps: Pristine Poinsettia Christmas Cards by Marine Simon (featuring Mini Mat & Tag Dies, Winter Greenery Dies, Spring Greenery Dies, Dotted Diamond Dies)

The last step was to create three greetings, and I used the "Merry Christmas" sentiment from Bells & Baubles that I white heat embossed on black cardstock, cut using the matching dies, and attached on the opposite corner of each poinsettia using 2mm foam squares. And finally I added highlights and details at some places using a white gel pen.

And that's it! As always I had a lot of fun making those mini cards, I love how bright and beautiful they turned out, and I hope that you like them. Thank you so much for stopping by, and see you next time.

Sunny Studio Supplies Used:

Stitched Rectangle Dies
Shop at:
Sunny Studio
Pristine Poinsettia Dies
Shop at:
Sunny Studio
Winter Greenery DIes
Shop at:
Sunny Studio
All Is Bright Paper
All Is Bright Paper
Shop at:
Sunny Studio
Spring Greenery Dies
Shop at:
Sunny Studio
Mini Mat & Tag 1 Dies
Shop at:
Sunny Studio
Mini Mat & Tag 2 Dies
Shop at:
Sunny Studio
Mini Mat & Tag 4 Dies
Shop at:
Sunny Studio
Dotted Diamond Landscape
Shop at:
Sunny Studio
Bells & Baubles Stamps
Shop at:
Sunny Studio