Showing posts with label Festive Greetings. Show all posts

Saturday, September 28, 2024

Guest Designer Spotlight: Holiday Cards with Rachel Alvarado

Sunny Studio Stamps: Roly Poly Penguins & Merry Mocha Holiday Cards by Rachel Alvarado

Hello crafty friends! It's Rachel here from RachelAlvaradoDesigns.com. I am thrilled to be back on the Sunny Studio Stamps blog today with two Christmas-themed cards using items from the new release.

Sunny Studio Stamps: Roly Poly Penguins Holiday Cards by Rachel Alvarado (featuring Festive Greetings)

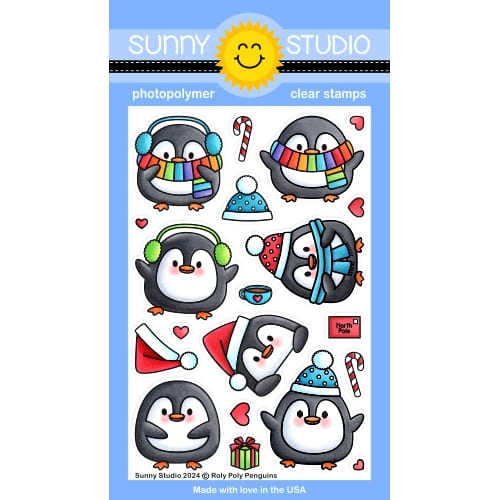
For my first card, I created an 8.5" x 3.5" one-layer slimline card featuring the adorable new Roly Poly Penguins Set.

Sunny Studio Stamps: Roly Poly Penguins Holiday Cards by Rachel Alvarado (featuring Festive Greetings)

I first stamped a rough draft layout of my card (as shown above) onto a piece of scrap paper prior to actually stamping my actual card. I then used this rough draft and my MISTI to stamp and mask my images as I went. For my masking pieces, I used a piece of Gina K Designs Masking Magic Sheets to stamp my images onto before fussy cutting with a pair of scissors.

Sunny Studio Stamps: Roly Poly Penguins Holiday Cards by Rachel Alvarado (featuring Festive Greetings)

Once I was finished stamping and masking all of my images, I then added some Salvaged Patina Distress Ink to create my background. I then removed my masking pieces and colored my images with Copic Markers. Lastly, I used a Sakura White Gelly Roll Pen to add some white "snow" dots on top of my images as well as stamped my sentiment from the Festive Greetings Stamp Set in the top left corner of my card.

Copic Colors Used:

  • Warm White: 0, W00, W1, W3
  • Cool White: 0, C00, C1, C3
  • Black: W5, W7, W9
  • Reds: R14, R35, R46, R89
Sunny Studio Stamps: Merry Mocha Holiday Cards by Rachel Alvarado (featuring Mug Hugs, Frilly Frame Dies)

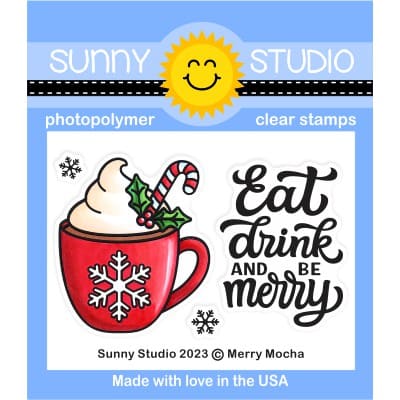
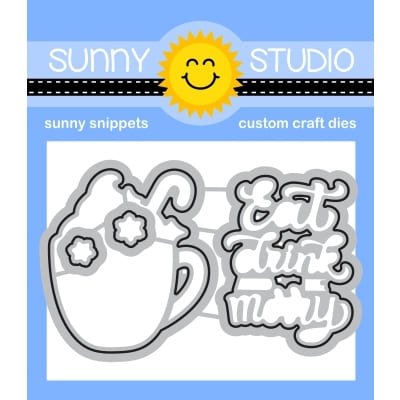
For my second card, I featured the new Merry Mocha Stamp and Die Set as well as the previously released Mug Hugs Set and Frilly Frames Stripes Dies. I once again stamped my images onto a sheet of Neenah Classic Crest Solar White 110lb Card Stock with Memento Tuxedo Black Ink and then colored them with Copic Markers (the reds and cool whites are the same colors as listed for the card above.) 

Sunny Studio Stamps: Merry Mocha Holiday Cards by Rachel Alvarado (featuring Mug Hugs, Frilly Frame Dies)

Prior to coloring the mugs, I added a snowflake to the front of each one and drew some patterned lines on the mugs from the Mug Hugs Set with a fine-tip black marker pen.

I hope you enjoyed my cards today and will check out this amazing release! Thank you so much for taking the time to stop by!

Sunny Studio Supplies Used:

Mug Hugs Dies
Mug Hugs Dies
Shop at:
Sunny Studio
Mug Hugs Stamps
Mug Hugs Stamps
Shop at:
Sunny Studio
Festive Greetings Stamps
Shop at:
Sunny Studio
Frilly Frames Stripes Die
Shop at:
Sunny Studio
Merry Mocha Stamps
Merry Mocha Stamps
Shop at:
Sunny Studio
Merry Mocha Dies
Merry Mocha Dies
Shop at:
Sunny Studio
Roly Poly Penguin Stamps
Shop at:
Sunny Studio
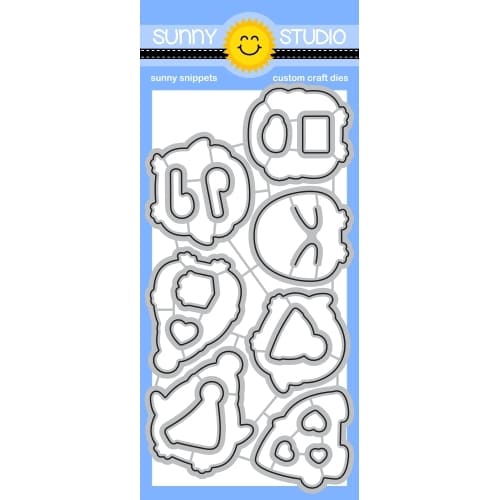
Roly Poly Penguin Dies
Shop at:
Sunny Studio

Sunday, September 17, 2023

Truckloads of Love Holiday Card with Tammy

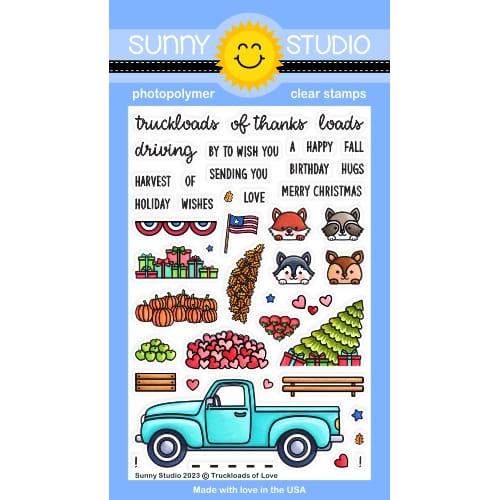
Hi there! Tammy here, sharing a card featuring the adorable set, Truckloads of LoveI love how versatile this set is, allowing you to create for all seasons! I chose to create a Christmas-themed card since they are my favorite to make!

Sunny Studio Christmas Holiday Pick-up Truck Winter Card (using Truckloads of Love & Festive Greetings Stamps, Rustic Winter, Lacy Snowflakes & Fancy Frames Rectangle Dies)

To begin, I stamped the images from Truckloads of Love, colored with Copic markers, and die cut with the Truckloads of Love Dies. Next, I cut a piece of Bristol smooth cardstock to an A2 size and ink-blended it with Broken China and Tumbled Glass Distress Oxide inks. I then splattered some white acrylic paint, thinned with water, onto the background to create a snowy feel. I then white heat embossed the "Season's Greetings" sentiment from the Festive Greetings Stamps.


Next, I die-cut some snowy hills using the Slimline Nature Borders Dies, cutting them to size, inking the tops with Tumbled Glass ink, and attaching them to the bottom of my card. I die-cut some trees from white cardstock using the Rustic Winter Dies, tucking them under the snowy borders. I added a white scalloped frame die cut using the Fancy Frames Rectangle Dies, attaching it with foam tape for dimension. I then white heat embossed the sentiment from Truckloads of Love onto a dark gray sentiment strip and added some white Lacy Snowflakes to complete my card.

Thanks so much for stopping by!

Hugs,
Tammy

Supplies Used:
Lacy Snowflakes Die
Lacy Snowflakes Die
Shop at:
Sunny Studio
Tsukineko Jumbo Dauber
Shop at:
Sunny Studio
Festive Greetings Stamps
Shop at:
Sunny Studio
Fancy Frames- Rectangles
Shop at:
Sunny Studio
Slimline Nature Borders
Shop at:
Sunny Studio
Truckloads of Love Stamps
Shop at:
Sunny Studio
Truckloads of Love Dies
Shop at:
Sunny Studio
Hero Arts White Detail
Shop at:
Sunny Studio
VersaMark Watermark Ink
Shop at:
Sunny Studio

Friday, October 21, 2022

Cozy Christmas Cards with Tina and Vanessa

Hello crafty friends, it’s Tina with a sweet Christmas scene card for you today! For me the Holiday Season is all about sharing wonderful moments with my family and friends. I love decorating the house and making it warm and welcoming. Cozy Christmas stamp and die set totally captures that vibe!! 

Sunny Studio Stamps: Cozy Christmas Holiday Cards by Tina (featuring Santa Claus Lane, Festive Greetings)

It also works well with other holiday sets like Santa Claus Lane. Or why not consider throwing in a summer themed stamp and doing some ‘stamp masking’. Yes, we are mixing and matching again today! It's fun finding ways to stretch your stamps and use them all year round and not just for a particular time or season.

For the card panel, I cut a rectangle from some Neenah Solar White 110 Lb Card Stock. I masked of the top and bottom parts with post-it tape so I could ink blend some Antique Linen Distress Oxide, to create a ‘wooden floor’ I added white lines with a gel pen.

The rest of the panel was colored with Victorian Velvet oxide ink, a Distress color I recently added to my stash, but which is becoming one of my favorites!  Once the panel was dry, I stamped a sentiment from the Festive Greetings set, love the classic font of this set!! Next, I colored a little baseboard with a dark brown Copic marker.

As for the mixing and matching, I used the following sets:
Cozy Christmas (sofa, cat, bears, tree, pillows, glasses, plate with cookies, picture frame, presents, lamp). Here I used a part of the lamp to make a Christmas tree container.
Santa Claus Lane  (fireplace, presents, Santa bag)
Kiddie Pool this is where I did some masking and stamped the image of the girl without the drink in her hand. I used a black pigment liner to do some easy touching up in the face area.

Sunny Studio Stamps: Cozy Christmas Holiday Cards by Tina (featuring Santa Claus Lane, Festive Greetings)

After stamping and die cutting all my images, I colored them with my Copic markers in some warm Holiday colors and added details with my white gel pen. For the girl, I switched her summer outfit into long sleaved cozy winter clothes during the coloring process.

Next, it was time to assemble the card, I first glued the sofa and the fireplace to the card base with liquid glue. Then, I used foam tape to add the rest of the images creating depth and dimension.

I sprinkled a few sequins from the Jewels Pastel Mix around the sentiment and they worked really well with the background color. As a final touch, I added a white border cut with the Fancy Frames Rectangle Dies and adhered the completed panel to a white card base with liquid glue.

Thank you so much for joining me and I’ll see you soon! Happy crafting!

-------------------------------------------------

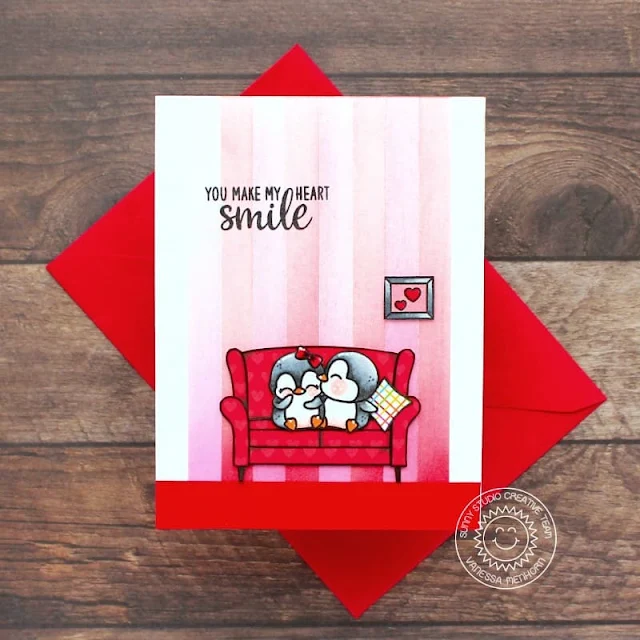
Hello to you! Vanessa here with a love themed card using the cute Cozy Christmas set.

Sunny Studio Stamps: Cozy Christmas Holiday Cards by Vanessa Menhorn (featuring Passionate Penguins)

I first masked off stripes on the front of my card and inked these with Festive Berries and Kitsch Flamingo Distress Oxide Inks. After I had adhered a strip of red cardstock to the bottom, I stamped my images from Cozy Christmas and Passionate Penguins onto white cardstock. 

Sunny Studio Stamps: Cozy Christmas Holiday Cards by Vanessa Menhorn (featuring Passionate Penguins)

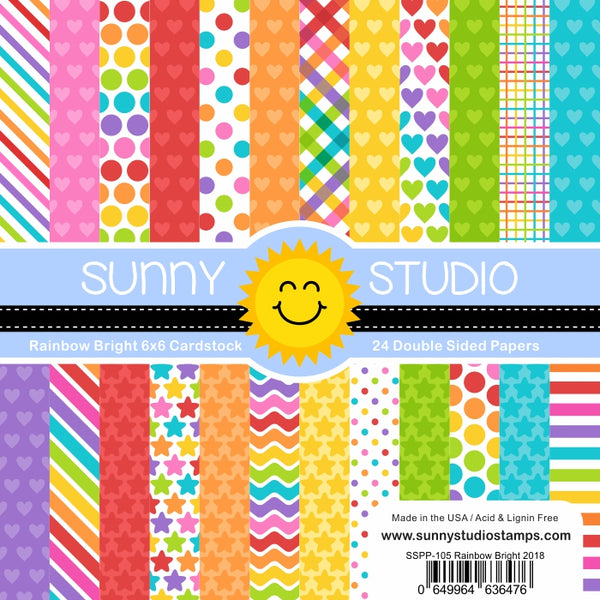
Then I paper-pieced the couch with red heart patterned paper from the Rainbow Bright paper pad and stamped the pillow onto plaid patterned paper. I colored the other images with Copics and fussy-cut all the pieces before adhering them to the card. Finally, I stamped the sentiment from Snail Mail.

This adorable set is so versatile, building scenes with it is such fun :) Have a lovely weekend, everybody!

Sunny Studio Supplies Used:

Festive Greetings Stamps
Shop at:
Sunny Studio
Fancy Frames- Rectangles
Shop at:
Sunny Studio
Rainbow Bright 6x6 Paper
Shop at:
Sunny Studio
Santa Claus Lane Stamps
Shop at:
Sunny Studio
Santa Claus Lane Dies
Shop at:
Sunny Studio
Snail Mail Stamps
Snail Mail Stamps
Shop at:
Sunny Studio
Passionate Penguins Stamps
Shop at:
Sunny Studio
Passionate Penguins Dies
Shop at:
Sunny Studio
Kiddie Pool Stamps
Kiddie Pool Stamps
Shop at:
Sunny Studio
Kiddie Pool Dies
Kiddie Pool Dies
Shop at:
Sunny Studio
Cozy Christmas Stamps
Shop at:
Sunny Studio
Cozy Christmas Dies
Cozy Christmas Dies
Shop at:
Sunny Studio

Friday, December 24, 2021

Lacy Snowflake Die Focused Cards with Audrey and Tammy

Hello friends! Audrey here with a fun winter themed project using one of my favorite stamp sets from Sunny Studio, Feeling Frosty and the Lacy Snowflake dies! 

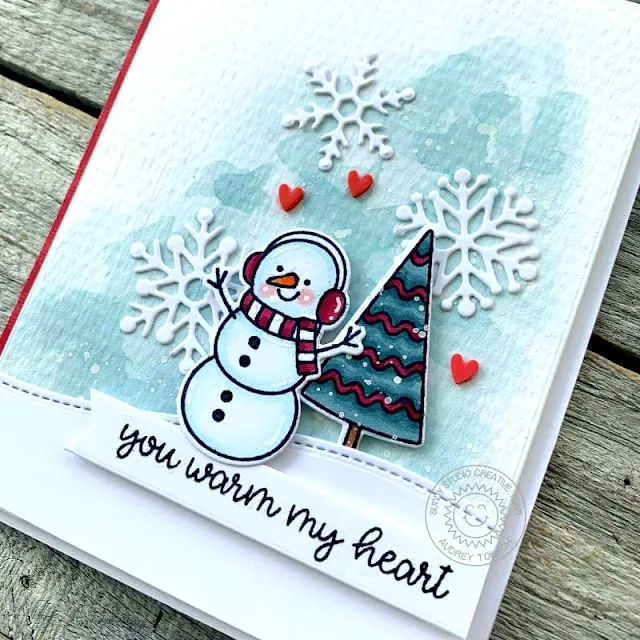
Sunny Studio Stamps: Lacy Snowflake Dies Winter Holiday Card by Audrey Tokach (featuring Feeling Frosty, Slimline Nature Border Dies)

To create my card, I started off by watercoloring a piece of watercolor paper cut to 4" x 5.25" with Speckled Egg Distress Ink. When it was dry, I splattered on some watered down white acrylic paint. I stamped and colored one of the adorable snowmen from Feeling Frosty, along with a tree from the set, and die cut them with the coordinating Feeling Frosty dies. I popped them up on a snow bank cut cut using the Slimline Nature Borders dies. To add some interest to the sky, I cut three Lacy Snowflakes from white cardstock and adhered them above the snowman with a glue pen. 

Sunny Studio Stamps: Lacy Snowflake Dies Winter Holiday Card by Audrey Tokach (featuring Feeling Frosty, Slimline Nature Border Dies)

I sentiment from Feeling Frosty was stamped on a banner die cut and popped up near the bottom of the card. Before mounting the panel to an A2 card base with foam tape, I added a strip of red patterned paper from the All is Bright paper pad. To finish off my card, I added a trio of tiny clay hearts and some white gel pen accents.

-----------------------------------------------

Hello friends and Merry Christmas Eve! Tammy here sharing this fun holiday card featuring the Lacy Snowflake Dies, paired with one of my all time favorite sets, Feeling Frosty.

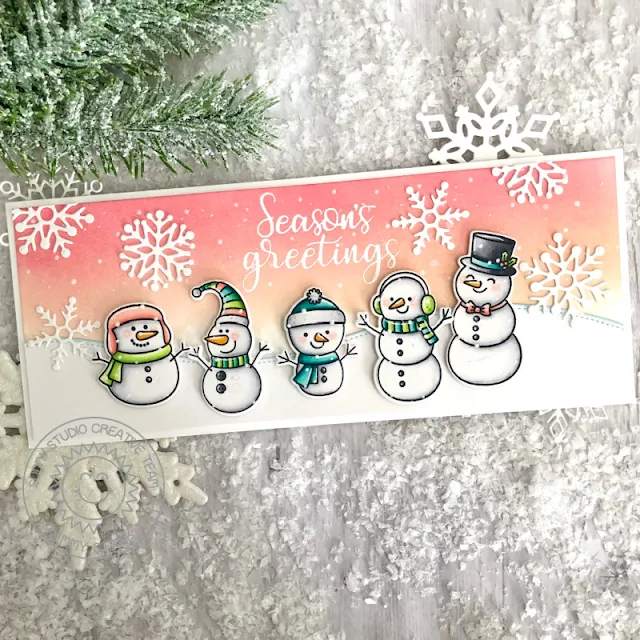
Sunny Studio Stamps: Lacy Snowflake Dies Winter Holiday Card by Tammy Stark (featuring Feeling Frosty, Slimline Nature Border Dies)

To begin, I cut Bristol smooth cardstock to 3 1/4 X 8 1/4" and ink blended the background with Worn Lipstick and Tattered Rose Distressed Oxide inks. I then splattered the background with thinned white acrylic ink to create a snowy look. Next, I cut a white snowy border using the Slimline Nature Borders Dies, lightly inking the edges with Tumbled Glass ink before adhering it to the background.

Next, I stamped the images from Feeling Frosty, colored with Copic markers, and die cut with the Feeling Frosty Dies. I added some white dots to the snowmen using a stylus dipped in white acrylic paint to make it look like falling snow.

Sunny Studio Stamps: Lacy Snowflake Dies Winter Holiday Card by Tammy Stark (featuring Feeling Frosty, Slimline Nature Border Dies)

Next, I white heat embossed the large sentiment from Festive Greetings, centering it on my card. I then  arranged the die cut snowmen onto my card, attaching with foam tape for dimension. Lastly, I die cut white cardstock using the Lacy Snowflake Dies and glued them to the background, then attached the background to a 3 1/2 X 8 1/2" white card base to complete my card.

Thanks so much for stopping by! Wishing you all a wonderful holiday and a Happy New Year!!

Sunny Studio Supplies Used:

Lacy Snowflakes Die
Lacy Snowflakes Die
Shop at:
Sunny Studio
Festive Greetings Stamps
Shop at:
Sunny Studio
Feeling Frosty Stamps
Shop at:
Sunny Studio
Feeling Frosty Dies
Feeling Frosty Dies
Shop at:
Sunny Studio
Slimline Nature Borders
Shop at:
Sunny Studio
All Is Bright Paper
All Is Bright Paper
Shop at:
Sunny Studio