Showing posts with label Big Bunny. Show all posts

Saturday, April 5, 2025

Sunny Saturday Share: Customer Cards


Hey everyone, how are you all doing this weekend? I'm so excited to be popping in today with a Sunny Saturday Share. There have been so many amazing cards popping up on Instagram that have made my jaw drop so I couldn't wait to share them with all of you! 


Sunny Studio Stamps: Big Bunny Customer Card by Carolina Ucar Noguera

Big Bunny cards by Cherry McSharry


Sunny Studio Stamps: Bunnyville Customer Card by Femke


Sunny Studio Stamps: Spring Greetings Bunny Rabbit Customer Card by Annie Colllins

Thank you for sharing all these fabulous ideas with us! I hope you will continue to share your gorgeous projects with us--It always makes my day to see them. Please tag us on instagram @sunnystudiostamps or share your projects with us in our flickr group. Sadly we are no longer able to view all the posts using our hashtag on Instagram so it's super important for you to also tag us @sunnystudiostamps so we can find them and they don't get missed.


Sunny Studio Supplies Used:

Spring Greetings Stamps
Shop at:
Sunny Studio
Spring Greetings Dies
Shop at:
Sunny Studio
Bunnyville Stamps
Bunnyville Stamps
Shop at:
Sunny Studio
Bunnyville Dies
Bunnyville Dies
Shop at:
Sunny Studio
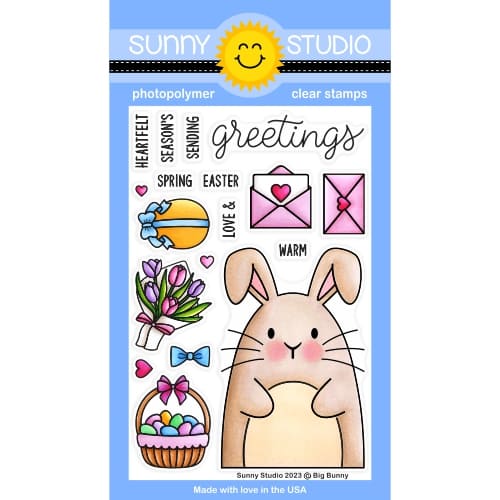
Big Bunny Stamps
Big Bunny Stamps
Shop at:
Sunny Studio
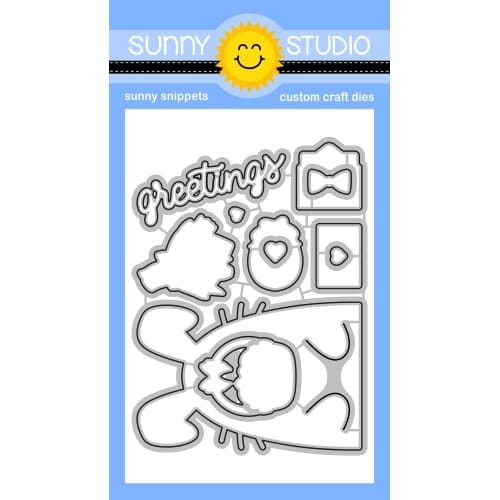
Big Bunny Dies
Big Bunny Dies
Shop at:
Sunny Studio
Majestic Meadow Stamps
Shop at:
Sunny Studio
Majestic Meadow Dies
Shop at:
Sunny Studio
Foxy Friends Stamps
Foxy Friends Stamps
Shop at:
Sunny Studio
Foxy Friends Dies
Foxy Friends Dies
Shop at:
Sunny Studio

Wednesday, April 2, 2025

Background Basics 2 Card with Tina

Hello crafters, it’s Tina and today I am making a sweet Easter card featuring the Background Basics 2 stamps, more specifically the large diagonal grid.

Sunny Studio Stamps: Background Basics 2 Focused Easter Card by Tina Henkens (featuring Big Bunny, Stitched Oval Dies, Scalloped Oval Mat Dies, Slimline Dies, Frilly Frame Dies, Dotted Diamond Dies)

I selected a white card base and cut a rectangle background panel from white paper with the outer die from the Frilly Frames Stripes die. I love the scalloped edge, but to enhance this piece even more I added an ‘embossed look’ with the Dotted Diamond Portrait die. Next, I simply glued this panel to the card base as my first layer.

The adorable Big Bunny is going to be my main focal point of this card and I discovered that she fits perfectly inside the largest of the Stitched Ovals. This pieces was then decorated with the big grid from Background Basics 2 stamps and Tumbled Glass Distress Oxide. I deliberately kept some areas of the stamping lighter or even white.

Sunny Studio Stamps: Background Basics 2 Focused Easter Card by Tina Henkens (featuring Big Bunny, Stitched Oval Dies, Scalloped Oval Mat Dies, Slimline Dies, Frilly Frame Dies, Dotted Diamond Dies)

For extra detail I glued this panel to a white Scalloped Oval Mat 1 piece and added the whole to the card with liquid glue. For the star of the show (the cutie from Big Bunny), the bouquet and the bow, I selected Copic markers in fun Spring colors matching the blue of my grid background. The combined sentiment is from the same set and stamped in Versafine Onyx Black ink.

To put the scene together, I cut a white strip with one of the Slimline Basic Borders and the largest of the Stitched Ovals to give this piece it’s rounded edges. I glued this piece in place and added the bunny with the bow and tulips. Lastly, I placed the sentiment on the bottom of the oval shape. As a final embellishment, I added a few Gold Jewels

I hope you will enjoy these fun background stamps as much as I did! Thank you for joining me and happy crafting!

Sunny Studio Supplies Used:

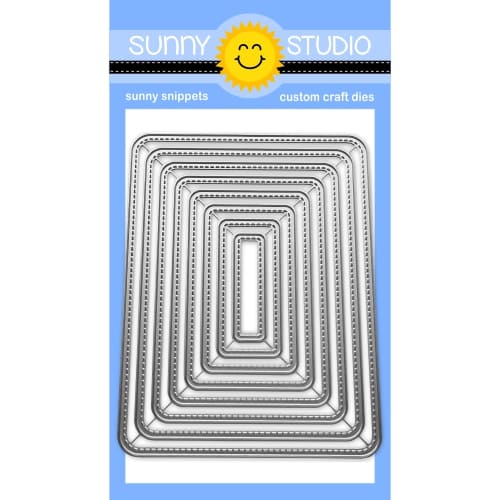
Stitched Oval Dies
Stitched Oval Dies
Shop at:
Sunny Studio
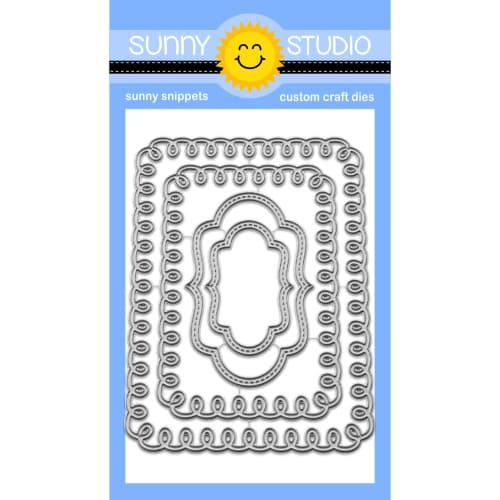
Frilly Frames Stripes Die
Shop at:
Sunny Studio
Slimline Basic Borders
Shop at:
Sunny Studio
Scalloped Oval Mat 1 Dies
Shop at:
Sunny Studio
Dotted Diamond Portrait
Shop at:
Sunny Studio
Big Bunny Stamps
Big Bunny Stamps
Shop at:
Sunny Studio
Big Bunny Dies
Big Bunny Dies
Shop at:
Sunny Studio
Background Basics 2 Stamps
Shop at:
Sunny Studio

Friday, March 7, 2025

Guest Designer Spotlight: Cards with Sara Zoppi

Hi crafty friends, Sara Zoppi here! Today I am happy to be here, guesting again for Sunny Studio Stamps! Today, I have two hoppy inspirations to show you, featuring some of the recently released products and some of the previously released ones. So, let's dive into the first card!

Bunnies are always so fun, and they're the typical critters for spring as we approach Easter. Anyway, I tried to use them differently, because they're perfect with flowers too!

Sunny Studio Stamps: Bunnyville Spring Card with Sara Zoppi

For my first card, I decided to pair the two bunnies included in the Balloon Number Stamps, but, instead of hanging some balloon stripes, I hand-drew some flowers in their hand. I also added two of the bunnies included in the previous released Bunnyville Stamps (which perfectly match dimensions and design) to create a garden scene: one is hanging out of a watering can, surrounded by colored flowers which I totally hand drew. 

Sunny Studio Stamps: Bunnyville Spring Card with Sara Zoppi

I kept the scene simple, and here are the Copic colors I used:

- Grey bunnies: W4 – W3 – E41 – E40 – E11 | RV34 – R20
- Brown bunnies: E23 – E55 – E42 – E30 – E50 – E11 | RV34 – R20
- Watering can: BG18 – BG57 – BG53
- Flowers: R14 – YR68 – R22 – R21 – Y38
- Greenery: G43 – G94 – G20

Sunny Studio Stamps: Bunnyville Spring Card with Sara Zoppi

As you might see, there are also small details in black. I used a fine black liner pen to add them, and I thought they worked well with the simple design. I then moved to the sentiment, from the Big Bunny Stamps, which I white heat-embossed on black cardstock. I also die-cut it using coordinating dies (I cut it twice to get some depth) and glued it down in the top right corner. I directly stamped the word spring which comes from the same "Big Bunny" stamp. To complete the card, I trimmed the scene to 5" x 3.75", added a slightly larger green sparkly cardstock, and then a 5.75"x 4.5" grey patterned paper. And here's the finished look!

Sunny Studio Stamps: Big Bunny Mother's Day Card with Sara Zoppi (featuring Balloon Alphabet, Majestic Meadow)

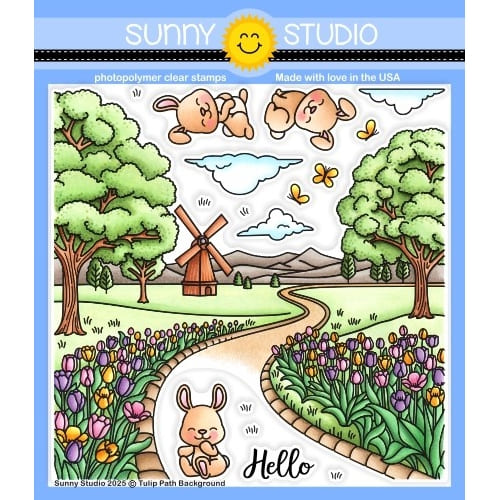
For my second inspiration, I went for a shaker card. When I saw all the small bunnies included in the new release from the Tulip Path Background Stamps, I thought it would have been perfect to match them with the Big Bunny Stamps (which I love, as well as the Big Panda and the giant bear from Holiday Hugs). I created a mum card. 

I first stamped the bunnies in light brown and colored them all using Copics (E23 – E43 – E42 – E41 – E40 – RV34 – R20). I also stamped the bouquet of tulips with a darker copic friendly brown ink and I colored it too (R46 – R14; RV09 – RV55; YR68 – YR65; Y38 – Y35 – Y32; G43).

Sunny Studio Stamps: Big Bunny Mother's Day Card with Sara Zoppi (featuring Balloon Alphabet, Majestic Meadow)

I die-cut everything with coordinating dies and the big bunny arms to hang the bouquet. I defined all the eyes with a black fineliner: I think this gives a great touch when stamping with different colors, especially light colors.

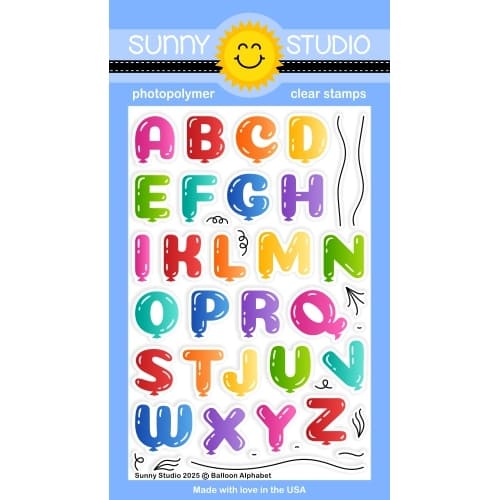
I then moved to the rest of the card: I used the recently released Balloon Alphabet Stamps to stamp the MUM letters with coordinating inks. I tried to avoid inking the balloon curling ribbon and I used coordinating pencils to give some depth. I white heat embossed the first part of the sentiment, which comes from Punny Fruit Greetings Stamps, on some brown cardstock, and then I moved into the background.

Sunny Studio Stamps: Big Bunny Mother's Day Card with Sara Zoppi (featuring Balloon Alphabet, Majestic Meadow)

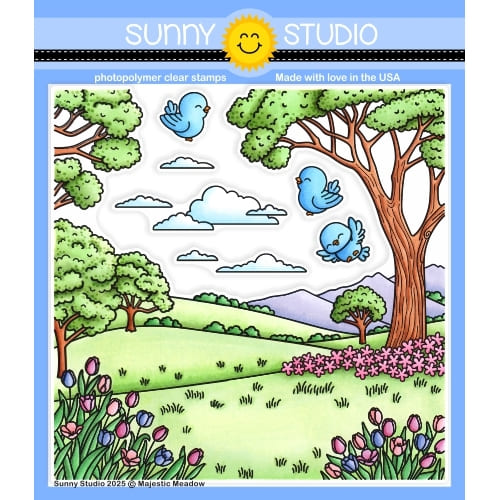
I used the new Majestic Meadow Stamps to stamp my background, but I preferred to keep it simple and stamp it only with light brown. I trimmed a white frame from cardstock sized to 4" x 5.25" and I used foam tape and clear acetate to attach the three bunnies and the sentiment. I added some Iridescent Pastel Confetti and attached everything to my stamped background. And here's the finished result!

Thanks for stopping by! I really hope you like my projects and you will be inspired to create something!

Sunny Studio Supplies Used:

Bunnyville Stamps
Bunnyville Stamps
Shop at:
Sunny Studio
Bunnyville Dies
Bunnyville Dies
Shop at:
Sunny Studio
Big Bunny Stamps
Big Bunny Stamps
Shop at:
Sunny Studio
Big Bunny Dies
Big Bunny Dies
Shop at:
Sunny Studio
Punny Fruit Greetings
Shop at:
Sunny Studio
Majestic Meadow Stamps
Shop at:
Sunny Studio
Majestic Meadow Dies
Shop at:
Sunny Studio
Tulip Path Background Stamps
Shop at:
Sunny Studio
Tulip Path Background Dies
Shop at:
Sunny Studio
Balloon Alphabet Stamps
Shop at:
Sunny Studio
Balloon Alphabet Dies
Shop at:
Sunny Studio
Balloon Numbers Stamps
Shop at:
Sunny Studio
Balloon Numbers Dies
Shop at:
Sunny Studio