Hello Crafty Friends!
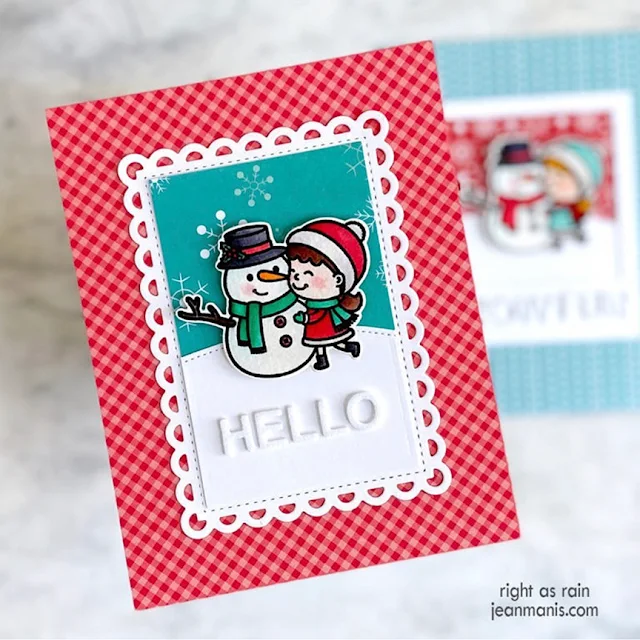
This is Hanh on the Sunny Studio Stamps blog today sharing a
clean and simple winter themed card featuring these adorable snowmen from
the Feeling Frosty set.
I stamped the
background image from the Scenic Route Stamp set onto the top portion of a piece
of Neenah Solar White 110 lb cardstock (4.25" x 5.5") with Memento
Tuxedo Black ink. I also stamped the snowmen from the Feeling Frosty Stamp set onto another piece of Neenah
Solar White 110 lb cardstock. I used the coordinating Scenic Route Dies to die cut off the top portion of
the full panel. I used the coordinating Feeling Frosty Dies to die cut the snowmen out. I
colored the images with Copic markers and accented with a white gel pen.
COPIC COLORS:
Snowmen: B0000/000,
Y38 YR04, R20
Pink: RV10/21/13/14
Teal: BG10/53/45
Green: YG01/03/17
White: C1
Black: T5
Trees: YG03/25/17
Shadows: C1/3
For the sentiment, I
used the Chloe Alphabet Dies to die cut a set of S-N-O-W
letters out of black and teal cardstock. I layered and adhered the letters
slightly offset to create a slight shadow. I used a white gel pen to add some
snow to the top of each letter.
For the sub-sentiment,
I used the colored snowmen and SNOW letters to roughly lay out my card front
onto the colored panel. I aligned and stamped the "happy we're
friends" sentiment from the Feeling Frosty stamp set directly onto the
panel with Memento Tuxedo Black ink. I adhered the SNOW letters onto the panel
with liquid glue.
For the background, I trimmed a piece of patterned paper from the Joyful Holiday Paper Pack and adhered it to the top portion of a white A2 card base. I adhered the colored background panel to the top of the card base. I added some snow to the patterned paper with a white gel pen. Finally, I adhered the snowmen with foam tape for a bit of dimension and interest.
I appreciate you
taking the time to stop by and visit today. I hope you liked my card and are
inspired to create and send a card to a friend. Be sure to check out the Sunny
Studio Stamps Shop for more info and ideas. Please also visit my INSTAGRAM
feed for more inspirations.
Have a wonderful and
crafty day!
Sunny Studio Supplies Used:


