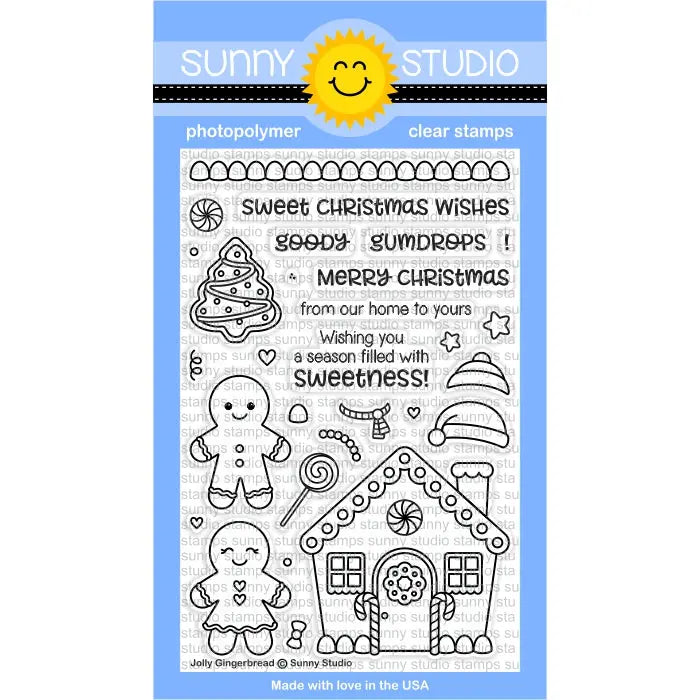
Hello crafty friends, Marine here, merry Christmas to those celebrating the holiday season! I'm back with this lovely nativity scene showcasing the perfect stamp set for the occasion: Holy Night, which is also the very first Sunny Studio set I bought back in 2020 and introduced me to the brand. Feel welcome to check the two other Holy Night cards I made here and here.
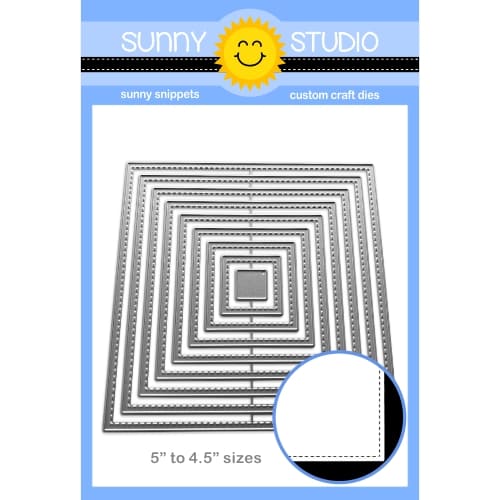
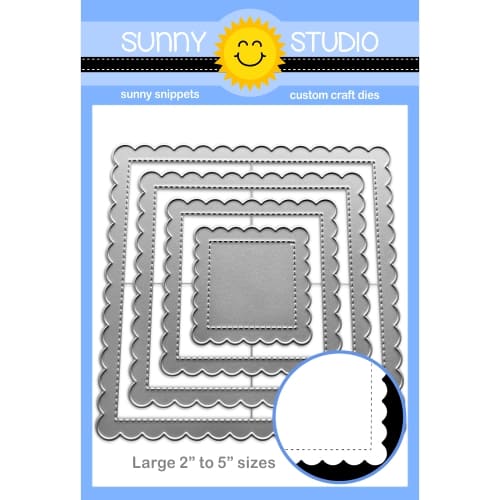
I started off by cutting a 3-6/8" x 3-6/8" panel out of a Heroic Halftones blue pattern paper, I applied a little bit of prize ribbon distress ink to the edges and then a bit of chipped sapphire distress ink to darken my sky even more, mixed a few drops of liquid stardust with water and added sparkling splatters all over my panel, and then did the same with copic opaque white ink. Next, I cut a panel as wide as the sky panel out of a Polka Dot Parade green pattern paper, turned it into a grass border using a Picket Fence Border die, applied Mowed Lawn and Rustic Wilderness distress inks to the edges, and then added white splatters. I cut a square panel out of white cardstock using the second largest Stitched Square die, attached my night sky panel using liquid glue, and then the grass border using 1mm foam squares. I cut a Scalloped Square 1 Large Die panel out of a Classic Sunburst blue pattern paper, stuck my white panel to it using 1mm foam squares again, and finally attached my panel to a 4,5" x 4,5" white card base.
I stamped my Holy Night images on 110lb Neenah Solar White cardstock using Memento Tuxedo Black ink, cut them all with the coordinating dies, and then colored everything with my Ohuhu markers in a brown and neutral color palette. When the coloring was done, I added highlights and details to the images using a white gel pen, attached them to my card using 1mm and 2mm foam squares, and then created the greeting. I white-heat-embossed "Holy Night" from Holy Night on vellum, cut it into a small circle using the second-smallest Scalloped Circle Mat 1 die, and attached it to the card with dimensional transparent squares.
And that's it! Thank you so much for taking the time to stop by the blog today. Have a very nice day, and see you soon!
Sunny Studio Supplies Used:
 Picket Fence Border Dies Shop at: Sunny Studio |
 Polka-dot Parade 6x6 Paper Shop at: Sunny Studio |
 Heroic Halftones 6x6 Paper Shop at: Sunny Studio |
 Holy Night Stamps Shop at: Sunny Studio |
 Holy Night Dies Shop at: Sunny Studio |
 Classic Sunburst Paper Shop at: Sunny Studio |
 Scalloped Circle Mat 1 Dies Shop at: Sunny Studio |
 Stitched Square Dies Shop at: Sunny Studio |
 Scalloped Square 1 Large Die Shop at: Sunny Studio | |


.jpg)
.jpg)
.jpg)
.jpg)


