Showing posts with label Quilted Hearts Dies. Show all posts

Thursday, February 6, 2025

Tulip Path Background Card with Marine

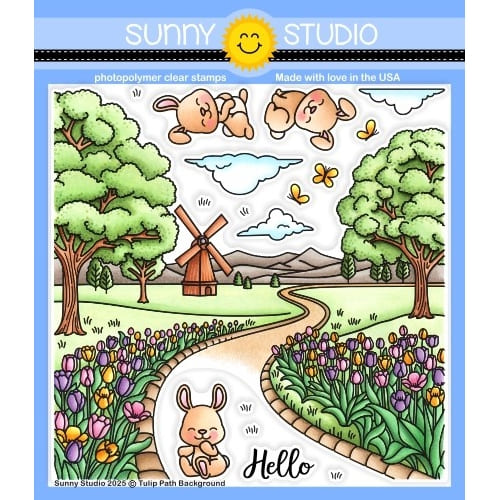
Hello crafty friends, Marine here, I'm back with this lovely Valentine card showcasing the gorgeous Tulip Path Background stamp set that I mixed with two characters from Spring Showers to create a sweet scene at the park.

Sunny Studio Stamps: Tulip Path Background Focused Spring Themed Card by Marine Simon (featuring Spring Showers, Quilted Hearts Dies, Rounded Rectangle Window Dies, Rounded Rectangle Mat Dies)

I started off by creating a fairly simple background and cut a 5,5 x 4,25 inches Quilted Hearts Portrait panel out of kraft cardstock that I attached to a brown panel using 1mm foam squares, and then to a white card base using liquid glue.

Sunny Studio Stamps: Tulip Path Background Focused Spring Themed Card by Marine Simon (featuring Spring Showers, Quilted Hearts Dies, Rounded Rectangle Window Dies, Rounded Rectangle Mat Dies)

Next I stamped the Tulip Path Background twice on 110lb Neenah solar white cardstock using an alcohol marker friendly black ink. From the first panel, I cut a snippet featuring the tulips and the path using the fifth smallest Rounded Rectangle Window die, and from the second panel, I cut two snippets featuring the mill and the trees using the third and fourth smallest Rounded Rectangle Window dies. I colored those three little scenes using my Ohuhu markers, matted them on slightly larger white panels I cut using the third, fourth and fifth smallest Rounded Rectangle Mat dies, and then attached the three panels on the card base using 1mm and 2mm foam squares.

Sunny Studio Stamps: Tulip Path Background Focused Spring Themed Card by Marine Simon (featuring Spring Showers, Quilted Hearts Dies, Rounded Rectangle Window Dies, Rounded Rectangle Mat Dies)

I stamped additional images: clouds and butterflies from Tulip Path Background, and characters and kites from Spring Showers. I cut them using the matching dies, colored everything using my Ohuhu markers again, and stuck those images to the card using foam squares. I white heat embossed "You make my heart soar" from Balloon Rides on dark brown cardstock and cut it into a slim banner that I attached at the bottom left corner of my card. I stamped two bird silhouettes on the mill snippet using a stamp from Spring Scenes, applied white blizzard nuvo drops to the butterflies wings to make them sparkle, and finished the card with highlights and details on the images using a white gel pen.

And that's it! I hope that you like this super sweet card! I really like how it turned out, just as if it was a cork board with pinned photos on it. Thanks for stopping by, and see you next week!

Sunny Studio Supplies Used:

Spring Scenes Stamps
Shop at:
Sunny Studio
Spring Showers Stamps
Shop at:
Sunny Studio
Spring Showers Dies
Spring Showers Dies
Shop at:
Sunny Studio
Balloon Rides Stamps
Shop at:
Sunny Studio
Quilted Hearts Portrait
Shop at:
Sunny Studio
Tulip Path Background Stamps
Shop at:
Sunny Studio
Tulip Path Background Dies
Shop at:
Sunny Studio
Rounded Rectangle Mat Dies
Shop at:
Sunny Studio
Rounded Rectangle Window Dies
Shop at:
Sunny Studio

Friday, April 12, 2024

Designer's Choice: Baby Elephants Card with Nicky

Hello there, this is Nicky with you today on the Sunny Studio blog and I'm sharing a pair of newborn baby cards, featuring the Baby Elephants set, which are always fun projects to tackle.

Sunny Studio Stamps: Baby Elephant Card Set by Nicky Meeks (featuring Quilted Heart Dies, Fluffy Clouds, Brilliant Banner Dies, Scalloped Circle Mat Dies)

Let's start with the baby girl card. I created a panel of white cardstock and used the Quilted Hearts Embossing Folder to create the pretty quilted hearts design. I softly ink blended to a fade with light pink ink. I backed the panel with craft foam and applied to a pink panel of cardstock and then to my card base.

I die cut white cardstock using the Scalloped Circle Mat 2 Dies and applied with foam tape and I stamped using Memento Ink in Rich Cocoa and coloured the Baby Elephants image using the following Copic markers:

Elephant W5, W3, W2, W0, W00, RV04, RV02, R00, R0000

Cloud - RV02, RV00, RV0000, C1

Moon - E51, E50, YR30, YR0000, W2, W0, W00

The image was die cut using the Baby Elephants Dies and applied with foam tape and I added some Fluffy Clouds around the image, embellished with Iridescent Star Jewels and stamped and created the Brilliant Banner 1 Die with the sentiment and glued in place.

Sunny Studio Stamps: Baby Elephant Card Set by Nicky Meeks (featuring Quilted Heart Dies, Fluffy Clouds, Brilliant Banner Dies, Scalloped Circle Mat Dies)

With the baby boy card I basically did everything the same only I used minty greens and baby blues to ink blend the embossed background and I used perfect pearls to splash on some iridescence. Again I die cut the circle focal point and I used different elephants from the Baby Elephants stamp set together with clouds and the star balloon to give this one a slightly different look.

Elephants - W5, W3, W2, W2, W0, W00, RV04, RV02, R00, R000

Clouds - BG000, BG0000, C1

Balloon - E51, E50, YR30, YR0000, W2, W0, W00

Images were die cut using the Baby Elephants Dies and applied with foam tape. I added more of the Iridescent Star Jewels and created a similar sentiment banner using the Brilliant Banner 1 Die. I did a little bit of highlighting with a white gel pen and then both cards were complete.

Sunny Studio Stamps: Baby Elephant Card Set by Nicky Meeks (featuring Quilted Heart Dies, Fluffy Clouds, Brilliant Banner Dies, Scalloped Circle Mat Dies)

I appreciate you stopping by the blog today and I'll be back very soon with something new.

Sunny Studio Supplies Used:

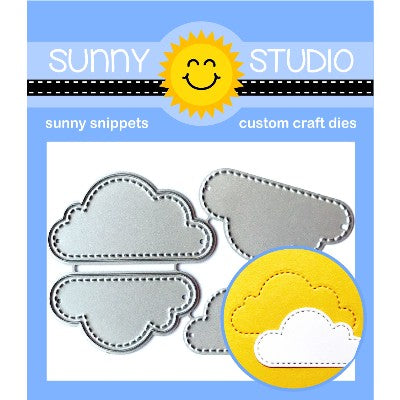
Fluffy Clouds Dies
Fluffy Clouds Dies
Shop at:
Sunny Studio
Scalloped Circle Mat 2 Dies
Shop at:
Sunny Studio
Quilted Hearts Portrait
Shop at:
Sunny Studio
Baby Elephants Stamps
Shop at:
Sunny Studio
Baby Elephants Dies
Baby Elephants Dies
Shop at:
Sunny Studio
Brilliant Banner 1 Dies
Shop at:
Sunny Studio

Wednesday, April 10, 2024

Designer's Choice: Holiday Hugs Card with Tina

Hello crafters, it’s Tina and today I am mixing and matching several sets for this designer’s choice blog post. The darling bear from Holiday Hugs is perfect for all your winter cards but I wanted to see how I could make him the focal point of a Spring birthday card!

Sunny Studio Stamps: Holiday Hugs Birthday Card by Tina Henkens (featuring Make A Wish, Frilly Frame Dies, Quilted Hearts Dies, Stitched Arch Dies, Brilliant Banner Dies, Happy Thoughts)

To achieve this look, I had to mask off his scarf with some Post-it tape while I was stamping. It went really well and next I used the matching dies to cut him out. I love the special die for the arms! To remove the scarf with more precision or make it easier to do for mass production, here are detailed steps to achieve this look:

  1. Stamp the bear onto masking material and cut out the scarf with scissors, leaving a thin shadow for a little wiggle room.
  2. Then, stamp a sheet of paper with the bear image using your Misti tool.
  3. Cut a sheet of cardstock the same size as the paper used in Step 2. Using a lightbox or a well-lit window, position the blank sheet of cardstock over that stamped image and position your hand-cut mask on the cardstock where that scarf will stamp. 
  4. Put the blank cardstock with the scarf mask in place back into your Misti, ink up your image, and stamp it onto the cardstock with the mask in place.
  5. Remove the mask and use a black fine-tip marker (one that will work with your desired coloring medium) to sketch the missing sides of the bear. A Memento marker or Copic Multiliner pen are both excellent choices.
  6. Use scissors to trim down the die-cut bear to account for the missing scarf.

Whilst browsing through my stash I selected a few birthday related stamps like the big cake (Make A Wish), the gift (Holiday Hugs), the bouquet (Big Bunny) and the letters (Bighearted Bears).All these items were colored with alcohol markers in fun Spring colors.

My card base is an A2 size and made from white heavy weight card stock. For the pink gingham frame I used a Joyful Holiday paper, which was cut with the outer of the Frilly Frames Eyelet Lace dies and the largest of the Stitched Arched Dies.

Sunny Studio Stamps: Holiday Hugs Birthday Card by Tina Henkens (featuring Make A Wish, Frilly Frame Dies, Quilted Hearts Dies, Stitched Arch Dies, Brilliant Banner Dies, Happy Thoughts)

Since the coloring was so bright, I opted for a white backdrop. The upper part is dry embossed with the Quilted Hearts folder, whilst the lower part was run through the Lots Of Dots folder (but that is difficult to see in the pictures). I added foam tape to the gingham frame and lower part of the background and adhered all the elements to my card base. Next, I added the cute bear and all his birthday accessories!

I love how the Brilliant Banner 2 Die perfectly fits on top of the arched frame. The combined sentiment was selected from the Happy Thoughts set and stamped in Versafine Onyx Black Ink. For some bling, I adhered a few Crystal Clear Jewels which are one of my favorites.

I hope you got inspired to experiment with stamp masking, it’s such a fun technique! Thank you for joining me and happy crafting!

Sunny Studio Supplies Used:

Happy Thoughts Stamps
Shop at:
Sunny Studio
Make A Wish Stamps
Make A Wish Stamps
Shop at:
Sunny Studio
Make A Wish Dies
Make A Wish Dies
Shop at:
Sunny Studio
Lots of Dots Embossing
Shop at:
Sunny Studio
Frilly Frames-Eyelet Lace
Shop at:
Sunny Studio
Stitched Arch Dies
Stitched Arch Dies
Shop at:
Sunny Studio
Quilted Hearts Portrait
Shop at:
Sunny Studio
Brilliant Banner 2 Dies
Shop at:
Sunny Studio
Holiday Hugs Stamps
Holiday Hugs Stamps
Shop at:
Sunny Studio
Holiday Hugs Dies
Holiday Hugs Dies
Shop at:
Sunny Studio
Big Bunny Stamps
Big Bunny Stamps
Shop at:
Sunny Studio
Big Bunny Dies
Big Bunny Dies
Shop at:
Sunny Studio

Saturday, January 13, 2024

Bighearted Bears Card with Cathy

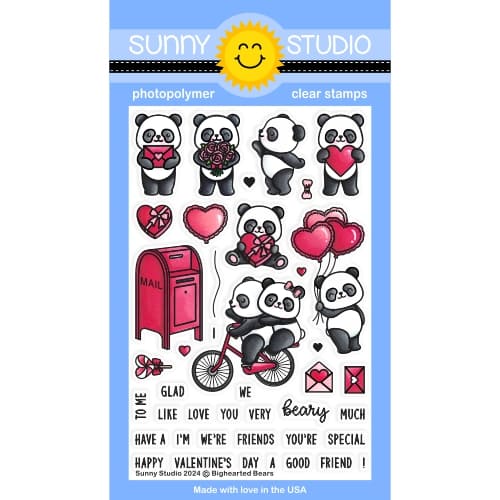
Hey friends! Cathy here today sharing a Valentine’s card pairing the sweet Bighearted Bears Stamps with a fun bold sentiment from the My Heart Stamps.

Sunny Studio Stamps: Bighearted Bears Valentine's Day Card by Cathy Chapdelaine (featuring Heartstring Border Dies, Bursting Hearts Dies, Quilted Heart Dies, My Heart)

I chose a soft pink, cream and gray color scheme to really make those adorable pandas take center stage. I started by cutting a piece of cream cardstock 3 1/2" x 4 1/4" and inked it with Spun Sugar and Saltwater Taffy Distress inks just short of the edges of the cardstock. I splattered a little watered down Dr. Ph Martin’s Bleed Proof White with a fan brush. After the piece was completely dry, I heat embossed the sentiment from the My Heart Stamps with white embossing powder. I then adhered this piece to the top of a white A2 card base.

Next, I cut a piece of gray cardstock 2” x 4 1/4" and die-cut it using the Quilted Hearts Portrait Die. I adhered this to the bottom of the card front. I cut a piece of cream cardstock 1/2" x 4 1/4" and die-cut it using a Heartstrings Border Die. I adhered this to a 1/4" x 4 1/4" strip of black cardstock overlapping it until just a thin portion of the black strip was visible. I then adhered this combined piece along the top edge of the gray cardstock. Using another die from the Heartstrings Border Dies, I die-cut a piece of pink cardstock and adhered the small hearts to the cream die-cut piece.

Sunny Studio Stamps: Bighearted Bears Valentine's Day Card by Cathy Chapdelaine (featuring Heartstring Border Dies, Bursting Hearts Dies, Quilted Heart Dies, My Heart)

To finish, I stamped the bears on Neenah Classic Crest 80lb solar white cardstock, colored them with Copics and die-cut them using the coordinating dies. I added a few extra hearts by die-cutting a piece of white cardstock using the Bursting Hearts die, inked them with Saltwater Taffy Distress ink and heat embossed them with clear embossing powder for a little shine.

I hope you enjoyed and thanks for stopping by today! For more inspiration, please visit my blog www.inkredibleadventures.com and you can also find me on Instagram as @cathy.chapdelaine.

Sunny Studio Supplies Used:

Heartstrings Border Dies
Shop at:
Sunny Studio
Bursting Heart Die
Bursting Heart Die
Shop at:
Sunny Studio
Quilted Hearts Portrait
Shop at:
Sunny Studio
Bighearted Bears Stamps
Shop at:
Sunny Studio
Bighearted Bears Dies
Shop at:
Sunny Studio
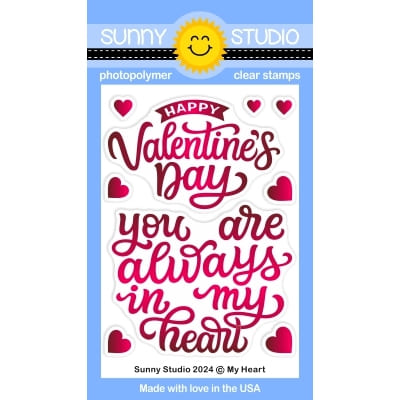
My Heart Stamps
My Heart Stamps
Shop at:
Sunny Studio
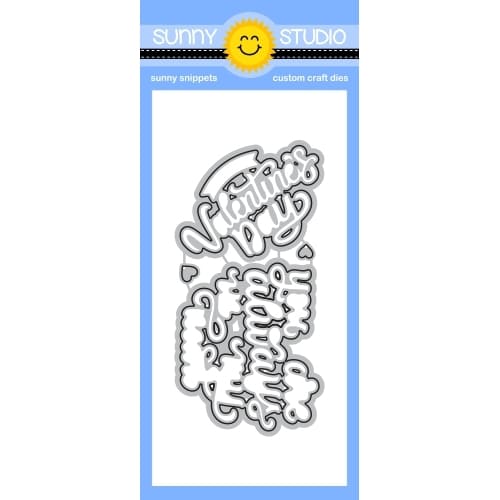
My Heart Dies
My Heart Dies
Shop at:
Sunny Studio

Wednesday, January 10, 2024

My Heart Card with Tina

Hello crafters, it’s Tina and today I am featuring the beautiful My Heart stamps and dies. The scripty font on these sentiments is just stunning! They are the perfect match for the sweet cuties from Passionate Penguins.

Sunny Studio Stamps: My Heart Valentine's Day Card by Tina Henkens (featuring Quilted Heart Dies, Passionate Penguins)

The size of the sentiment I selected is also great to add to a mini slim line card so that is the design we are creating in this blog post. From a piece of white heavy card stock I made a card base and added a beautiful layer of green gingham paper (Gingham Pastels). This paper pad is an absolute favorite of mine. I love all the soft rainbow colors it contains!

Next, I created a white, slim line rectangle with a die from my stash and stacked it on top of the green panel. My actual background piece is cut from a pink paper from the same Gingham Pastels pad. To make it extra special I also used the Quilted Hearts Portrait dieThe pattern of the little hearts is just adorable! Finally, I mounted two little white snow banks to the background.

Sunny Studio Stamps: My Heart Valentine's Day Card by Tina Henkens (featuring Quilted Heart Dies, Passionate Penguins)

I stamped one of the My Heart stamps sentiments in a red ink from my stash and cut it with the coordinating die. Next, I placed the sentiment onto the background to see how much space was left. This helped me to select an image from the Passionate Penguins set. I colored the two cuties and the car with Copic Markers, and I added some details with a white gel pen.

To give the card some dimension I mounted the sentiment and image with foam tape to the panel. I love finishing a card with some embellishments and today I chose the beautiful Red Heart Mix Drops. 

Thank you for joining me and I am looking forward to seeing your gorgeous creations with these fun sentiments! Happy crafting!

Sunny Studio Supplies Used:

Gingham Pastels 6x6 Paper
Shop at:
Sunny Studio
Passionate Penguins Stamps
Shop at:
Sunny Studio
Passionate Penguins Dies
Shop at:
Sunny Studio
Quilted Hearts Portrait
Shop at:
Sunny Studio
My Heart Stamps
My Heart Stamps
Shop at:
Sunny Studio
My Heart Dies
My Heart Dies
Shop at:
Sunny Studio