Hi Friends, Waleska here with you!
Today I want to share a card I created with the super cute Snowman
Kisses stamp set, I am very happy to start this month sharing more
Christmas inspiration with you!
This time I wanted to create a snowy scene for this two friends, I started by choosing a background cardstock from the All is Bright 6 x 6 paper pad. I then cut the snow hills and I added sparkle chunky glitter to add more interest to this two pieces. I decided what images I wanted to use for my scene and colored them with Spectrum Noir Tri-blend brush markers, I used Dark Red blend and Alpine Green blend to color the snowmen and the trees.
I finally stamped the sentiment at the bottom of my card and the Here Comes Santa with Versafine Clair Nocturne ink and I also added the snowflakes in the sky.
Thank you so much for stopping by today I hope you have a wonderful month full of warm wishes.
----------------------------------------------
Hello crafty
friends! Marine here with you today, I'm thrilled to be back on the blog
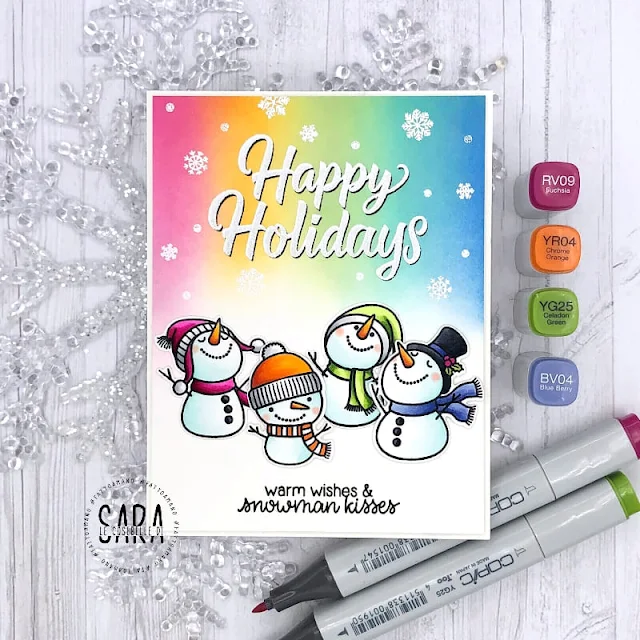
with this super bright winter shaker card showcasing the ever so cute Snowman Kisses stamp set. I love those little dudes, when I saw them I immediately
pictured them with rainbow colors, it suits them so beautifully! And I really
wanted them to be the stars of the show so I didn't use a whole lot of
additional supplies, just the banner from Balloon Rides, and the tree from Holiday Express.
I started by coloring the four snowmen from the set using my alcohol markers with light aqua shades on their bodies to create a frozen look, and rainbow colors on their outfits.
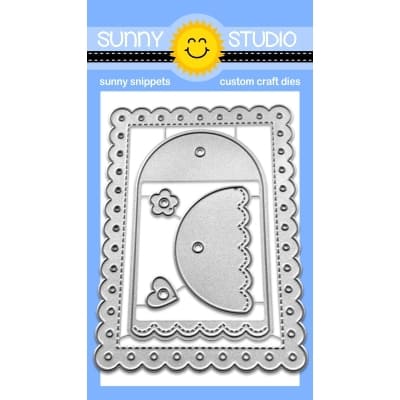
Next I created the shaker panel. I first cut a frame out of a Rainbow Bright pattern paper using the main die from the Comic Strip Everyday die set. I attached a piece of acetate at the back of that frame, and still at the back of the frame, I added foam strips on the four edges and slim parts. I poured shaker accessories inside each window: some Snowflake confetti, and a bunch of iridescent confetti. And to close my shaker panel, I first attached a vellum panel, and then another Rainbow Bright panel.
I cut another Comic Strip Everyday panel out of white cardstock, but kept the inside pieces only to create small snow borders, I stamped my "Warm wishes & snowman kisses" greeting from Snowman Kisses on one of those snow borders, and then attached them at the bottom of each window on the shaker panel. Next I stuck the images on the shaker panel using foam squares, and finished my card by adding white highlights and details to the images.
And that's it! I hope you like this super bright and fun shaker card! As always you are more than welcome to check the process video for more information (click on the image above). Thanks so much for stopping by, and see you next time!
Sunny Studio Supplies Used:
 Holiday Express Stamps Shop at: Sunny Studio |
 Holiday Express Dies Shop at: Sunny Studio |
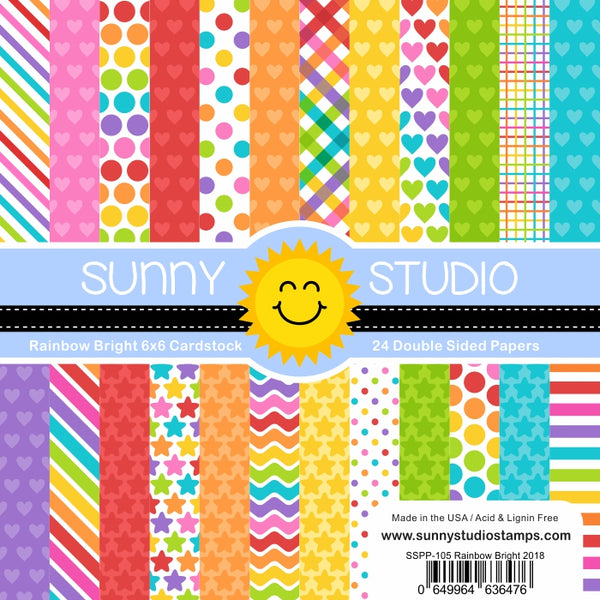 Rainbow Bright 6x6 Paper Shop at: Sunny Studio |
 Comic Strip Everyday Dies Shop at: Sunny Studio |
 Here Comes Santa Stamps Shop at: Sunny Studio |
 Balloon Rides Stamps Shop at: Sunny Studio |
 Balloon Rides Dies Shop at: Sunny Studio |
 All Is Bright Paper Shop at: Sunny Studio |
 Snowman Kisses Stamps Shop at: Sunny Studio | |
 Snowman Kisses Dies Shop at: Sunny Studio |


