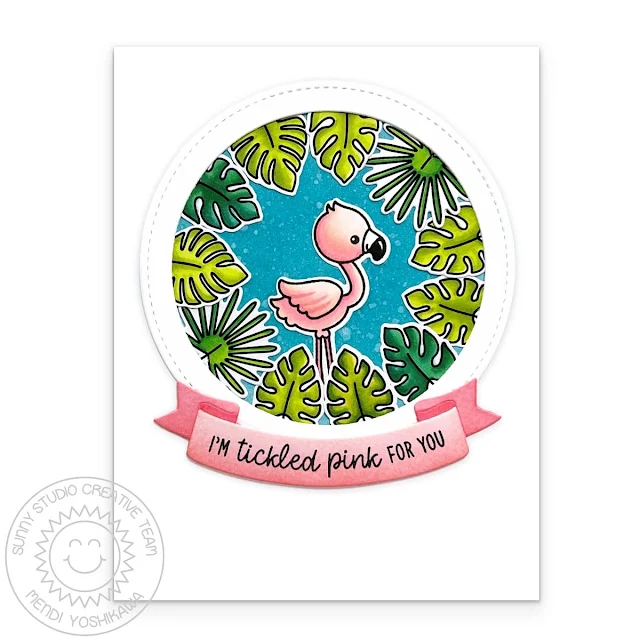
Hello Crafty Friends! This is Hanh on the Sunny Studio Stamps blog today with a flamazing birthday card to share with you featuring the beautiful flamingos from the Fabulous Flamingos set.
I stamped the
flamingos and leaves from the Fabulous Flamingos Stamp, the balloon and hat from
the Party Pets Stamp and present from the Foxy Friends Stamp sets onto a piece of Neenah Solar
White 110 lb cardstock with Memento Tuxedo Black ink. I used the
coordinating Fabulous Flamingos Dies, Party Pets Dies and Foxy Friends Dies to die cut them out. I colored
them with Copic markers and highlighted them with a white gel pen.
COPIC COLORS:
Flamingos:
RV000/00/02/04/06, C1, Y13/15
Green: YG00/01/03/25
Teal: BG10/53/45
For the background, I
took another piece of Neenah white cardstock (4.25" x 5.5") and die cut
a window using the second largest die from the Stitched Semi-Circle Dies. I lightly ink blended the
semi-circle with Tumbled Glass Distress Oxide ink. I used the panel with the
window as a guide to adhere the semi-circle to the front of a white A2 card base (4.25"
x 5.5").
For the sentiment, I stamped the Happy Birthday sentiment from the Party Pets Stamp set with Memento Tuxedo Black ink onto a piece of white cardstock. I used the Party Pets Dies to die cut it out. The sub-sentiment was a combo of the "to one" and "friend" from the Foxy Friends Stamp set with the "flamazing" from the Fabulous Flamingos Stamp set stamped directly onto the panel with Memento Tuxedo Black ink.
I added foam tape to the back of the panel with the window and adhered it to the front of the card base as well. The Happy Birthday sentiment and colored images were adhered with a combo of liquid adhesive and foam tape. I finished the card with a few sequins from the Majestic Clear Confetti.
I appreciate you
taking the time to stop by and visit today. I hope you liked my card. For more
info and ideas, be sure to visit the Sunny Studio Stamps Shop.
Please also visit my INSTAGRAM feed
for more inspirations.
Have a wonderful and crafty day!
Sunny Studio Supplies Used:
 Fabulous Flamingos Stamps Shop at: Sunny Studio |
 Fabulous Flamingos Dies Shop at: Sunny Studio |
 Stitched Semi-Circle Dies Shop at: Sunny Studio |
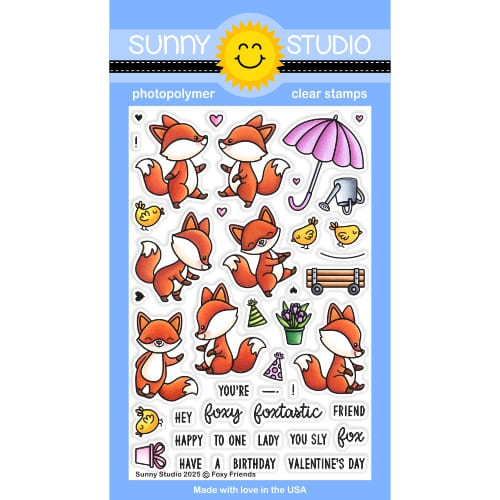 Foxy Friends Stamps Shop at: Sunny Studio |
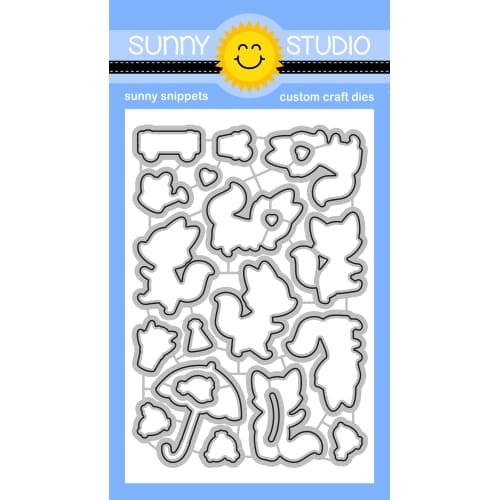 Foxy Friends Dies Shop at: Sunny Studio |
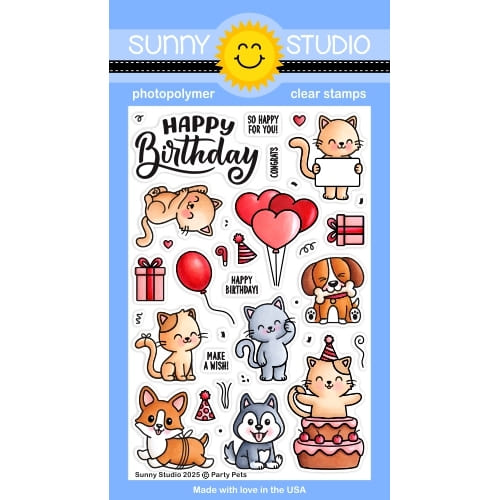 Party Pets Stamps Shop at: Sunny Studio |
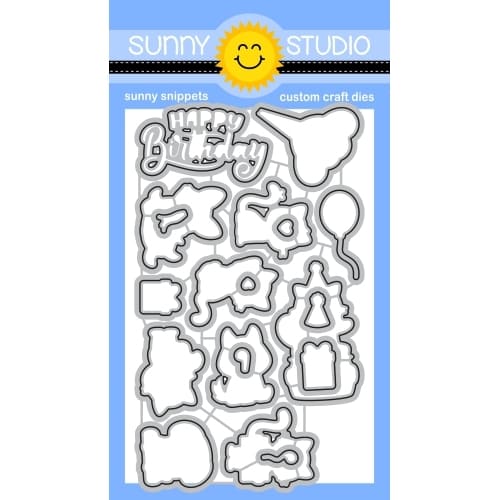 Party Pets Dies Shop at: Sunny Studio |


