Hello Crafty Friends!
This is Hanh on the Sunny Studio Stamps blog today and I am so
excited to share a sweet Valentine's Day card featuring these adorable images
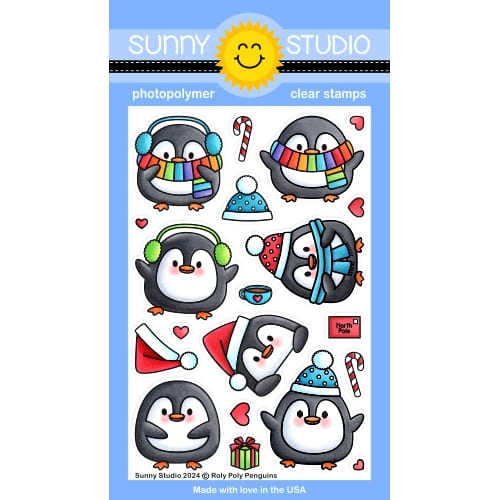
from the Passionate Penguins set.
I stamped the images
from the Passionate Penguins Stamp on a piece of Neenah Solar
White 110 lb cardstock with Memento Tuxedo Black ink and
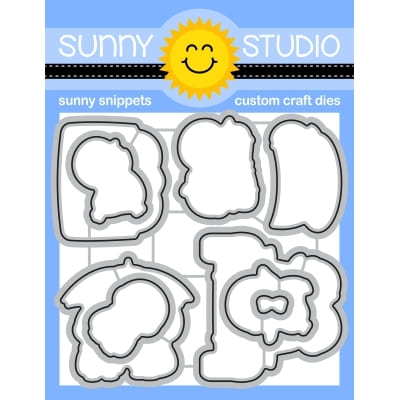
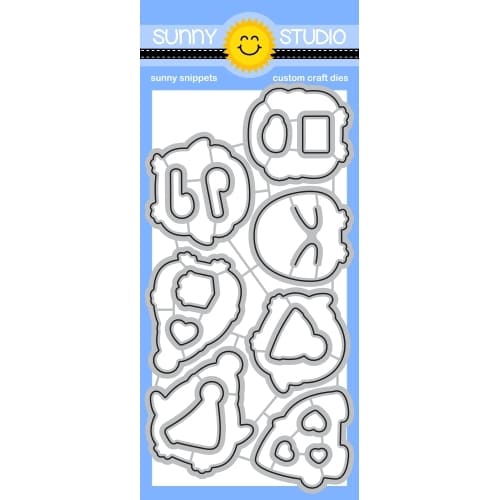
used the coordinating Passionate Penguins Dies to die cut them out. I also
used the Stitched Heart 2 Dies to die cut 3 hearts out of the
same Neenah Solar White cardstock. I colored the images with Copic markers and
accented with a white gel pen.
COPIC COLORS:
Penguins: T4/5/7, Y38
YR04, W00/0/1, R000/20
Hearts: R14/24
Umbrella:
R14/24/29/39, C1/3
Car: R14/24/29/39,
C1, C1/3, Y11, W5, W7
Pink: RV10/21/13/14
For the background, I
took a piece of white cardstock (4.25" x 5.5") and die cut three
windows into it using circle the second, third and fourth smallest dies from
the Stitched Circle Large Dies. I used the Slimline Nature Borders Dies to die cut a piece
of clear acetate to make my own cloud stencil. Next, with the
windowed panel as a guide, I used my homemade cloud stencil, the Forest Trees Stencils and Saltwater Taffy Distress
Oxide ink to ink blend subtle backgrounds onto a piece of Bristol Smooth
cardstock in the location of those windows.
For the
sentiment, I die cut a banner using one of the banner dies from the Stitched Rectangles Dies out of red cardstock. I
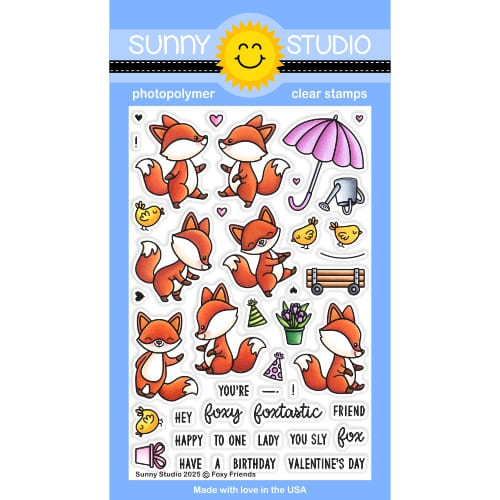
stamped the "Happy Valentine's Day" sentiment from the Foxy Friends Stamp set with Versamark Watermark ink
onto the red banner and heat embossed with Detail White Embossing Powder.
I adhered the two panels to each other using foam tape. I adhered the sentiment banner and colored images to the front of the card with foam tape for additional dimension and interest. The card front was adhered to an A2 white card base (4.25" x 5.5").
I appreciate you
taking the time to stop by and visit today. I hope you liked my card. For more
info and ideas, be sure to visit the Sunny Studio Stamps Shop.
Please also visit my INSTAGRAM feed
for more inspirations.
Have a wonderful and crafty day!
Sunny Studio Supplies Used:
 Stitched Rectangle Dies Shop at: Sunny Studio |
 Slimline Nature Borders Shop at: Sunny Studio |
 Stitched Circle Large Dies Shop at: Sunny Studio |
 Forest Trees Stencils Shop at: Sunny Studio |
 Passionate Penguins Stamps Shop at: Sunny Studio |
 Passionate Penguins Dies Shop at: Sunny Studio |
 Stitched Heart 2 Dies Shop at: Sunny Studio |
 Foxy Friends Stamps Shop at: Sunny Studio |


