Hello crafty friends, Marine here, I'm back one last time on the blog with this colorful and fun Valentine card featuring a big mix and match of stamps and dies. My journey with Sunny Studio ends today, after almost five amazing years full of bright colors, cute critters and busy little scenes. I used the mice on many cards and created a lot of scenes with them, so I had to feature them one last time as a nod to my time on Sunny Studio's design team.
I started off by stamping the images on 110lb Neenah solar white cardstock using Memento tuxedo black ink, I cut them all with the matching dies and colored everything with my Ohuhu markers. Here is a detailed list of the stamp sets I used: • Merry Mice + Harvest Mice - mice • Bighearted Bears - envelopes, bows • Heart Bouquet - balloons. When the coloring was done, I added highlights and details to the images using a white gel pen.
Next I worked on all the panels to create the background. I cut a 5,5 x 4,25 inches aqua panel, mixed some liquid stardust with water and added sparkling splatters to my panel using a slim brush. While my panel was drying, I cut a Bursting Hearts panel out of turquoise cardstock, added sparkling splatters and white splatters to it, and once dry, I attached it to the aqua panel using 1mm foam squares, and then to a white card base.
For the heart-shaped panel, I first cut a large Stitched Heart 2 panel out of light pink cardstock, ran it through my die cutting machine along with the Quilted Heart Portrait die to cut tiny hearts out of it, and then added splatters to my pink heart. I cut another large Stitched Heart 2 panel out of white cardstock and stuck the pink heart panel on top using 1mm foam squares. I cut a large Scalloped Heart panel out of pearlescent vellum, attached my pink heart panel to it using liquid glue, and finally stuck my heart panel to the card base using 1mm foam squares.
Next I stamped "You are always in my heart" from My Heart on white cardstock using red dye ink, cut it with the matching die, and stuck it in the middle of my Stitched Heart 2 pink heart using 1mm foam squares. I attached the images on both sides of the heart using 2mm foam squares, and then added a scattering of hearts all over the card. I cut those hearts out of red cardstock using Stitched Hearts 2 dies, attached them using foam squares, and finally applied glossy accents on each of them to add more shine and sparkle to my card.
And that's it! Thanks for stopping by, and thank you so much guys for supporting me and my work during my Sunny Studio journey. Thank you Laura for being the greatest right-hand lady to Mendi and an amazing supportive friend, with the kindest words always. Thank you Mendi for asking me to join the team in August 2021, it's been an honor and so much fun to work for you and Sunny Studio. So many stamped and colored images to build the extra busy scenes I loved creating! It was a blast to be on this team among such amazingly talented crafters, and I look forward to seeing everyone's future projects with the upcoming release! Bye, and see you all someplace else.
Sunny Studio Supplies Used:
 Merry Mice Stamps Shop at: Sunny Studio |
 Merry Mice Dies Shop at: Sunny Studio |
 Harvest Mice Stamps Shop at: Sunny Studio |
 Harvest Mice Dies Shop at: Sunny Studio |
 Bursting Heart Die Shop at: Sunny Studio |
 Heart Bouquet Stamps Shop at: Sunny Studio |
 Heart Bouquet Dies Shop at: Sunny Studio |
 Quilted Hearts Portrait Shop at: Sunny Studio |
 Scalloped Heart Dies Shop at: Sunny Studio | |
 Stitched Heart 2 Dies Shop at: Sunny Studio |
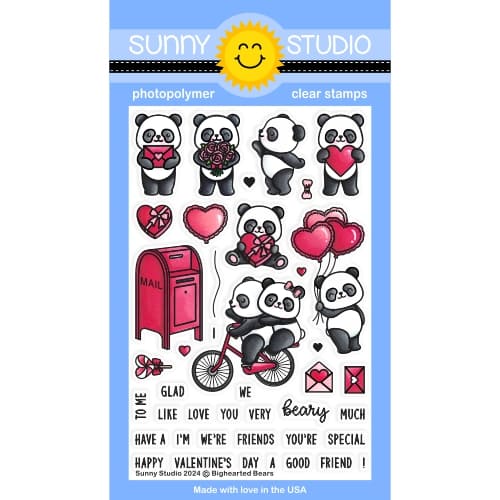 Bighearted Bears Stamps Shop at: Sunny Studio |
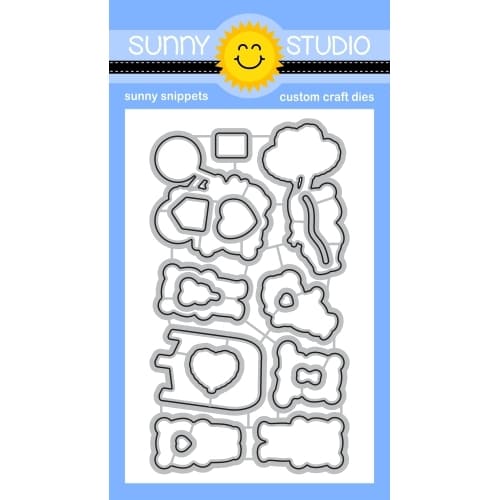 Bighearted Bears Dies Shop at: Sunny Studio |
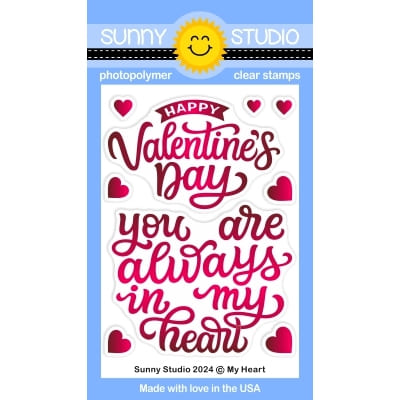 My Heart Stamps Shop at: Sunny Studio | |
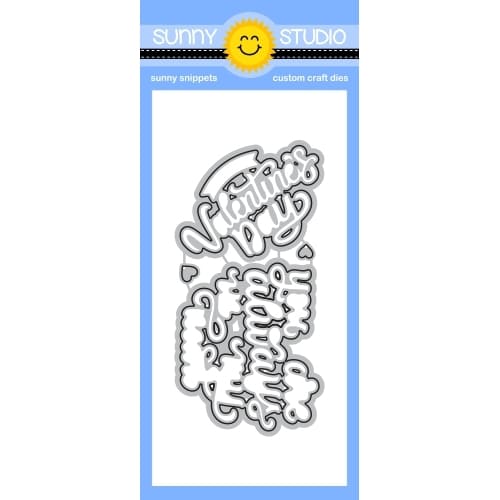 My Heart Dies Shop at: Sunny Studio |


