
Hello Crafty Friends! It's Hanh here with you today, and I am so excited to share a card featuring the brand-new Pathway Home set from the Holiday Release. Have you seen all of the amazing new products? The Pathway Home Stamp and Dies set is especially versatile in that it can be used for different seasons as well as different sizes and orientations of cards. Another super cool aspect of this set is that there is a die that can die-cut the top edge of the scene. This unique feature of the die set was just perfect for my easel card today. So let’s get started.

I stamped the
background and the adorable additional images from the Pathway Home Stamps, some birds from the Foxy Friends Stamps, and the cloud from the Tulip Path Background Stamps sets onto a piece of Neenah Solar White 110 lb cardstock with
Memento Tuxedo Black ink. I decided to stamp some apples directly onto the
trees so as to not have the white outlines from the die cutting. I
used the coordinating Pathway Home Dies, Foxy Friends Dies, and Tulip Path Background Dies to die-cut them out. I also used the Gift Card Envelope Dies to die-cut a heart for the front door. I colored with Copic markers
and highlighted with a white gel pen.

COPIC COLORS:
Squirrels:
E000/00/21, E53/33/35/37, R00/20
Birds: Y11/13/15/19,
Y38, R20
Trees: YG01/03/25,
E33/23/25
Apples: R20/14/24/29,
YG03
Acorn: E21/23/27,
E00/21/11
Bushes/Plants:
YG01/03/25/17
House: YR21/24/27,
E21, E34, Y02, C1/3
Heart: R24
Fence: C1/3
Pathway: W0
Steps: W1
Rocks: W0/1/3/5
Grass: YG01/03
Cloud: B0000/000

For the easel base card,
I took a piece of white cardstock (5.5” x 11”) and used a score board to score
at the 2.25” and 5.5” marks. I folded on the score lines to create a
top-folding 5.5” square card with a score line across the front panel. Next, I
took a piece of light blue cardstock (5.5” x 3.25””) and adhered it to the top
portion of the front panel — this should just cover the top of the card to the
score line. Then I adhered the bottom of my colored background panel to the
bottom portion of the front panel — be sure to only place adhesive onto the
exposed white portion of the front panel (and not the blue part) so as to not
interfere with the easel mechanism. I adhered the cloud to the blue panel.

For the sentiment, I
used the Stitched Rectangle Dies to die-cut the banner die 3 times out of red cardstock. I stamped
the “home” sentiment from the Build-a-Greeting Holidays Stamps and the “sweet” from the Punny Fruit Greetings Stamps set with Versamark Watermark ink onto the banner and heat
embossed with Detail White Embossing Powder. I layered and adhered the
additional two banners to the back of the embossed banner to give it some bulk
since it will be the stopper for my easel design. Finally, I adhered the
sentiment banner to the inside of the card.
I appreciate you
taking the time to stop by and visit today. I hope you liked my card and
are inspired to create your own easel card with this new Pathway Home set. Be
sure to visit the Sunny Studio Stamps Shop to check out the new Holiday Release for more info and ideas.
Please also visit my INSTAGRAM feed for more inspiration.
Have a wonderful and crafty day!
Sunny Studio Supplies Used:
 Stitched Rectangle Dies Shop at: Sunny Studio |
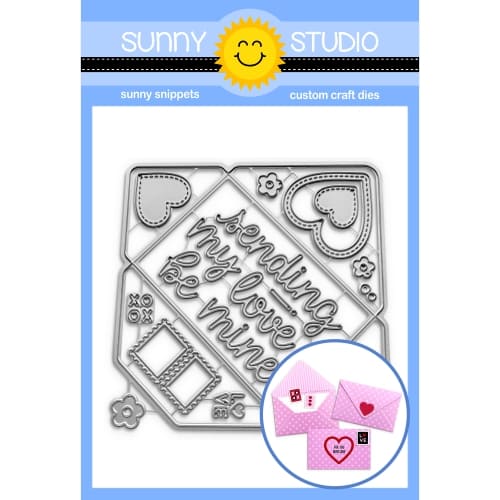 Gift Card Envelope Die Shop at: Sunny Studio |
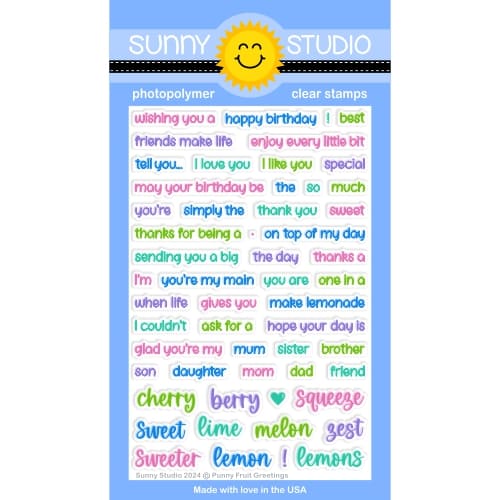 Punny Fruit Greetings Shop at: Sunny Studio |
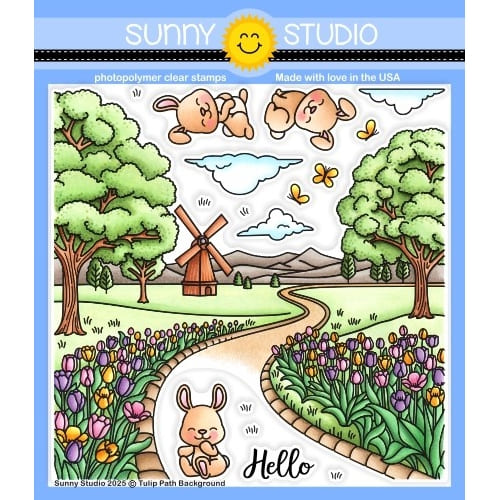 Tulip Path Background Stamps Shop at: Sunny Studio |
 Tulip Path Background Dies Shop at: Sunny Studio |
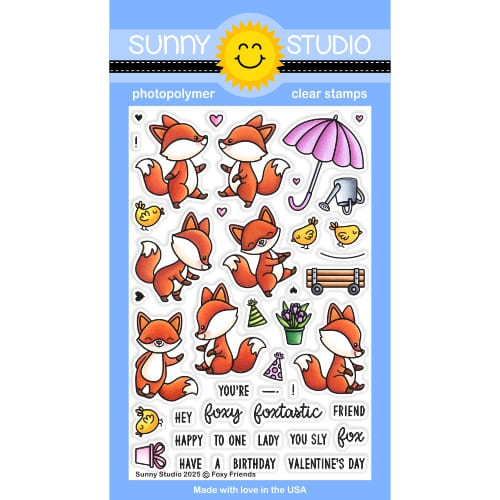 Foxy Friends Stamps Shop at: Sunny Studio |
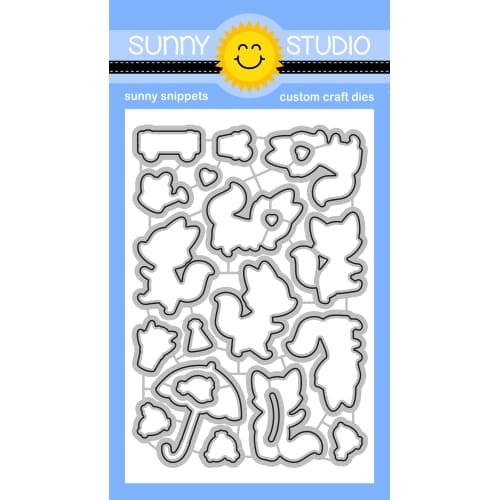 Foxy Friends Dies Shop at: Sunny Studio |
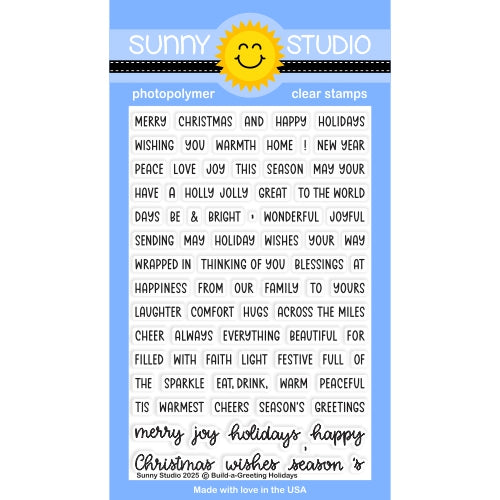 Build-a-Greeting Holidays Shop at: Sunny Studio |
 Pathway Home Stamps Shop at: Sunny Studio |
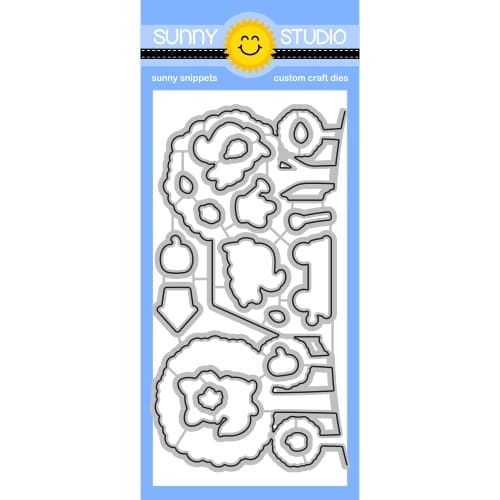 Pathway Home Dies Shop at: Sunny Studio |



Cute as can be!
ReplyDelete