Hello
everyone, Anja here and
today's card features the adorable Merry Mice Stamps. I combined them with the
beautiful Layered Snowflake Frame Die to
create a winter scene.
First, I did an
ink blended background with Distress Oxide Inks. I sprinkled on water droplets
to lift the color in some spots. For the falling snow, I added white paint
splatters with a brush.
I die cut the larger snowflake frame from a 5"×5" white cardstock panel. Due to the intricate details, I used a metal shim while running it through my die-cutting machine. I created a snow hill by die cutting a piece of white pearlescent paper and popped up the snowflake frame with foam tape.
I die cut the larger snowflake frame from a 5"×5" white cardstock panel. Due to the intricate details, I used a metal shim while running it through my die-cutting machine. I created a snow hill by die cutting a piece of white pearlescent paper and popped up the snowflake frame with foam tape.
Next, I stamped
the mice and accessories in Memento Tuxedo Black Ink and
did some coloring with Copic Markers. I used the coordinating dies to cut out the images
and adhered them with liquid glue.
For the sentiment, I white heat embossed the small word 'HELLO' (from the Fabulous Flamingos set) on a little strip of lavender cardstock. I die cut the word 'Winter' (which is also included in the Layered Snowflake Frame Die set) from purple glitter cardstock. I assembled my card and added Blue & White Clay Snowflake Confetti as embellishments.
Thank you so much for stopping by! Hope you're having a fabulous day!
---------------------------------------------------
Hello to you! Vanessa here today with a card using the adorable Merry Mice set. This set makes my heart happy!
First, I covered the front of my card base with red striped
patterned paper from the Very Merry 6x6 paper. Now
I die-cut the Frilly Frames Chevron die from
Kraft cardstock, stamped the Frosty Flurries with
white pigment ink and adhered the panel to the card.
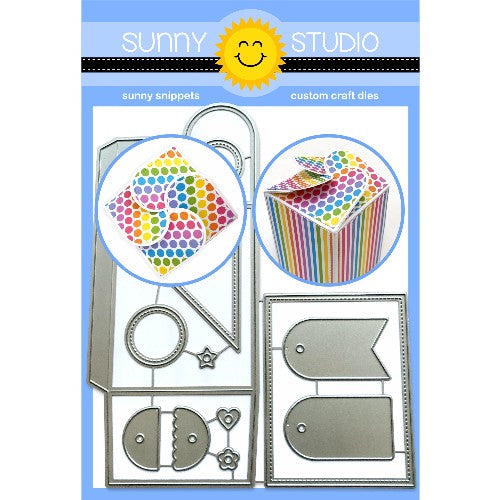
I die-cut the tiny tags from the Wrap Around Box Dies from
white cardstock, inked the bottom edges with red Distress Oxide Inks, tied-on
baker's twine and adhered the tags to the card.
Then I stamped the images
onto white cardstock, colored them with Copics, die-cut the pieces with
the matching dies and
adhered everything to the card, raising some parts with foam tape. Finally, I
stamped and heat-embossed the sentiment onto a strip of green cardstock,
notched the ends and adhered it.
I can't get over how cute these mice are!! What a gang :) Thanks for stopping by today!
I can't get over how cute these mice are!! What a gang :) Thanks for stopping by today!
Sunny Studio Supplies Used:
 Frosty Flurries Stamps Shop at: Sunny Studio |
 Frilly Frames Stripes Die Shop at: Sunny Studio |
 Wrap Around Box Die Shop at: Sunny Studio |
 Fabulous Flamingos Stamps Shop at: Sunny Studio |
 Very Merry 6x6 Paper Shop at: Sunny Studio |
 Merry Mice Stamps Shop at: Sunny Studio |
 Merry Mice Dies Shop at: Sunny Studio |
 Layered Snowflake Frame Shop at: Sunny Studio |


No comments:
Post a Comment