Hello everyone. Mayra here with you today. I am so grateful to be here. I have a sweet card to share with you. I used the Slimline Pennant dies along with the Enchanted and Make A Wish stamp sets.
I started by die-cutting the large stitched rectangle using the Frilly Frames Quatrefoil die set from a piece of patterned paper from the Dots & Stripes Pastel paper pack. Next, I die-cut the largest of the pennants from the Slimline Pennant dies set. I die-cut it from a soft pink colored cardstock. I then die-cut the scalloped circle, stitched circle, and the grassy hills using the Scalloped Circle Mat 1, Stitched Circle Small, and the Slimline Nature Borders die sets.
Next, I added color to the stitched circle using Tumbled Glass Distress Oxide ink. For the grassy hills, I used Mowed Lawn and Twisted Citron. I then used Copic markers to color all of the images. I used C5, W5, W3, and C0. For the brown areas, I used E41, E81, E84, E87, E47, and E49. For the soft blue, I used B32, B01, and B000. For the soft pink, R20, R30, R00, and R000.
I hope you enjoy the card I created to share with you today. Thank you so much for taking the time to stop by. I hope you each have a wonderful and blessed day.
--------------------------------------------------
Hello friends!
It's Ashley with a cute mini slimline card
featuring the Slimline Pennants dies!
The finished card is 3.25" x 6" - big enough to give me a little
extra space to work, but small enough to fit in a standard envelope. Perfect!
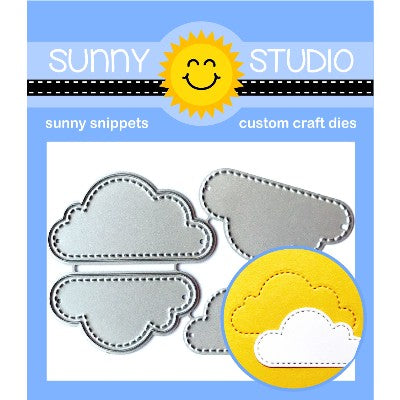
I started by cutting the medium-sized Slimline Pennant die from white cardstock. I then used the stitching-only clouds from the Fluffy Clouds dies to add some interest to the background before blending a bit of Pinkfresh Studio Ocean Breeze ink to the edges. I grabbed another piece of white cardstock and cut a cloudy border using the Slimline Nature Borders. I trimmed the cloudy border by cutting it with the bottom of my Slimline Pennant die so that it would fit perfectly on the piece. The pennant was too long for a mini slimline, so I trimmed it down to 5.75" across, then used the Slimline Basic Borders to add stitching back to that edge.
To add a bit more background interest, I cut a few solitary clouds from white cardstock with the Fluffy Clouds dies and scattered them around. I stamped images from Plane Awesome onto white cardstock in Lawn Fawn Jet Black ink and colored with Copics. I just love that cute monkey and his goggles! I cut them out with the matching dies and added them to my card with foam tape.
To finish my sentiment, I stamped the phrase onto black cardstock in VersaMark ink and embossed with white. I added the sentiment strip to the card with foam tape. For the card base, I used the blue ray paper from the Classic Sunburst pack. I finished with a scattering of iridescent crystals.
Thank you so much for stopping by! Have a wonderful day!
Sunny Studio Supplies Used:
 Dots & Stripes Pastels 6x6 Paper Shop at: Sunny Studio |
 Make A Wish Stamps Shop at: Sunny Studio |
 Make A Wish Dies Shop at: Sunny Studio |
 Fluffy Clouds Dies Shop at: Sunny Studio |
 Plane Awesome Stamps Shop at: Sunny Studio |
 Plane Awesome Dies Shop at: Sunny Studio |
 Enchanted Stamps Shop at: Sunny Studio |
 Enchanted Dies Shop at: Sunny Studio |
 Frilly Frames Quatrefoil Shop at: Sunny Studio | |
 Slimline Basic Borders Shop at: Sunny Studio |
 Slimline Nature Borders Shop at: Sunny Studio |
 Classic Sunburst Paper Shop at: Sunny Studio |
 Scalloped Circle Mat 1 Dies Shop at: Sunny Studio | |
 Slimline Pennant Dies Shop at: Sunny Studio |
 Stitched Circle Small Dies Shop at: Sunny Studio |


No comments:
Post a Comment