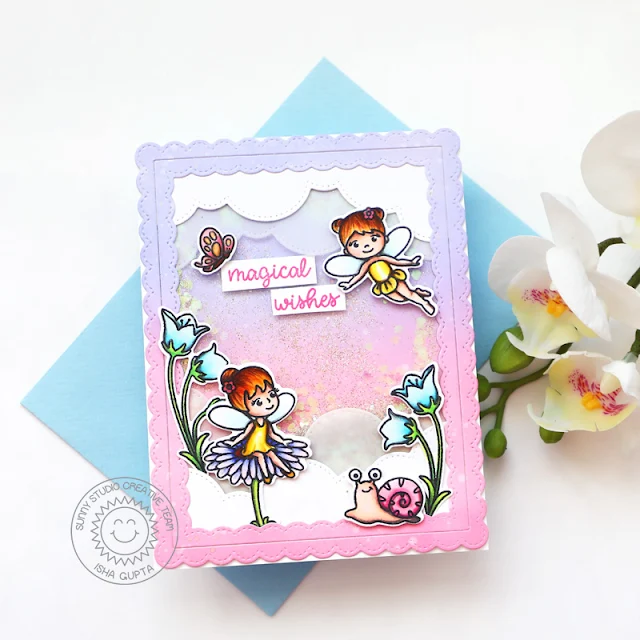
Hello everyone! Isha with you featuring our adorable Garden Fairy stamp set and dies. As you know I
really like creating flat shaker cards and I felt this stamp was perfect to
make one. It's totally dreamy, magical and added fun of all the glitter as
shaker, perfect to give a big smile to any girl including me!
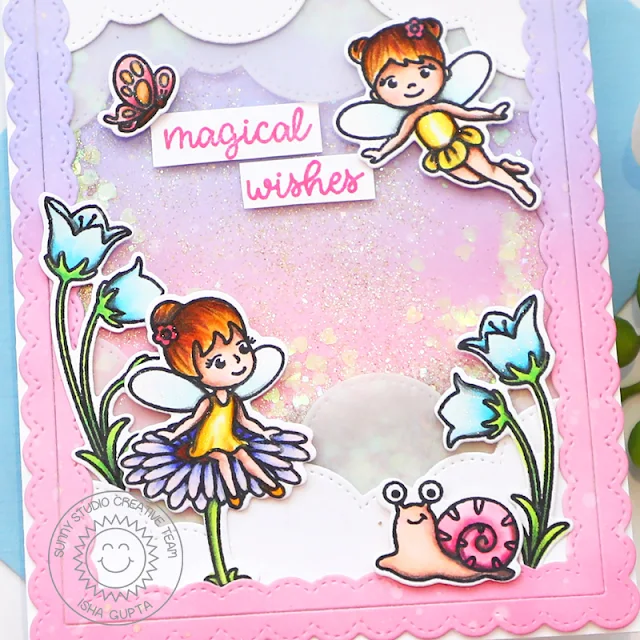
So I started by stamping all the images using the Garden Fairy stamp set, colored using Copic markers. Die-cut using the coordinating dies. Next, I die-cut some cloud borders from the Slimline Nature Borders dies using white cardstock and vellum.
Sponge a white
panel using Shaded Lilac and Kitsch Flamingo Distress Oxide inks, flick water
and dab using a kitchen towel. Die-cut using the Fancy Frames Rectangle dies to
create a frame. Adhere both the parts of the frame from behind to have a broad
frame. Next adhere the white clouds to the top and bottom part of the frame,
then goes the vellum cloud border. Now adhere a piece of acetate behind the
frame. Add double sided tape to cover all the sides of the frame.
Adhere the center of the background piece to the white card base. Add some WOW! sparkle glitters Your Carriage Awaits and Crystal. Now remove the lining of the score tape of the frame and adhere this to the card base.
Adhere all the
images using glue and 3d foam for various dimension. To finish, add spectrum
noir clear sparkle pen to the fairies, butterfly and flowers.
Have a nice
day!
------------------------------------------
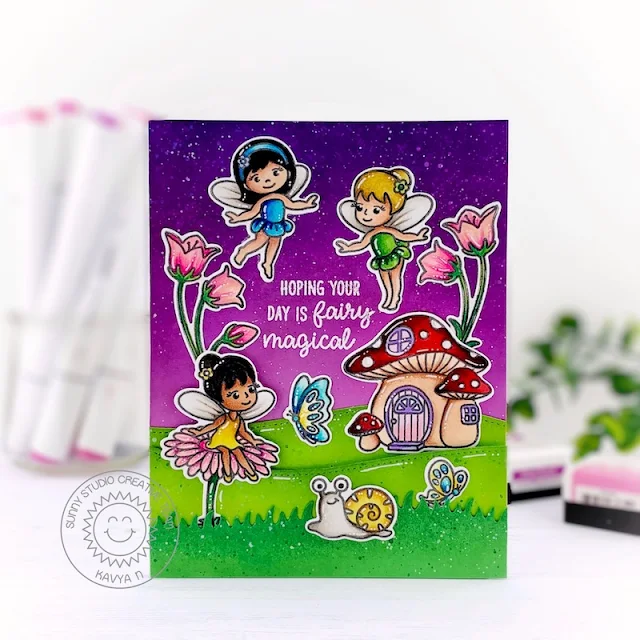
Hi folks, Kavya here. I am back on the blog with another fun card inspired by Disney Fairies using just one stamp set (I know ... I didn’t combine a bunch of stamps this time!), and my staple die set - Slimline Nature Border dies.
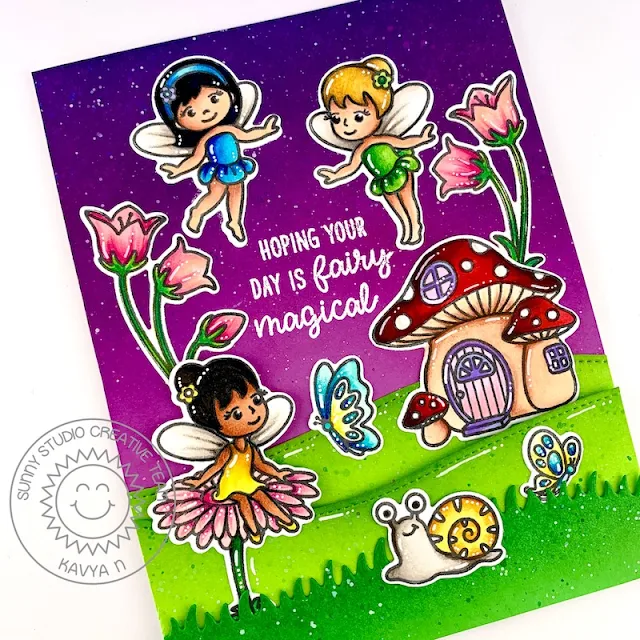
I first started off by ink blending light purple cardstock using shades of purple and pink dye ink to create the late evening sky. I then die cut green cardstock using the Slimline Nature Border to create the grass and land. As always, I ink blended the edges using matching dye ink and splattered some white and green paint to give some texture. I also splattered purple and white paint on the sky to give it a starry look!
Later, I die cut various images from the Garden Fairies stamp set and colored them using alcohol markers and colored pencils. I tried to recreate Tinkerbell, Silvermist and Iridessa from the franchise :) I hope you could tell! Finally, I heat embossed a sentiment from the same stamp set to finish off the card.
I hope you liked this! Be sure to check back for more inspiration.
Sunny Studio Supplies Used:
 Fancy Frames- Rectangles Shop at: Sunny Studio |
 Slimline Nature Borders Shop at: Sunny Studio |
 Garden Fairy Stamps Shop at: Sunny Studio |
 Garden Fairy Dies Shop at: Sunny Studio |


No comments:
Post a Comment