Hey crafty friends! It’s Julia here with a fun interactive birthday card! I used the adorable Lovable Llama stamp set for this one!
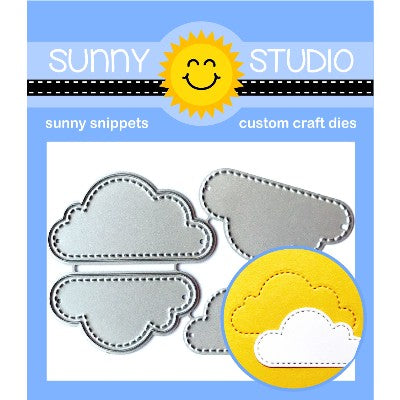
To create my scene I also used the Spring Scenes, Floating By and Inside Greetings Birthday stamp sets as well as the Sliding Window and Fluffy Clouds dies.
I really wanted to add a sentiment that read "Llama tell you" so I used Kinsley Alphabet stamps for my custom greeting!
I had so much fun with the sliding window mechanism! It's amazing for adding an additional message or a little hidden scene to your cards! If you would like to see how this card came together, you can watch the video below - or on my YouTube channel, Craft Room Adventures.
Inks
used: background: Twisted Citron and Mowed Lawn Distress Ink as well as Tumbled
Glass and Salty Ocean Distress Oxide. Copic Markers used: YG11, YG13, YG17,
BG99; Y11, Y13, Y15, Y17; R20, R22; R24; R27; R29, R39; RV21, RV23, RV25, RV29;
B21, B23, B26, B28; BG11, BG13, BG15, BG18; V000, V01, V04, V05, V09; R21; E30,
E31, E33, E35, E37, E39; 0.
Thank
you so much for stopping by today! Have an amazing day!
-----------------------------------------------
Hi there! Franci here with you, showcasing the new Lovable Llama set, the cutest ever!! So I had to make another rocking card here because I think they are so much fun and they are so easy to make with the new Stitched Circle Large Dies and the Scalloped Circle ones!
First of all I die cut all the panels: the largest one out of this colorful patterned paper from the Spring Sunburst 6x6 paper set and the smallest out of white cardstock. I later inked it up in the center with some Spiced Marmalade Distress ink Oxide.
Then I started working on my images, I combined lots of elements from these different sets: Lovable Llama + coordinated dies, Balloon Rides + coordinated dies, Banner Basics + coordinated dies. I stamped them onto white cardstock, colored them with Copics and cut them out. I also added my sentiment from the Inside Greetings Birthday set.
I glued down all my images to the scalloped circle, then folded in half my stitched one and adhered my decorated panel just to one half of my colorful one. As you can see I also added some elements with acetate strips to give my design more interest and the card fit a standard size envelope perfectly so it's super easy to mail! Finally I added some details with a white gel pen and some clear sequins.
I hope you like it and thank you so much for stopping by today!
Sunny Studio Supplies Used:
 Sliding Window Dies Shop at: Sunny Studio |
 Spring Sunburst 6x6 Paper Shop at: Sunny Studio |
 Fluffy Clouds Dies Shop at: Sunny Studio |
 Banner Basics Stamps Shop at: Sunny Studio |
 Banner Basics Dies Shop at: Sunny Studio |
 Floating By Stamps Shop at: Sunny Studio |
 Floating By Dies Shop at: Sunny Studio |
 Kinsley Alphabet Stamps Shop at: Sunny Studio |
 Spring Scenes Stamps Shop at: Sunny Studio | |
 Spring Scenes Dies Shop at: Sunny Studio |
 Balloon Rides Stamps Shop at: Sunny Studio |
 Balloon Rides Dies Shop at: Sunny Studio |
 Inside Greetings Birthday Shop at: Sunny Studio | |
 Lovable Llama Stamps Shop at: Sunny Studio |
 Lovable Llama Dies Shop at: Sunny Studio |
 Scalloped Circle Mat 1 Dies Shop at: Sunny Studio |
 Stitched Circle Large Dies Shop at: Sunny Studio | |


This is bright and so cute--I had to comment! Nice work!
ReplyDelete