Monday, December 11, 2017

Playful Polar Bears Snowy Background Christmas Card with Eloise

Hi everyone, Eloise here and today I'll be using the Playful Polar Bears stamp set to create a snowy Christmas scene card for you all.

Sunny Studio Stamps: Playful Polar Bears Snowy Background Christmas Card by Eloise Blue

To begin my card today, I stamped, colored, and die-cut my images from the Playful Polar Bears. I used Copic Markers to color my images in as that's my favorite way to color images. Next, I took some post- tape and free-hand cut a snowy hill and adhered it down to a piece of watercolor paper, I then ink blended some Tumbled Glass and Salty Ocean Distress Ink over top, fading out the edges to white. Then I splattered some white paint on the background and dried it off with a heat tool.

Sunny Studio Stamps: Playful Polar Bears Snowy Background Christmas Card by Eloise Blue

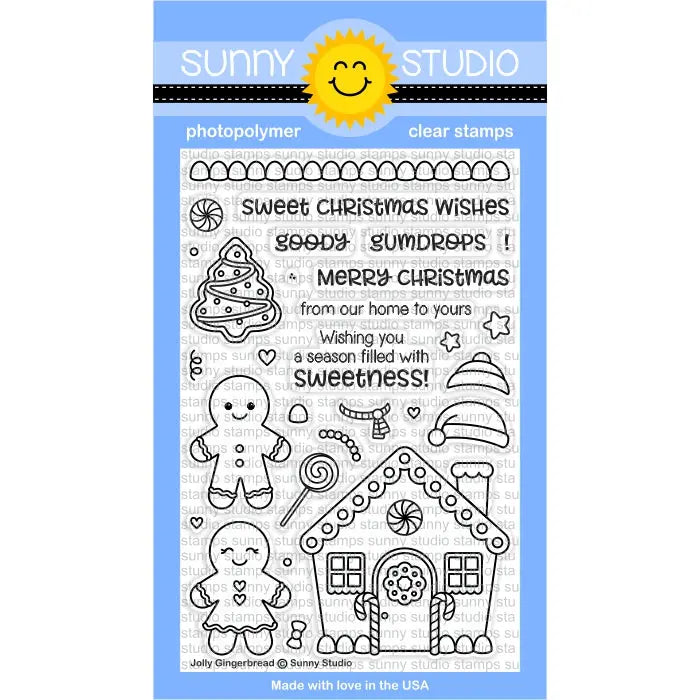
Next, I went and adhered my two Polar Bears and the sled next to each other onto my card with some foam tape. I then stamped the sentiment 'Wishing You Beary' in black ink from the Playful Polar Bears stamp set and then the 'Merry Christmas' from Jolly Gingerbread underneath my scene. To finish, I adhered my panel to a piece of Perfectly Plaid Chill Paper from Lawn Fawn and then onto a card base.

Thanks so much for stopping by today and I'll catch you next week! 

Sunny Studio Supplies Used:
Jolly Gingerbread Stamps
Shop at:
Sunny Studio
Playful Polar Bears Stamps
Shop at:
Sunny Studio
Playful Polar Bears Dies
Shop at:
Sunny Studio

Saturday, December 9, 2017

Guest Designer Spotlight: Cards with Karin Akesdotter

Hi everyone! It's Karin Akesdotter here. I'm so excited to be back guesting for Sunny Studio today. I had a chance to play with the Polar Playmates set, the Playful Polar Bears set, and the Petite Poinsettias set.

Sunny Studio Stamps: Polar Playmates Winter Love Themed Card by Karin Akesdotter

For my first card, I used the Polar Playmates stamp set. I started by making a card base and then die cut a panel from white cardstock. I stamped and masked the seal, and then stamped the hole in the ice. I then colored the seal using Copic markers and stamped my sentiment. I also die cut some hearts from red cardstock and adhered them around the image. I adhered the finished panel to my card base with foam adhesive.

Sunny Studio Stamps: Playful Polar Bears Winter Themed Birthday Card by Karin Akesdotter

For my second card, I used the Playful Polar Bears stamp set and coordinating dies. I created a snow scene layering white die cut hills on blue polka dot paper. I stamped, colored, and cut my images and then adhered to create my scene with foam adhesive.

Sunny Studio Stamps: Playful Polar Bears Christmas Card by Karin Akesdotter

This next card also features the Playful Polar Bears stamp set and coordinating dies. I inked my white cardstock with Distress inks to create an ombre like sky background. Once it was completely dry, I sprinkled embossing powder on the background and heat embossed it to create snow. I cut a frame and then stamped, colored and die cut three cute bears. I assembled all my pieces together to create a little snowy bear scene.

Sunny Studio Stamps: Polar Playmates Winter Hugs Card by Karin Akesdotter

Once again, I used the Polar Playmates stamp set and coordinating dies for a fun little card. I started by making a square card base from light blue cardstock, and then created a snow background by dry embossing a panel of white cardstock. I stamped, colored and die cut the cute images from the stamp set and assembled them all on my card to create a cute arctic scene.

Sunny Studio Stamps: Petite Poinsettias Christmas Card by Karin Akesdotter

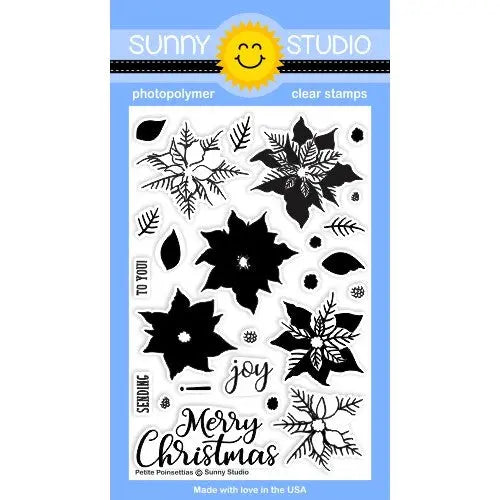
For my last card, I used the Petite Poinsettias stamp set and coordinating dies. I stamped the poinsettia and leaves using different shades of red and green ink, and then die cut them with the coordinating dies. I then made a window card from white cardstock. I created a pretty background for the window opening by stamping snowflakes onto blue cardstock. I stamped the sentiment and adhered the finished panel to my card base. I then added my stamped flower and leaves to the center of the window.

Thanks so much for having me back today. I hope you enjoyed my cards. 

Sunny Studio Supplies Used:

Petite Poinsettias Stamps
Shop at:
Sunny Studio
Petite Poinsettias Dies
Shop at:
Sunny Studio
Playful Polar Bears Stamps
Shop at:
Sunny Studio
Playful Polar Bears Dies
Shop at:
Sunny Studio
Polar Playmates Stamps
Shop at:
Sunny Studio
Polar Playmates Dies
Shop at:
Sunny Studio

Friday, December 8, 2017

Christmas Chapel Elegant Merry Christmas Card with Lexa

Hi everyone! Lexa here today with another inspirational idea for Christmas cards. Today, I made a simple, yet elegant, card featuring Christmas Chapel stamp and it's coordinating dies.

Sunny Studio Stamps: Christmas Chapel Elegant Navy Blue Mint Christmas Card by Lexa Levana

When it comes to creating a clean and simple design, I always focus on the color combination and the layout first. Today I chose blue, navy and mint as my color muse. I created my own mask by die cutting a rounded edged rectangle on a piece of acetate. Then I blended some Salty Ocean and Tumbled Glass Distress Inks in gradation. Once I was happy with the blending, I stamped the stars from the same stamp set with blue dye ink. The white dots are created with Nuvo Drops, as it adds such amazing dimensions to my card. 

I stamp my images with Versafine black ink and watercolor them with Distress Markers. I also stamp a snowy Christmas tree from Christmas Home stamp set to complete my scene. I also bent the "Merry Christmas" sentiment to follow the banner on top -this one of main reason why I love clear stamps! 

Sunny Studio Stamps: Christmas Chapel Elegant Navy Blue Mint Christmas Card by Lexa Levana

The border on the bottom part is to fill in an empty space, but I still want to keep it simple using the smaller Stitched Scallop Dies on navy cardstock against the mint polka dot patterned paper. 

I really hope you enjoy today's card. Thank you so much for stopping by today, I wish you an amazing day!

Sunny Studio Supplies Used:

Stitched Scallop Dies
Shop at:
Sunny Studio
Christmas Chapel Stamps
Shop at:
Sunny Studio
Christmas Chapel Dies
Shop at:
Sunny Studio
Christmas Home Stamps
Shop at:
Sunny Studio
Christmas Home Dies
Christmas Home Dies
Shop at:
Sunny Studio

Thursday, December 7, 2017

Silver Bells Die Green, White, and Silver Christmas Card with Vanessa

Hi everyone! Vanessa here and today I am sharing a Christmas card using the cute Silver Bells die. Here is what I came up with:

Sunny Studio Stamps: Silver Bells Die Green, White, and Silver Christmas Card by Vanessa Menhorn

I started with a panel of white cardstock and stamped the branch from Holiday Style. Then I inked the edges with an ink blending tool and stamped and heat-embossed the sentiment from Petite Poinsettias.

Sunny Studio Stamps: Silver Bells Die Green, White, and Silver Christmas Card by Vanessa Menhorn

Now I die-cut the bells from white glittered cardstock and adhered them, popping up the bottom one with foam tape. After I had added silver twine to the bells, I adhered the panel to the card. Finally, I added green sequins.

I love those bells, they look like they are covered in sugar, don't you agree? Thank you for stopping by today!

Sunny Studio Supplies Used:

Holiday Style Stamps
Shop at:
Sunny Studio
Petite Poinsettias Stamps
Shop at:
Sunny Studio
Silver Bells Die
Silver Bells Die
Shop at:
Sunny Studio

Wednesday, December 6, 2017

Snow Flurries Little Husky Christmas Tree Ornament with Franci

Hi everyone and happy Wednesday! It's Franci here with you today with a pretty Christmas ornament to decorate your tree! I had so much fun with the new Snow Flurries stamp set, and that little husky from the Polar Playmates is just perfect! 

Sunny Studio Stamps: Snow Flurries Little Husky Christmas Tree Ornament by Franci Vignoli

First, I die cut a circle to fit inside my plastic ornament. Then I embossed the snow flurries with white embossing powder and sponged some Picked Raspberry distress ink on top. Next, I stamped my little husky with memento ink, colored it with Copics and die cut it with its coordinating dies. I glued it in the center of my circle with foam tape and drew some details with a white gel pen.

Then I created the snowball with some fake snow and added some candies behind the decorated circle in the other half of the ball. To secure your decorated circle just glue a little string behind it (it will be closed in the middle between the 2 halves of the ball, or you can also glue it down to the first half). I added some twine and a cute bow and you can also write a little secret message and put it inside! 

Hope you like my project and thank you so so much for stopping by! 

Sunny Studio Supplies Used:

Polar Playmates Stamps
Shop at:
Sunny Studio
Polar Playmates Dies
Shop at:
Sunny Studio
Snow Flurries Stamps
Shop at:
Sunny Studio