
Hi friends! It’s Jarle here, and I am happy to be back on the Sunny Studio Stamps blog for my weekly project. Today, I am featuring the Classy Christmas stamp set for an elegant Christmas card. I haven’t made many Christmas cards this year, so I was glad to have another one done!

I trimmed a piece of red cardstock to 3,75 by 5 inches. I went for Cranberry cardstock from Spellbinders. I prepped this panel with an antistatic powder tool, since I was going to be doing a lot of heat embossing.
I stamped different images from the Classy Christmas stamp set with Versamark ink onto the card panel. I used a regular stamping block instead of my Misti because I stamped those images a few times. I sprinkled on gold embossing powder and heat-set it with my heat tool.

Tip 1:
Stamp, emboss, and heat set in different sections. Only bring your heat gun to
your cardstock when it is very hot so you don’t get any warping.
Tip 2:
Wipe down your card panel with a cloth after embossing. This gets rid of the
antistatic powder.
I took out my Polychromos pencils and colored all the images. I did very simple shading, with only 2 colors of green and 2 colors of blue. I was afraid that the cardstock was going to be too smooth for colored pencils, but it worked beautifully.
These
are the colors I used:
- Blue: 149 & 152
- Green: 266 & 278

After that, I chose a sentiment from the Build A Greeting Holidays and heat embossed it as well on a strip of red cardstock. I popped up the sentiment onto my card panel. I adhered the whole panel with foam tape on an A2 cardbase made of Oceanside cardstock (Spellbinders). Yes! Lots of dimension! For a finishing touch, I glued down a few Gold Jewels. I think this really finishes off the card.
Whenever I do gold embossing, I am always amazed at how beautiful and special the effect is. I hope you will give this a try! Have a beautiful day!
Sunny Studio Supplies Used:
 Classy Christmas Stamps Shop at: Sunny Studio |
 Classy Christmas Dies Shop at: Sunny Studio |
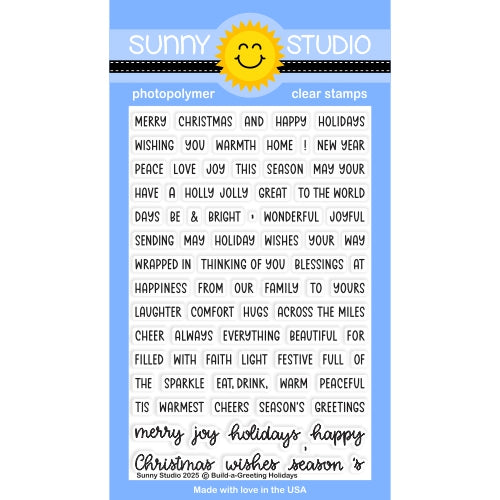 Build-a-Greeting Holidays Shop at: Sunny Studio |



No comments:
Post a Comment