
Hi Crafty Friends! Tina M here with you today! I have a cute Christmas card to share with you today, using the Holiday Style and Quill Cuties sets!

I started by trimming a piece of red cardstock to 4,25 x 5,5 inches to cover my A2-size card base, then adhered it with double-sided tape. I then trimmed a piece of white cardstock to 4 x 5,25 and ink-blended the panel using blue ink. I splattered some white/silver watercolor onto the panel. I trimmed another piece of white cardstock to 1,5 x 4 inches and used the hill border from the Slimline Nature Borders Dies set and ran it through my die-cutting machine to create a small snow hill to adhere at the bottom of the ink-blended panel.
Next, I inked up the Holiday
Style Stamps set and stamped the spruce twig three times using pink ink
and the Christmas ornament three times using green, red, and turquoise ink and
three of the ornament caps using yellow/golden ink.
I then stamped three
of the cute hedgehogs from the Quill
Cuties Stamps set using Memento
Tuxedo Black ink on alcohol-ink-friendly card stock and colored them
with my Copic Markers; see list below.
Hedgehogs:
W0/1/3/5/7, R01/02
Pink: RV52/55
Green: YG03/17
Red: R20/22/24/27

Next, I die-cut the ink-blended and colored pieces using the coordinating Holiday Style Dies set and Quill Cuties Dies set. For my sentiment, I stamped Have A Holly Jolly Christmas from the Build-a- Greeting Holidays Stamps set at the bottom of my snow hill.
I adhered the spruce twigs and the Christmas ornaments to the ink-blended panel using liquid glue. I trimmed the parts of the twigs hanging off the edge of the panel with scissors and adhered them to the red card base with double-sided tape. Lastly, I added foam dots to the back of the hedgehogs for dimension and adhered them to the card.
Thank you for
stopping by today! Wishing you a happy and colorful day!
Sunny Studio Supplies Used:
 Holiday Style Dies Shop at: Sunny Studio |
 Holiday Style Stamps Shop at: Sunny Studio |
 Slimline Nature Borders Shop at: Sunny Studio |
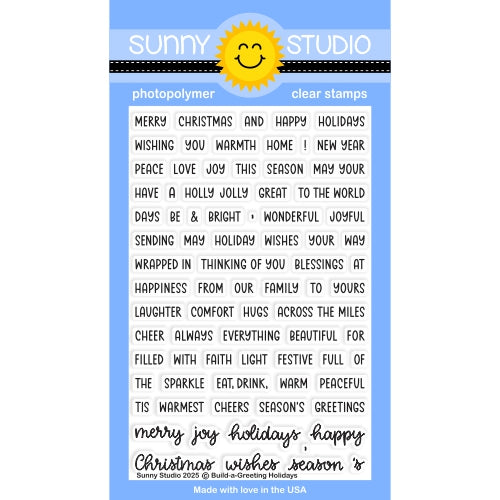 Build-a-Greeting Holidays Shop at: Sunny Studio |
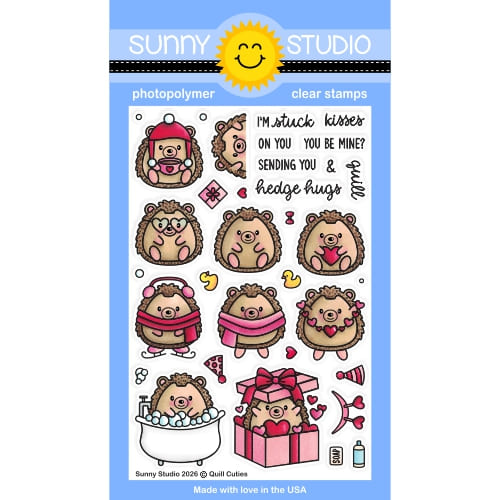 Quill Cuties Stamps Shop at: Sunny Studio |
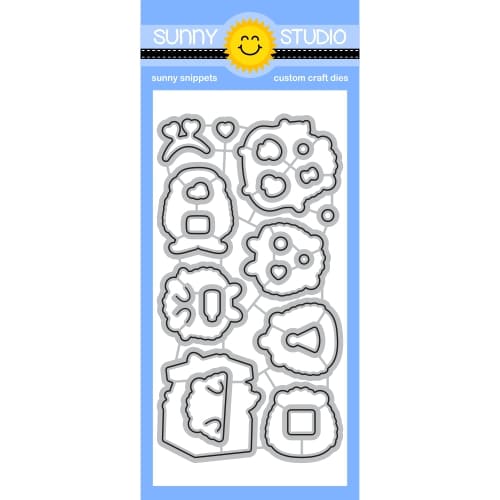 Quill Cuties Dies Shop at: Sunny Studio |



No comments:
Post a Comment